


Key Takeaways
Complete guide to setting up touchscreen electronic trophy cases for schools. Learn about hardware selection, installation, content management, and maintenance for digital recognition displays.
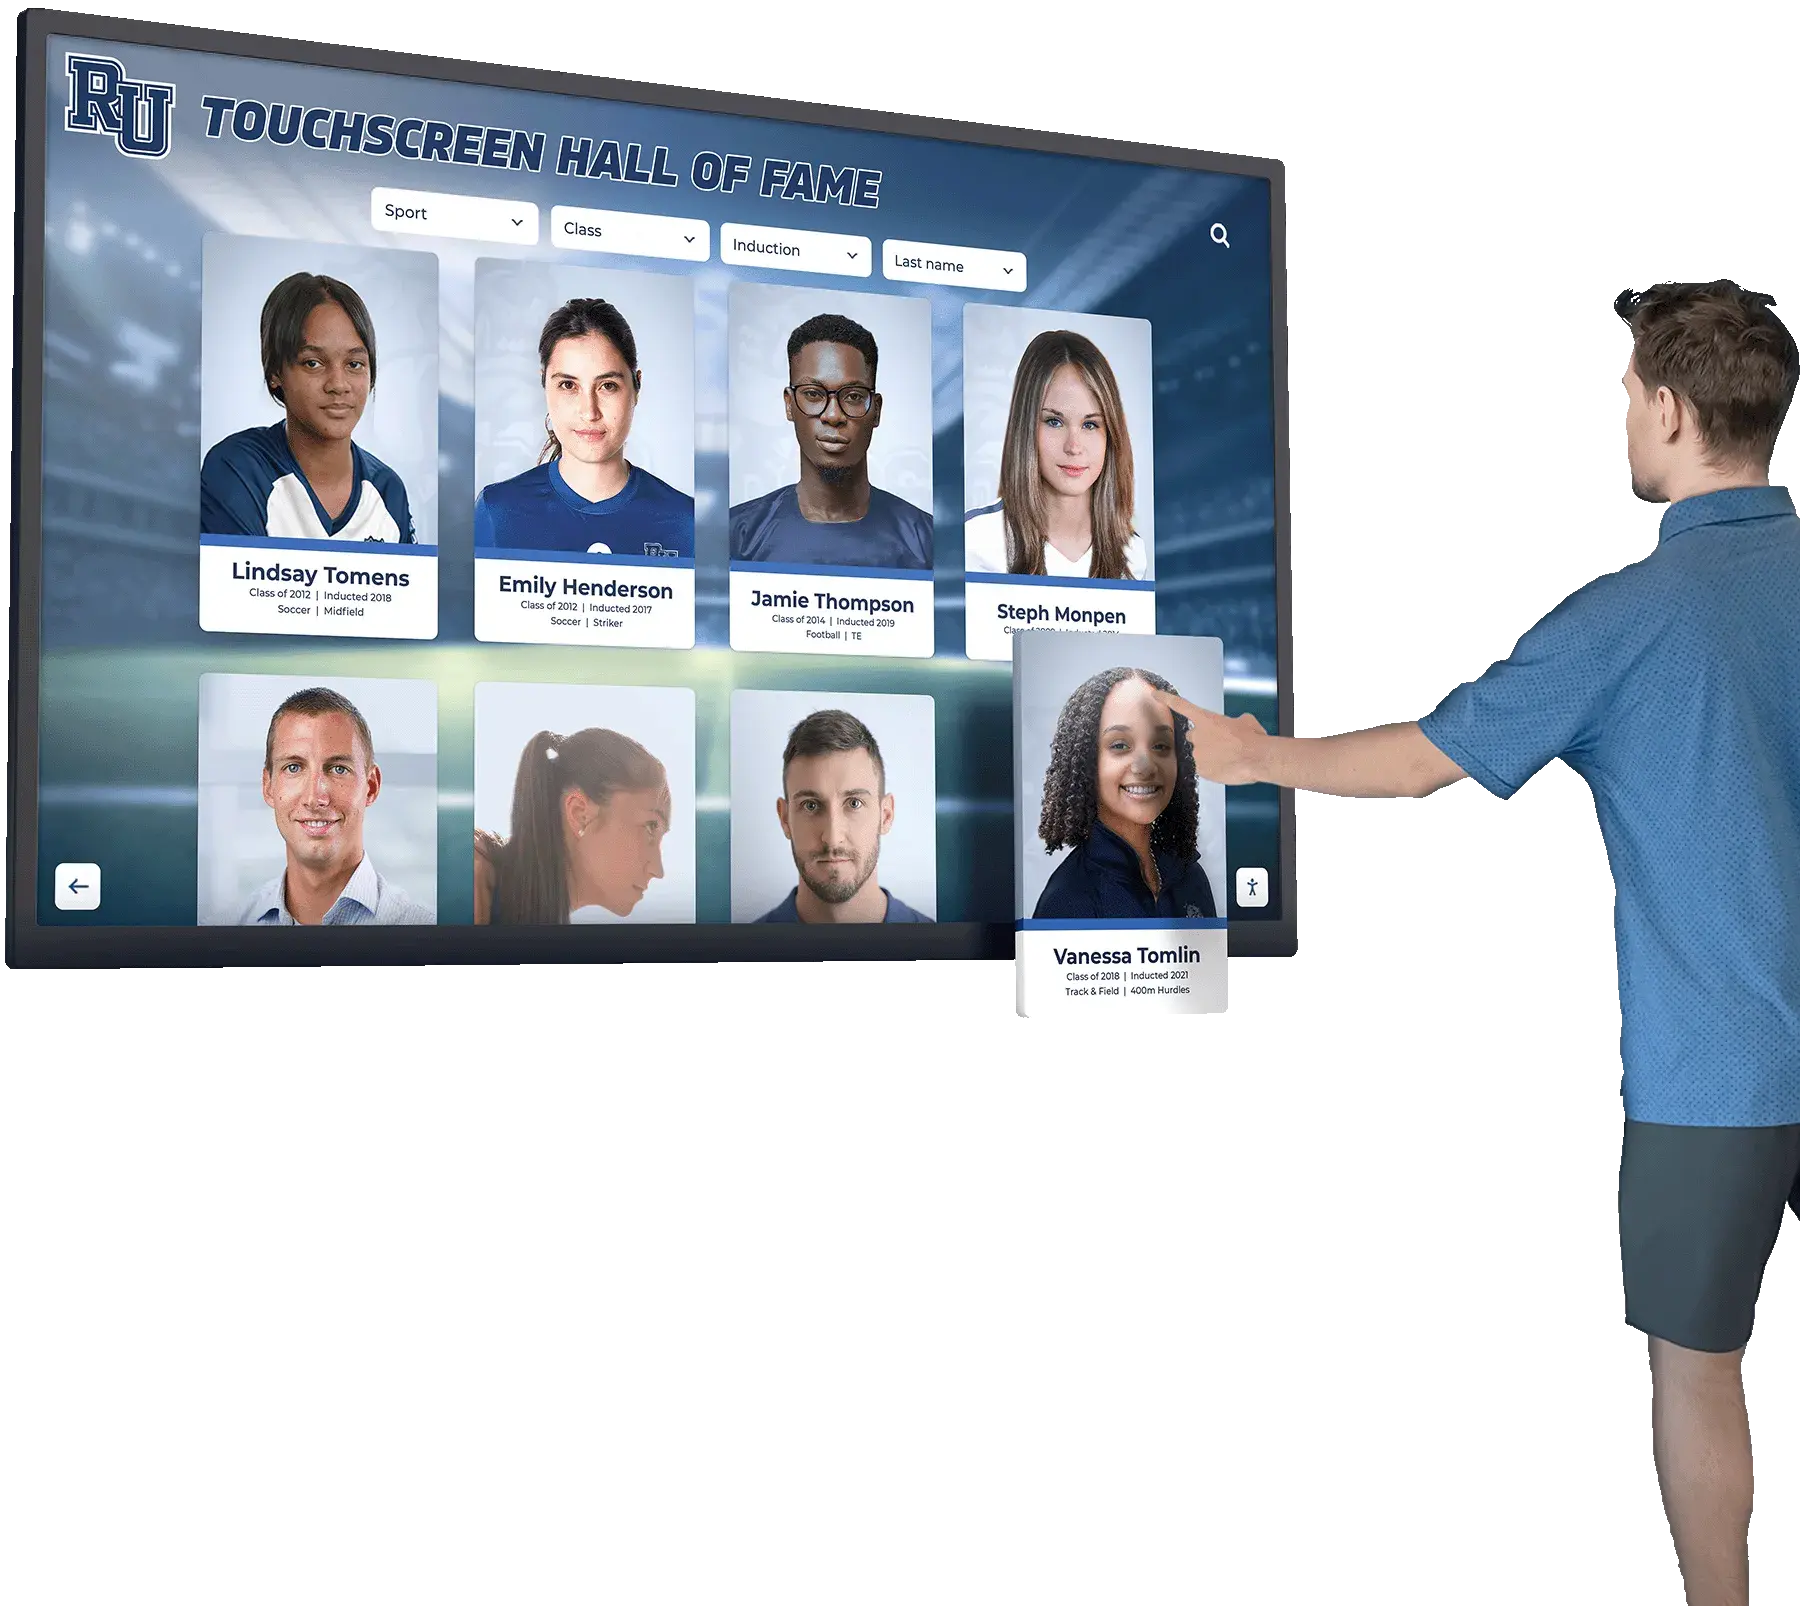
Understanding Touchscreen Electronic Trophy Cases
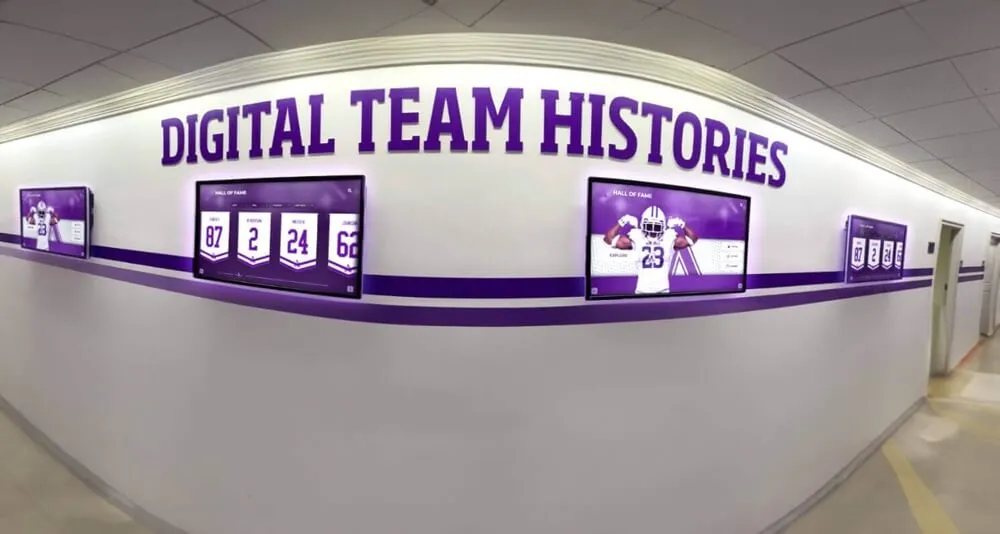
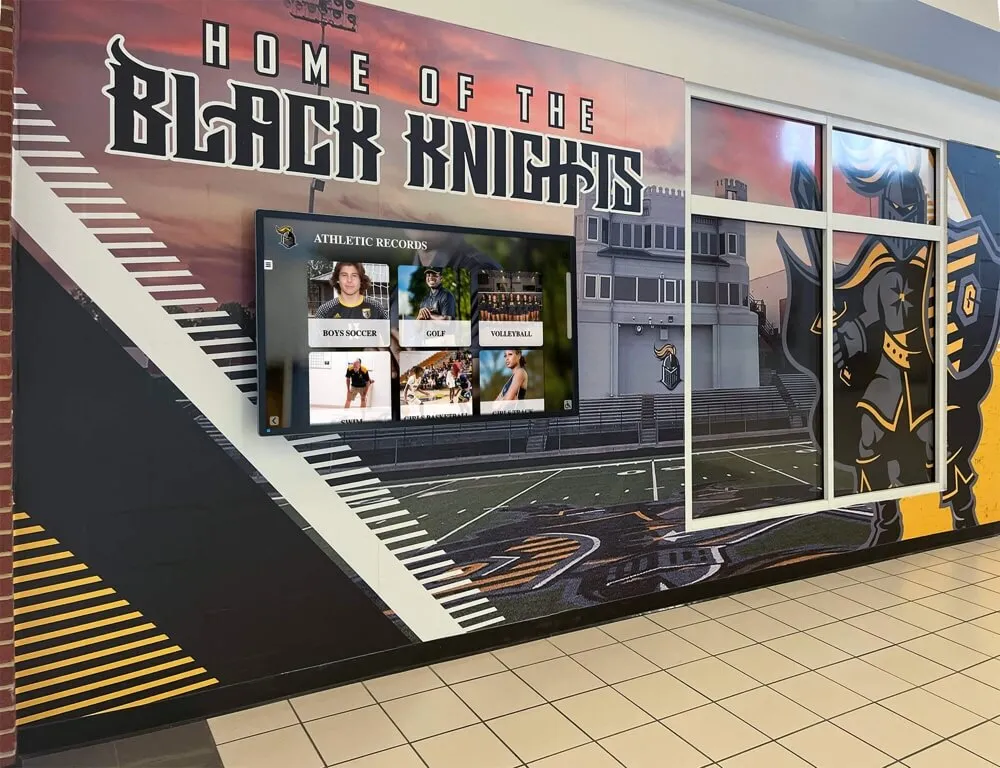
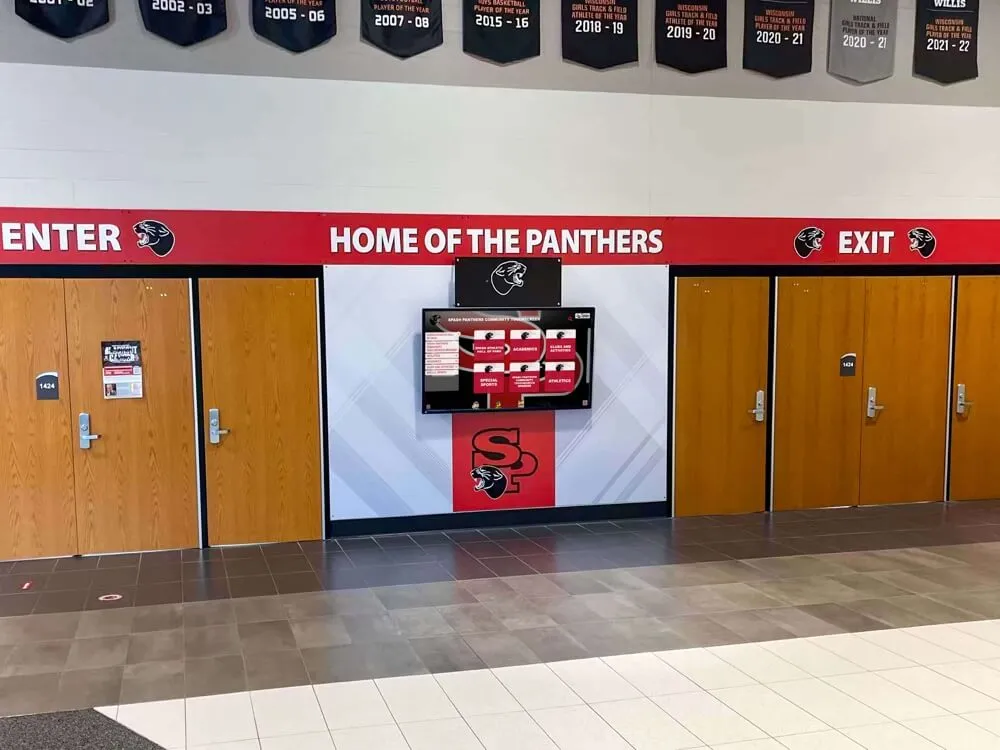
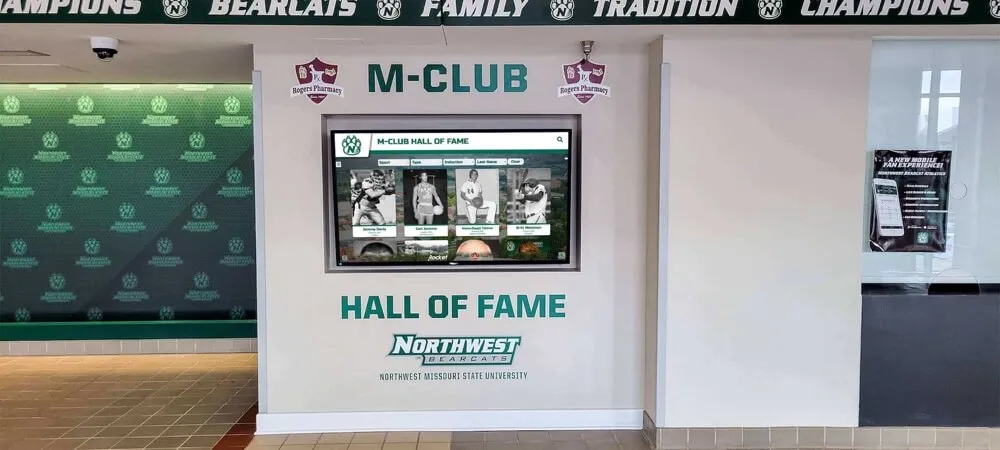
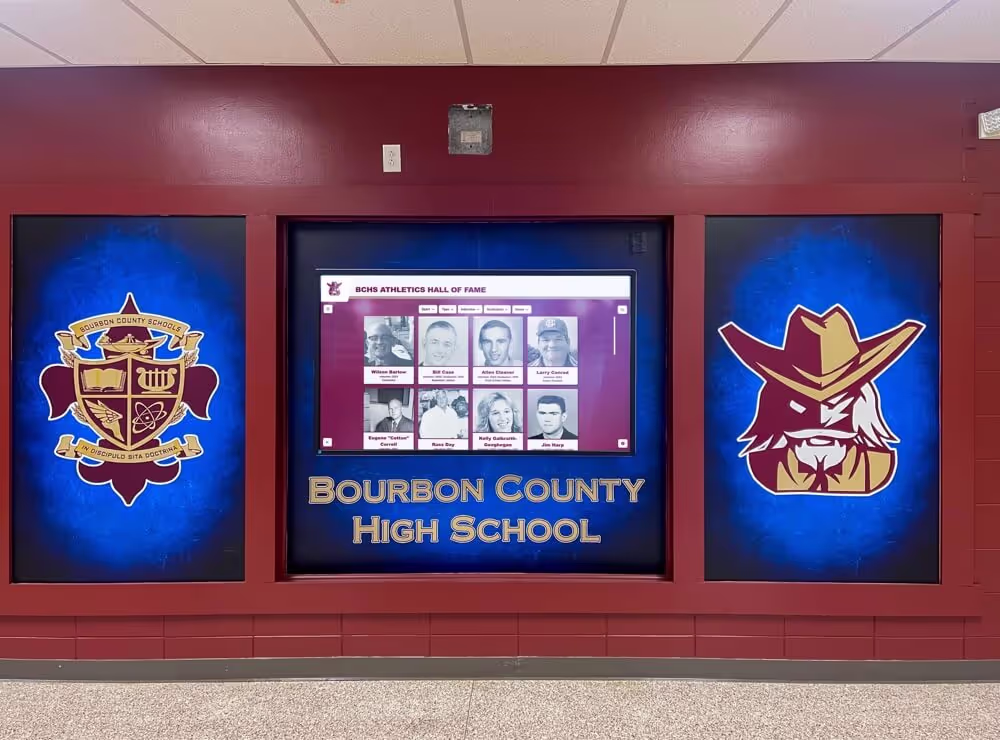
A touchscreen electronic trophy case combines digital display technology with interactive software to create an engaging recognition platform. Unlike traditional cases limited by physical space, these systems offer:
- Unlimited Recognition: No physical space constraints for displaying achievements
- Rich Multimedia: Photos, videos, statistics, and detailed athlete profiles
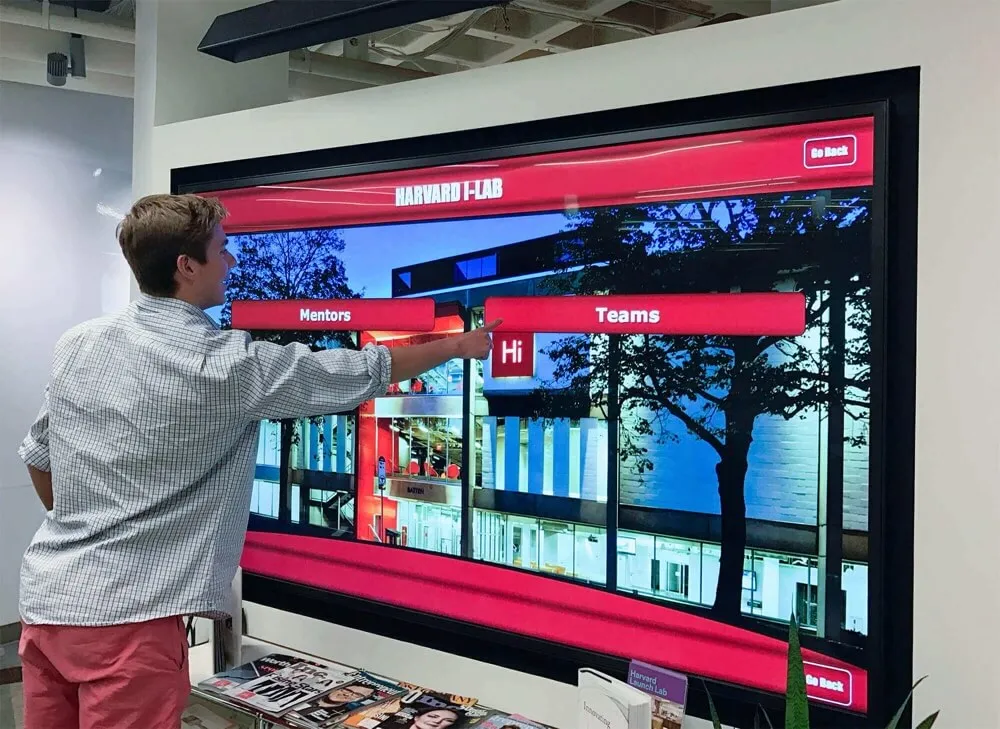
- Interactive Exploration: Touch navigation, search functionality, and filtering options
- Easy Updates: Add new achievements instantly without physical installation
- Cost Efficiency: Eliminate ongoing plaque engraving and case maintenance expenses
These systems represent a significant evolution in school recognition technology, as explored in our guide on digital trophy cases.

Step 1: Planning Your Touchscreen Trophy Case Project
Successful implementation begins with thorough planning that addresses your school’s specific needs, budget, and goals.
Defining Your Recognition Goals
🏆 Recognition Scope
Determine which programs, sports, and achievements to feature
👥 Target Audience
Consider students, parents, alumni, and community visitors
📊 Content Requirements
Plan for photos, videos, statistics, and biographical information
🔄 Update Frequency
Establish how often content will be added and refreshed
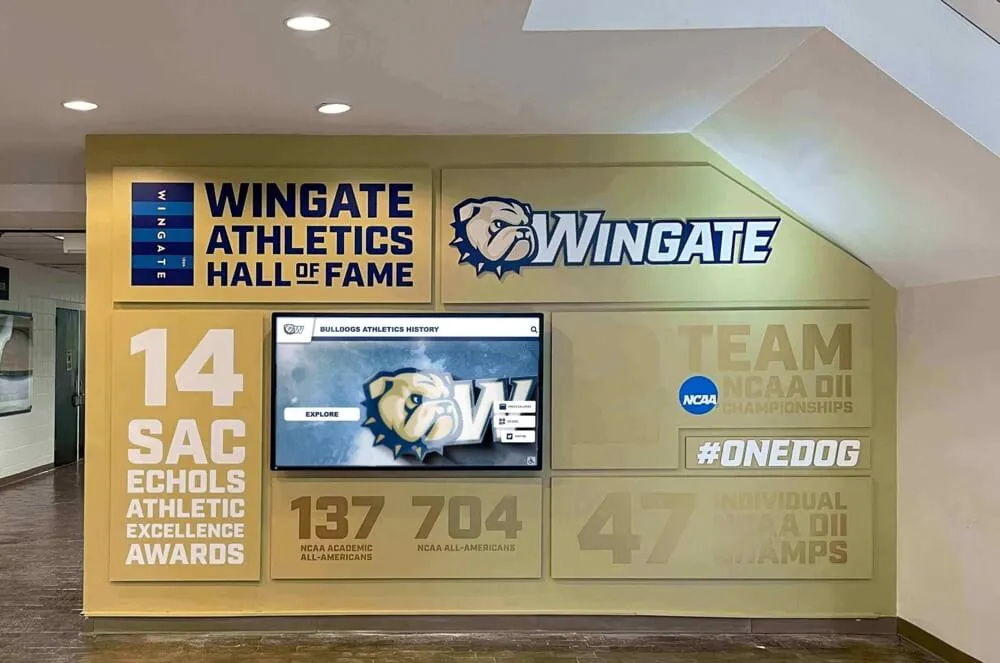
Location Assessment and Selection
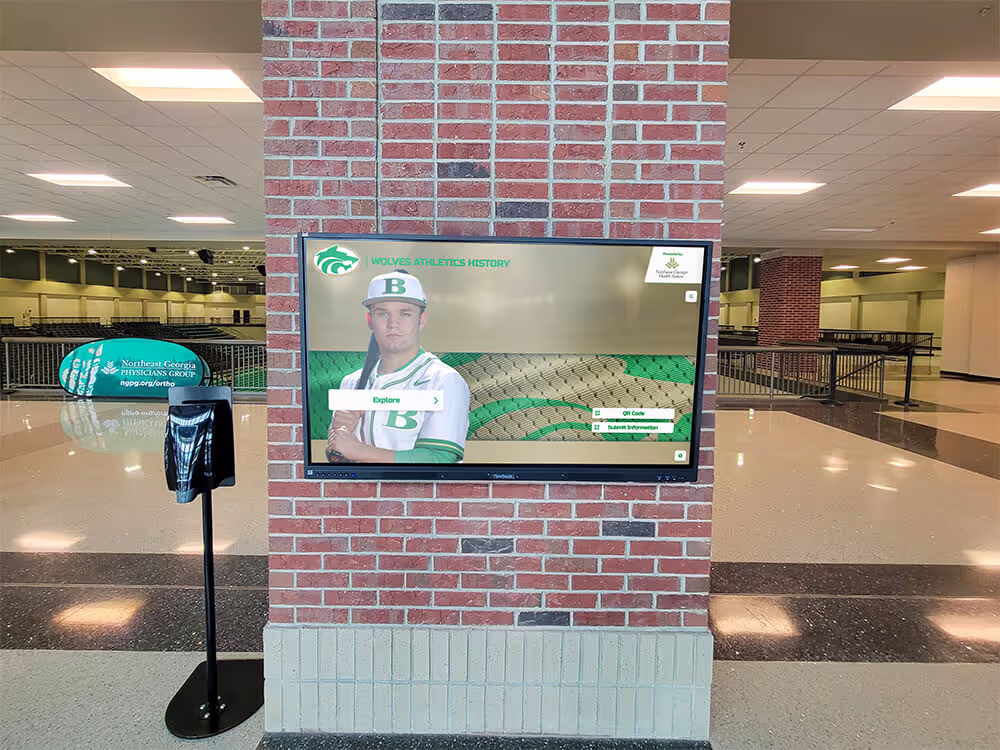
Choosing the optimal location significantly impacts engagement and visibility:
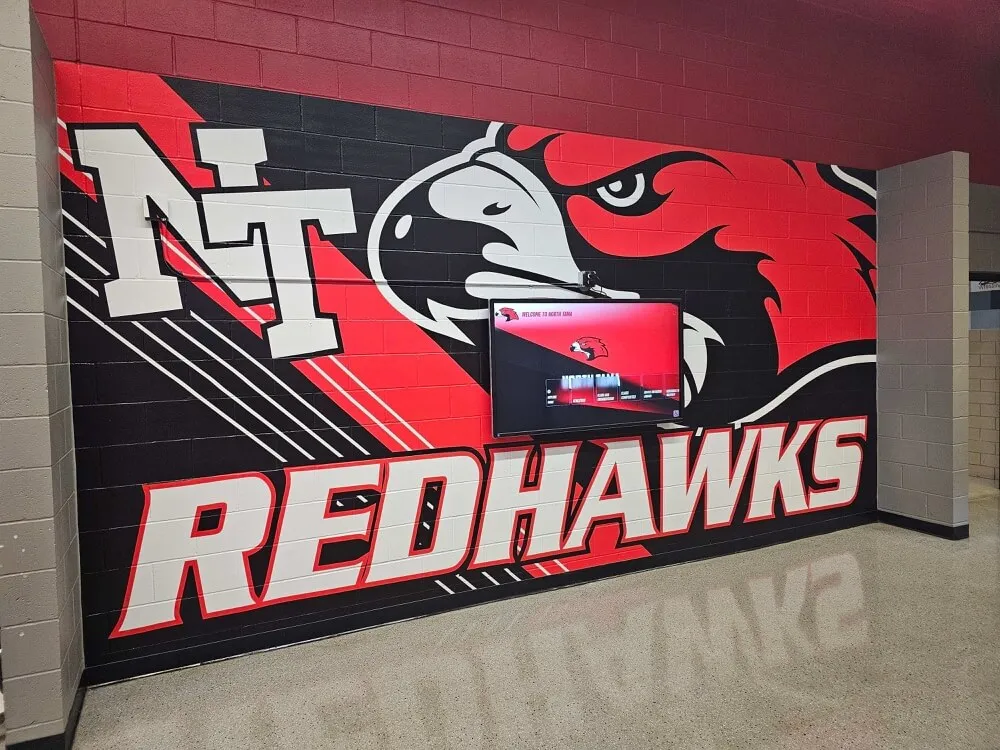
- Traffic Patterns: Position displays in high-traffic areas like main hallways, athletic facility entrances, or lobby areas
- Viewing Distance: Consider typical viewing distances to determine appropriate screen size
- Lighting Conditions: Assess natural and artificial lighting to ensure screen visibility
- Electrical Access: Verify power outlet availability or plan for installation
- Network Connectivity: Ensure reliable ethernet or Wi-Fi access for content updates
- Physical Security: Choose locations that reduce vandalism risk while maintaining accessibility
Budget Planning and Cost Considerations
Establishing a realistic budget helps guide hardware and software selection:
Hardware Costs:
- Entry-level system (43-50"): $8,000-$12,000
- Mid-range system (55-65"): $12,000-$20,000
- Premium system (70-75"): $20,000-$30,000
Software and Services:
- Content management platform: $1,000-$3,000 annually
- Initial content development: $1,000-$5,000
- Professional installation: $1,500-$4,000
- Training and support: Often included or $500-$1,500
Long-term Operating Costs:
- Electricity: Approximately $50-$150 annually
- Software subscription: $1,000-$3,000 annually
- Occasional maintenance: $200-$500 annually
The total cost of ownership typically proves more economical than traditional trophy cases when considering ongoing plaque expenses and physical maintenance.
Step 2: Selecting Hardware Components
Choosing the right hardware ensures reliability, longevity, and optimal user experience.
Touchscreen Display Selection

Critical display specifications to consider:
Commercial-grade displays significantly outlast consumer models in continuous operation environments.
Media Player and Computer Requirements
The computing component powers your touchscreen interface and manages content delivery:
Option 1: All-in-One Touchscreen Display
- Integrated computer within display unit
- Simplified installation with fewer components
- Typically Windows or Android operating system
- Best for straightforward installations
Option 2: Separate Media Player
- Dedicated computer (mini-PC or media player) connected to display
- Greater flexibility for upgrades and customization
- Options include Windows PC, Android box, or specialized media players
- Better for custom software requirements
Minimum Specifications:
- Processor: Intel Core i3 or equivalent
- RAM: 8GB minimum, 16GB recommended
- Storage: 128GB SSD minimum, 256GB+ recommended
- Connectivity: Ethernet, Wi-Fi, multiple USB ports
- Graphics: Integrated graphics sufficient for most applications
Enclosure and Mounting Solutions
Professional mounting and enclosure protect your investment and enhance presentation. For schools specifically considering kiosk-style installations, our guide on interactive recognition display kiosks provides valuable insights.
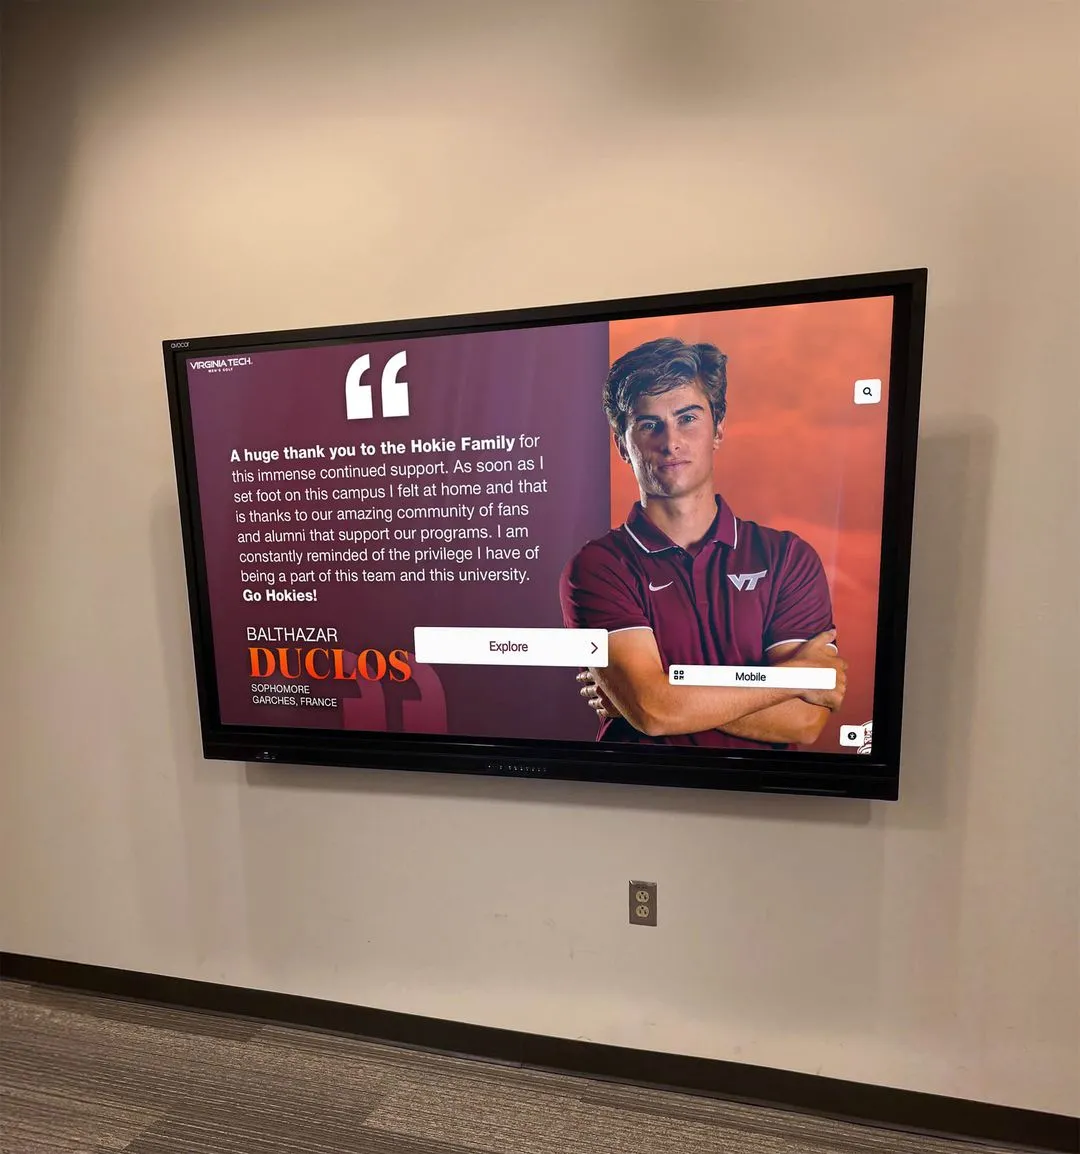
Wall-Mounted Solutions:
- Heavy-duty articulating mounts for optimal viewing angles
- Flush-mounted installations for sleek, integrated appearance
- Cable management systems to conceal wiring
- Security features including locking mechanisms
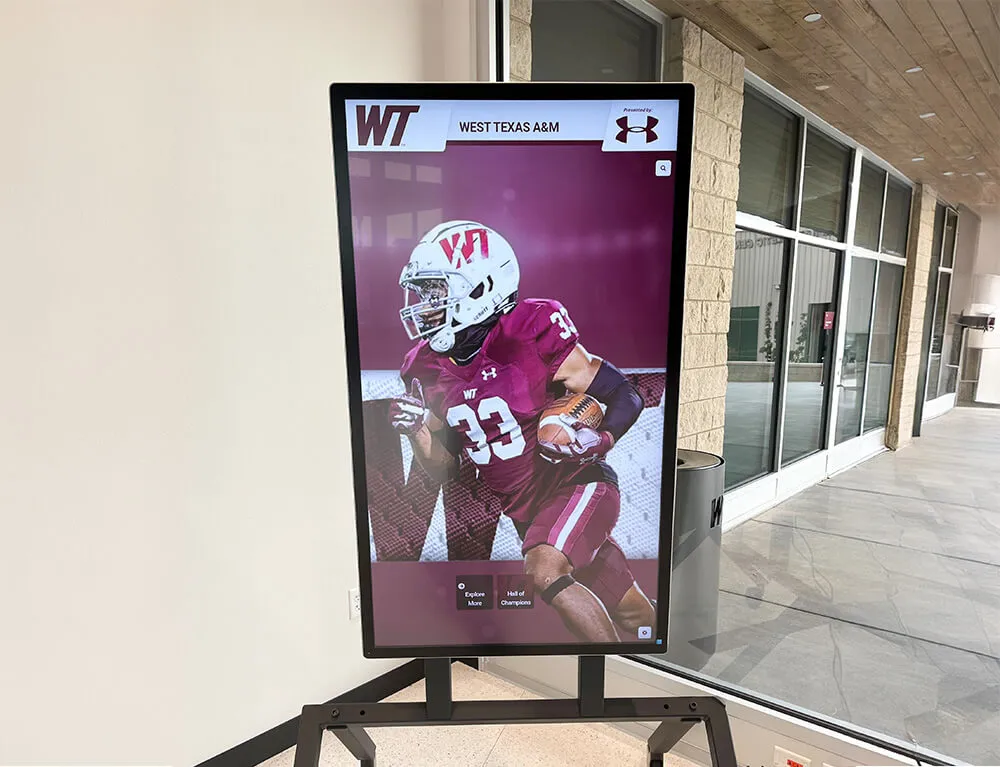
Freestanding Kiosk Enclosures:
- Floor-standing units for flexible placement
- Integrated cable management and component housing
- Tamper-resistant construction with lockable access panels
- Professional finish matching school aesthetics
- ADA-compliant height and angle adjustments
Floor vs. Wall Mounting Considerations:
- Wall mounting saves floor space and appears more integrated
- Freestanding kiosks offer placement flexibility and easier relocation
- Consider ceiling height, wall construction, and accessibility requirements
Step 3: Software Platform Selection
The software platform determines how easily you'll manage content and how engaging the user experience will be. Essential software features include:
- Intuitive Content Management: Web-based dashboard for easy content updates without technical expertise
- Kiosk Mode Operation: Secure, locked-down interface preventing unauthorized access or tampering
- Touch-Optimized Interface: Large buttons, smooth scrolling, and responsive navigation designed for touchscreen use
- Search and Filter Functions: Allow visitors to quickly find specific athletes, years, or achievements
- Multimedia Support: Display photos, videos, PDFs, and various content formats seamlessly
- Remote Management: Update content and monitor system status from any location
- Analytics and Reporting: Track usage patterns and popular content
Professional touchscreen software solutions designed specifically for recognition displays offer significant advantages over generic digital signage platforms.
Evaluating Software Options
When comparing software platforms, consider these critical factors:
Ease of Use:
- Can non-technical staff update content independently?
- Is training required, and how comprehensive must it be?
- Does the interface match your team’s technical comfort level?
Customization Capabilities:
- Can you match school colors, logos, and branding?
- Is the layout flexible for different content types?
- Can you create custom categories and organization systems?
Support and Training:
- What level of technical support is provided?
- Are training resources and documentation comprehensive?
- Is implementation assistance included?
Total Cost of Ownership:
- One-time purchase vs. subscription model
- Hidden fees for updates, support, or additional features
- Scalability costs if expanding to multiple displays
Solutions like Rocket Alumni Solutions offer purpose-built platforms for school recognition that balance powerful features with user-friendly management. For broader context on software selection, see our comprehensive guide on touchscreen kiosk software for 2025.
Step 4: Installation Process
Professional installation ensures optimal performance, appearance, and longevity.
Pre-Installation Preparation
Complete these steps before installation day:
- Electrical Work: Install dedicated outlet near mounting location if needed
- Network Infrastructure: Run ethernet cable or verify strong Wi-Fi signal strength
- Wall Preparation: Ensure mounting surface can support display weight (typically 40-100 lbs)
- Access Clearance: Arrange for unrestricted access during installation window
- Component Delivery: Confirm all hardware components have arrived and been inspected
- Installation Team: Coordinate with professional installers or qualified technical staff
Physical Installation Steps
1. Mount Installation:
- Mark mounting location based on viewing height (center of screen typically 55-60" from floor)
- Locate wall studs and use appropriate mounting hardware for wall type
- Level mount carefully before securing permanently
- Test mount stability with full display weight
2. Display Mounting and Connection:
- Carefully mount display to installed bracket (two-person operation recommended)
- Connect power cable through cable management system
- Connect video and USB cables between display and media player
- Secure all cables to prevent disconnection or damage
3. Network and Power Configuration:
- Connect ethernet cable or configure Wi-Fi connection
- Plug power into surge-protected outlet or UPS backup system
- Test power and network connectivity before proceeding
- Cable conceal wiring using conduit, raceways, or in-wall routing
4. Media Player Setup:
- Mount media player securely behind display or in lockable enclosure
- Connect all cables (power, video, USB for touch, network)
- Power on system and verify all connections function properly
Software Installation and Configuration
Once hardware is physically installed, configure the software environment:
Operating System Setup:
- Install or update operating system to latest stable version
- Configure automatic login to prevent startup interruptions
- Disable system notifications, pop-ups, and automatic updates during operating hours
- Set power management to prevent sleep mode during display hours
Kiosk Mode Configuration:
- Enable kiosk mode to lock down operating system and prevent user access
- Disable right-click, keyboard shortcuts, and task switching
- Set content management software to launch automatically at startup
- Configure touch input calibration for accurate response
Content Management Software Installation:
- Install content management application following vendor instructions
- Configure network settings and connect to cloud management platform
- Set up administrator accounts and access credentials
- Upload initial content and configure display categories
Testing and Quality Assurance:
- Test all touch functionality and navigation pathways
- Verify content displays correctly at appropriate resolutions
- Check audio output if using video content
- Simulate typical user interactions to identify issues
- Monitor system stability over several hours of continuous operation
Step 5: Content Development and Organization
Creating engaging, well-organized content is essential for user engagement:
Content Collection
Gather photos, videos, statistics, and biographical information

Organization Structure
Create logical categories by sport, year, award type, or athlete
Content Formatting
Optimize images, create consistent layouts, and format text
Content Upload
Upload content through management system and organize by category
Review and Refine
Test navigation, verify accuracy, and optimize user experience
Content Best Practices
Photo Requirements:
- Minimum resolution: 1920x1080 pixels for full-screen display
- High-quality action shots showcasing athletic achievement
- Individual portraits with consistent lighting and backgrounds
- Team photos properly cropped and optimized for digital display
Biographical Information:
- Athlete name, graduation year, and sport
- Key achievements, records, and awards
- Statistics relevant to their accomplishments
- College commitment or post-graduation path when applicable
Organizational Strategies:
- Sport-specific sections for easy navigation
- Year-based organization for historical browsing
- Award type categories (state champions, all-conference, school records, etc.)
- Search functionality for finding specific athletes
For schools developing comprehensive content strategies, our article on content strategies for digital recognition provides detailed planning guidance.
Step 6: Training and Launch
Staff Training Requirements
Successful long-term operation requires training key personnel on content management:
Essential Training Topics
Basic Operations
- Logging into content management system
- Adding new achievements and athletes
- Uploading and optimizing photos
- Organizing content into categories
- Preview and publishing workflows
Advanced Management
- Troubleshooting common display issues
- Managing user accounts and permissions
- Scheduling content for future display
- Accessing analytics and usage reports
- Performing software updates when required
Training Delivery Methods:
- Live in-person training session during installation
- Recorded video tutorials for reference and future staff
- Written documentation with step-by-step instructions
- Ongoing vendor support via phone, email, or chat
- Periodic refresher training as software updates
Launch and Promotion
Maximize impact by properly promoting your new digital trophy case:
- Announcement: Communicate the new installation through school newsletters, social media, and announcements
- Grand Opening: Consider a ribbon-cutting ceremony or special event to unveil the display
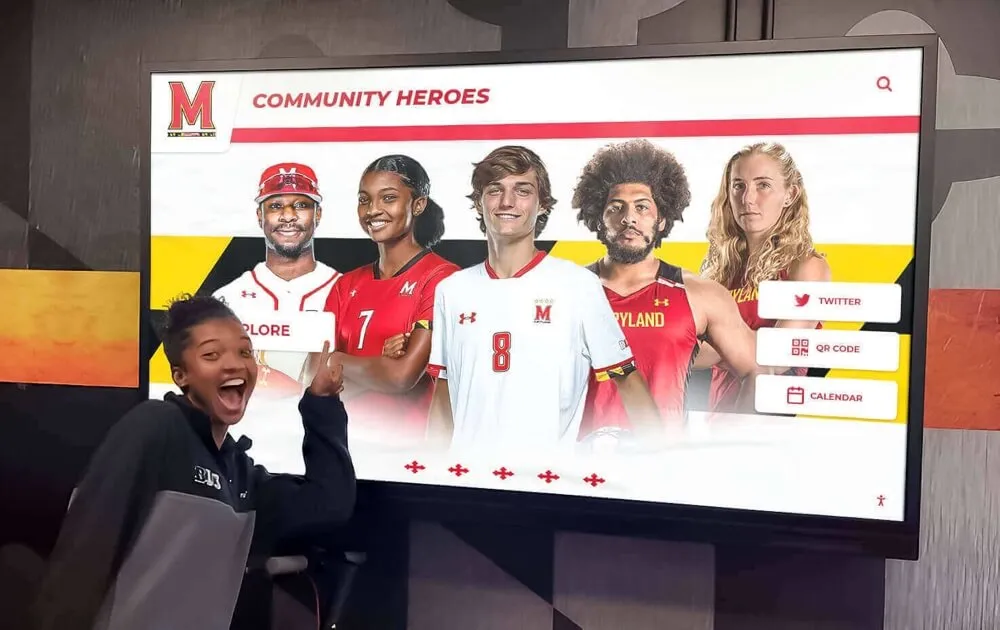
- Student Engagement: Invite athletic teams to see their accomplishments featured digitally
- Media Coverage: Invite local media to showcase your school’s investment in recognition technology
- Alumni Communication: Notify alumni that their achievements are now featured digitally
Step 7: Ongoing Maintenance and Management
Routine maintenance ensures reliable, long-term operation:
- Screen Cleaning: Weekly cleaning with microfiber cloth and appropriate screen cleaner
- Content Updates: Regular addition of new achievements, typically weekly or monthly
- Software Updates: Install system and software updates during off-hours
- Hardware Inspection: Monthly check of all connections, cables, and physical condition
- Usage Monitoring: Review analytics to understand engagement and optimize content
- Backup Procedures: Regular backup of content and system configurations
For detailed maintenance guidance, see our article on digital hall of fame maintenance and troubleshooting.

Troubleshooting Common Issues
Display Not Turning On:
- Verify power connection and outlet functionality
- Check circuit breaker or power strip
- Inspect power button and verify it’s in “on” position
- Test with different power cable if available
Touch Functionality Not Working:
- Verify USB touch cable connection at both ends
- Restart media player and display
- Recalibrate touch screen through operating system settings
- Check for software conflicts or driver issues
Content Not Updating:
- Verify network connectivity (ethernet or Wi-Fi)
- Check internet connection and bandwidth
- Confirm changes were saved and published in content management system
- Clear browser cache or app cache if using web-based display
Display Turns Off Unexpectedly:
- Check power management settings to prevent sleep mode
- Verify schedule settings aren’t turning off display
- Test power supply and connections for intermittent issues
- Check for overheating issues requiring improved ventilation
Maximizing Return on Investment
Digital trophy cases offer significant benefits beyond basic recognition. Understanding the practical implications of athletic recognition on student performance helps justify and maximize your investment.
Measuring Success
Track these metrics to demonstrate value:
- Engagement Rates: Analytics showing how many visitors interact with display
- Content Views: Most popular athletes, sports, or achievements being viewed
- Social Media Impact: Photos and shares of the digital display
- Alumni Engagement: Increased alumni interest and connection to school
- Cost Savings: Reduced spending on physical plaques, engraving, and case maintenance
Expanding Your Digital Recognition Program
Once your initial trophy case proves successful, consider expansion:
- Multiple Locations: Install additional displays in other buildings or areas
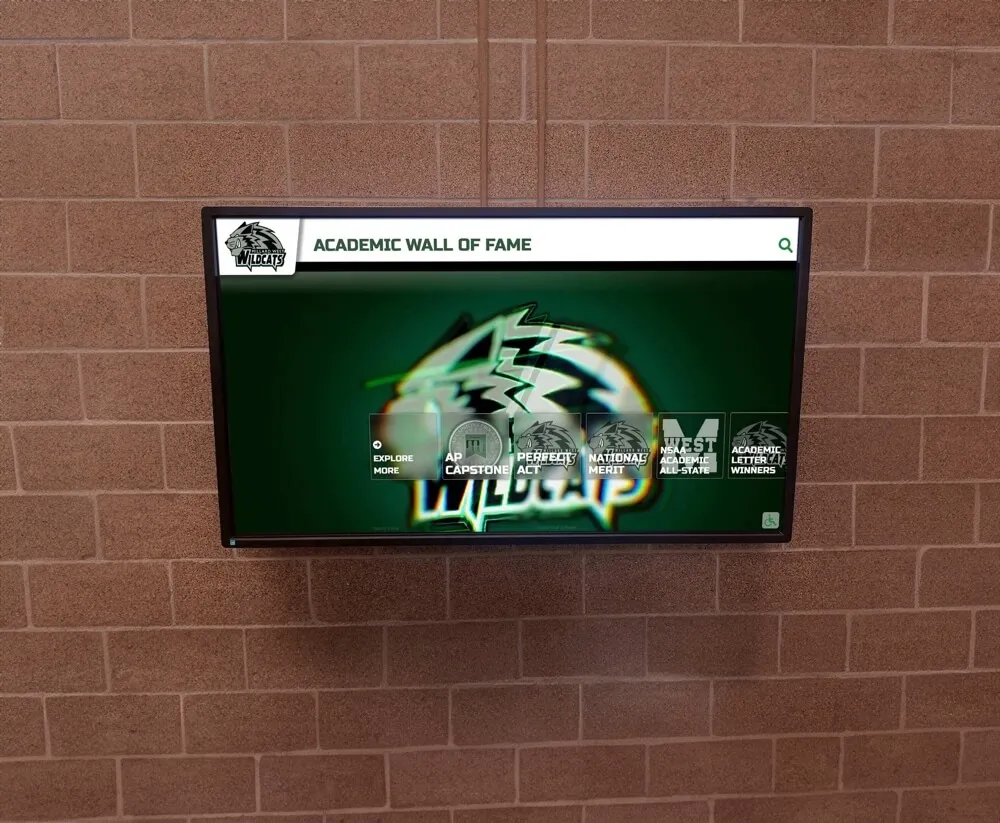
- Academic Recognition: Expand beyond athletics to showcase academic achievements and academic excellence
- Staff Recognition: Create sections highlighting faculty achievements and staff recognition
- School History: Incorporate historical photos and timeline of school milestones
- Online Integration: Extend display content to school website for alumni access
Integration with Other Recognition Programs
Digital trophy cases work synergistically with other recognition initiatives:
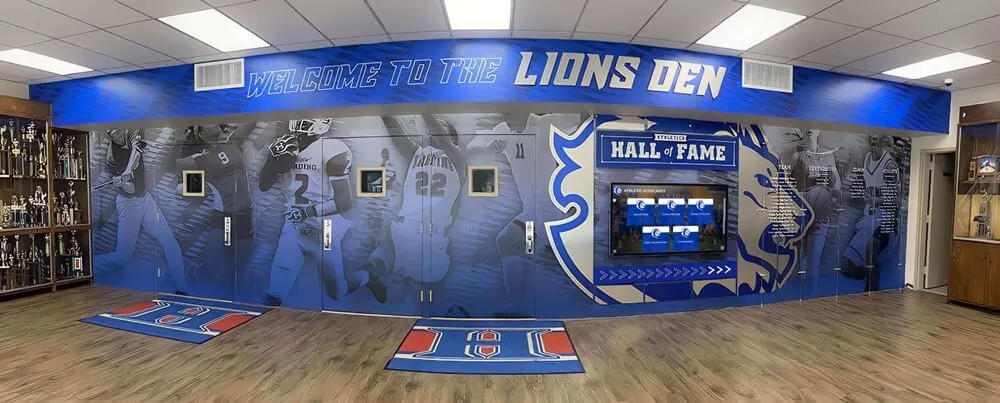
- Digital Record Boards: Complement your trophy case with sport-specific digital record boards
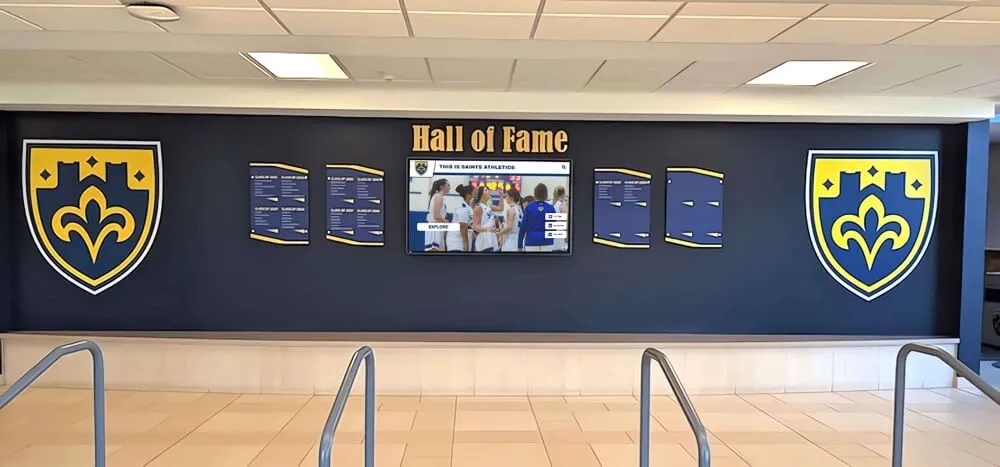
- Hall of Fame Programs: Create dedicated hall of fame sections within your display system
- Donor Recognition: Include recognition for boosters, donors, and supporters when appropriate
- Interactive Wayfinding: Expand to include campus maps and information kiosks
Choosing the Right Vendor and Partner
Selecting the right technology partner significantly impacts your project's success. Look for vendors offering comprehensive solutions that include hardware selection guidance, software platforms designed specifically for school recognition, professional installation services, thorough training programs, and responsive ongoing support.
Companies like Rocket Alumni Solutions specialize in school recognition technology, offering integrated systems that combine user-friendly content management with reliable hardware and professional support. Their platforms are specifically designed for educational environments, balancing powerful features with ease of use for non-technical staff.
When evaluating vendors, request demonstrations, speak with current customers at similar schools, review training and support offerings, understand total cost including ongoing fees, and verify hardware warranties and software update policies.
Conclusion
Setting up a touchscreen electronic trophy case transforms how schools recognize athletic achievement, creating an engaging, dynamic platform that honors accomplishments while eliminating the limitations of traditional physical trophy cases. By following this comprehensive guide—from initial planning through installation, content development, and ongoing maintenance—schools can successfully implement digital recognition systems that serve their communities for years to come.
The investment in digital trophy case technology delivers measurable returns through cost savings on physical plaques and maintenance, enhanced student and alumni engagement, unlimited recognition capacity, and a modern image that reflects your school’s commitment to innovation. As digital recognition technology continues evolving, early adopters position themselves at the forefront of school recognition programs.
Whether you’re replacing an outdated trophy case, supplementing existing recognition displays, or creating an entirely new recognition program, touchscreen electronic trophy cases offer the flexibility, functionality, and visual impact needed to properly celebrate student achievement in today’s digital age.