Key Takeaways
Discover hall of fame exhibit ideas that transform inductee stories into compelling walkthrough displays—covering story flow, artifact curation, timelines, photos, and touchscreen extensions.
The strongest hall of fame exhibit ideas share one organizing principle: each inductee’s story should guide visitors through a clear beginning, middle, and lasting impact—rather than presenting a flat list of names and statistics. Schools that plan exhibit flow around narrative arcs, curate authentic artifacts, anchor the space with a historical timeline, and extend the experience through touchscreen displays consistently produce recognition spaces that feel alive years after opening day.
This guide walks school administrators, athletic directors, and advancement teams through the full exhibit planning process—from story architecture to artifact sourcing to the digital layer that transforms a hallway wall into an interactive archive.
Table of Contents
- What Makes a Hall of Fame Exhibit Work
- Plan the Story Flow: 7 Steps
- Artifact and Photo Curation
- Timeline Displays: Anchoring Institutional History
- Inductee Profile Design
- Touchscreen Extensions: The Digital Layer
- Space and Layout Ideas
- Common Exhibit Planning Mistakes
What Makes a Hall of Fame Exhibit Work
A hall of fame exhibit fails when it treats recognition as a filing task—names in frames, years in columns, statistics on plaques. It succeeds when it treats recognition as storytelling, giving every visitor a reason to slow down, look closer, and leave with something they didn’t know before.
Three elements separate exhibits that produce engagement from those that produce indifference:
Narrative structure. Visitors need a sense that they’re moving through something—a history, a tradition, a progression—not scanning a directory. Exhibits with a clear start, middle, and end make individual inductees legible within a larger institutional story.
Authentic artifacts. A jersey, a photograph taken courtside, a team roster scrawled on a whiteboard—physical objects that come directly from the moments being recognized carry an emotional weight that reproduction posters and engraved text cannot match.
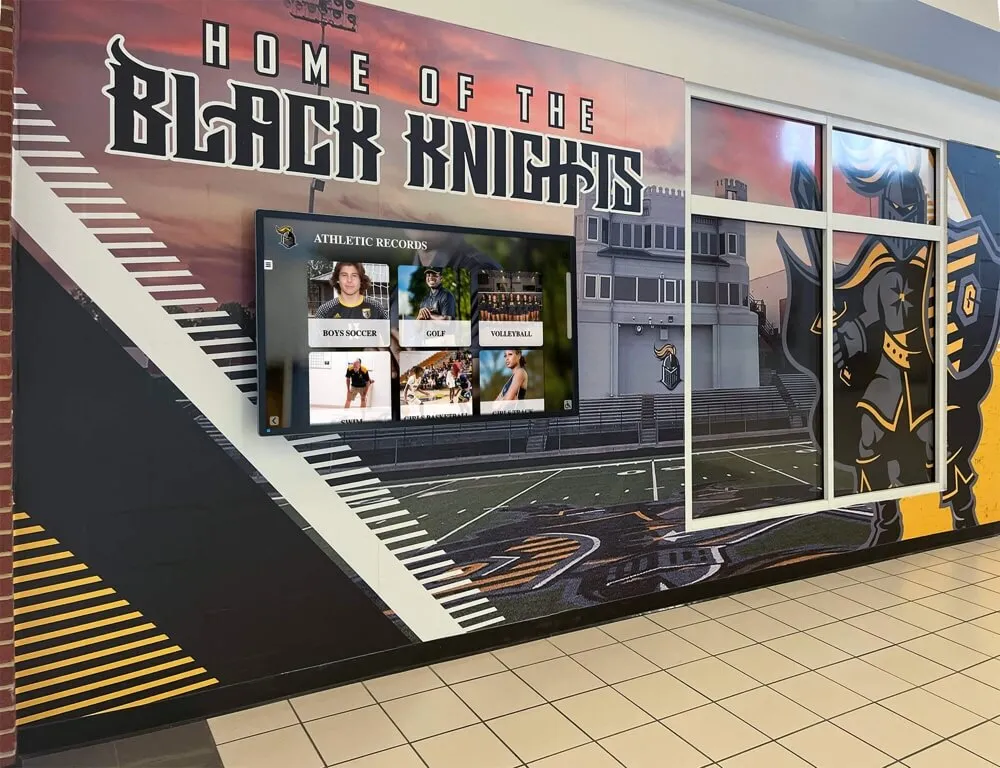
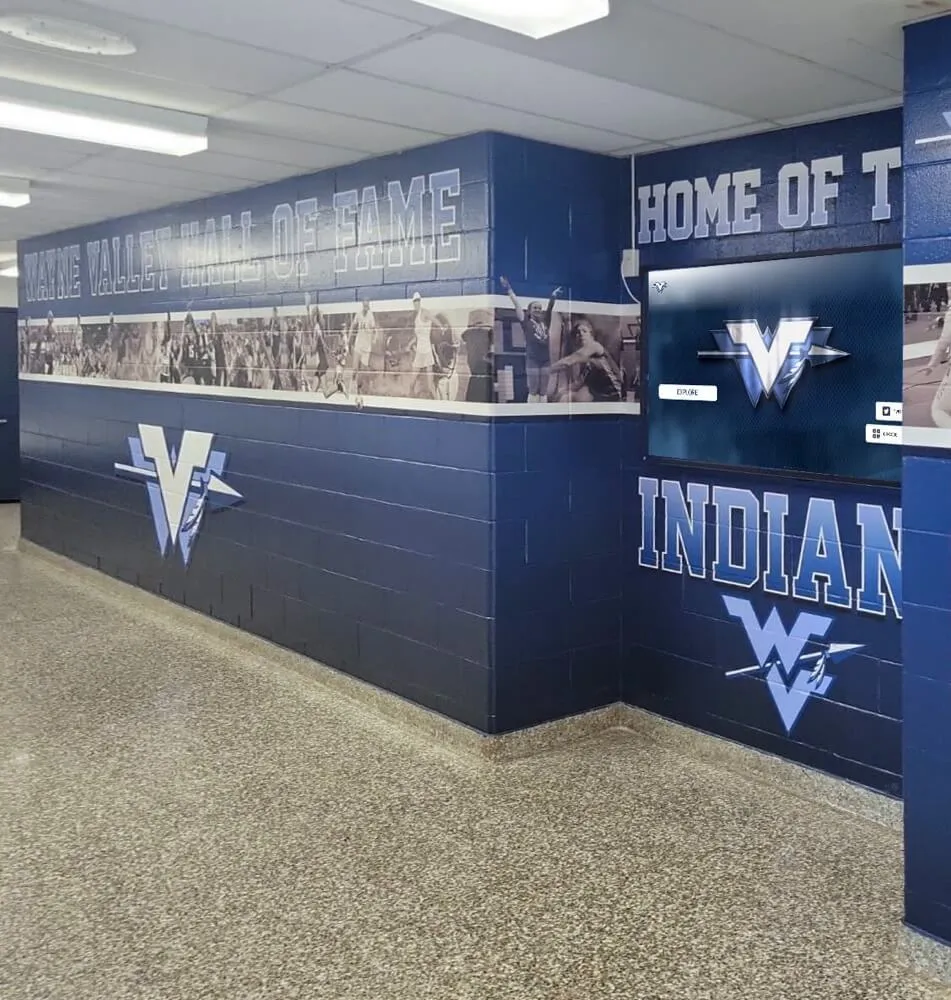
A discoverable depth layer. Physical walls have finite space. The inductees who shaped a school’s athletic or academic history often have twenty years of context worth exploring. A digital touchscreen adjacent to the physical display gives curious visitors the depth they want without cluttering the wall with text.
Schools building new hall of fame programs from the ground up will find a comprehensive foundation in the athletic hall of fame complete guide for school administrators, which covers selection criteria, governance, and recognition formats before exhibit design begins.
Plan the Story Flow: 7 Steps
Story flow is the sequence a visitor experiences as they move through the exhibit space. Poor flow turns the hall of fame into a census. Strong flow turns it into a guided tour of the institution’s defining moments.
Step 1: Define the visitor’s starting point. Where do visitors physically enter the exhibit? In a corridor, they typically enter from one end. In a lobby, they may approach from any direction. Map the entry point before making any design decisions—everything flows from where the visitor first stands.
Step 2: Establish the narrative arc for each inductee. For each person or team in the exhibit, identify three story beats: the context they entered (what the program or era was like before them), the achievement they produced (records, championships, milestones, impact), and the legacy they left (what changed at the school because of them). These three beats become the structure for every profile panel in the exhibit.
Step 3: Group inductees by era or theme, not alphabet. Alphabetical organization is efficient for administrators and invisible to visitors. Era-based or sport-based grouping gives visitors a sense of walking through time—from the program’s founding years through its growth into what it is today. Thematic clusters (coaches who built the program, championship teams, athletes who went on to professional careers) create natural narrative chapters in the exhibit’s overall arc.
Step 4: Design each exhibit section to hold one chapter. Each section of the wall or corridor should cover one coherent period or theme. A visitor entering one section should understand immediately what connects the inductees in that cluster. A brief section header—“The Championship Era: 1988–2002” or “Building the Foundation: The Coaching Lineage”—orients visitors and gives the section a narrative identity beyond the individual profiles.
Step 5: Place the timeline before the profiles. A historical timeline positioned at the corridor’s entrance or exhibit’s opening wall gives visitors the skeleton of institutional history before they encounter the individuals who populated it. Visitors who understand the school’s athletic history in broad strokes are better equipped to appreciate what individual inductees accomplished within that context.
Step 6: Design for variable dwell time. Some visitors will spend three minutes in the exhibit. Others will spend thirty. Design for both. Wall panels should deliver the essential story—name, achievement, defining moment—in under sixty seconds of reading. The digital touchscreen at the exhibit’s center or end point serves visitors who want the full archive. Neither audience should feel shortchanged by the exhibit’s design.
Step 7: End with a forward-facing element. The last thing a visitor sees in a hall of fame exhibit should connect the past to the present. A panel featuring this year’s inductees alongside the current team’s roster, a display of active records that inductees set and that current athletes are approaching, or a message from current coaches about what the hall of fame tradition means—any of these gives the exhibit a sense of ongoing story rather than completed archive.
Artifact and Photo Curation
Artifacts are the evidence that inductee stories actually happened. They ground abstract achievement in physical reality and give visitors something to look at that is genuinely irreplaceable.

What to collect and display:
| Artifact Type | Best Use in the Exhibit | Sourcing Approach |
|---|---|---|
| Game-worn jersey | Anchors an individual inductee’s panel; creates immediate visual identity | Contact the inductee directly; athletic department archives |
| Championship trophy or medal | Represents team achievement; strong centerpiece for an era section | Trophy room inventory; booster club storage |
| Handwritten play diagram or game notes | Shows the coach’s craft; humanizes strategy | Retiring coaches; family collections |
| Starting lineup card or tournament bracket | Specific game artifact with immediate historical context | School athletic archives; local newspaper morgues |
| Photograph from a defining moment | Most versatile; works in any section of the exhibit | School yearbook archives; local newspapers; inductee family collections |
| Newspaper front page or sports section | Provides third-party validation of achievement; adds period feel | Local library newspaper archive; school library |
| Letter of intent or scholarship offer | Marks the transition from high school to next level | Inductee personal collection |
| Record board (original or reproduction) | Shows where an inductee stood in school history | Athletic department records |
Sourcing artifacts from inductees. Most inductees and their families hold materials the school has never seen—photographs taken from the stands, letters from coaches, small trophies from individual competitions that never made it into the school’s trophy case. A brief outreach letter to inductees and their families, sent during the induction nomination process, surfaces materials that the athletic department could never find on its own. Be specific in the request: “Do you have any photographs, programs, or memorabilia from your time as an athlete here?” produces better responses than a general ask.
Display and preservation. Physical artifacts in a hall of fame exhibit require basic archival protection. UV-protective glass or acrylic fronts on display cases prevent fading. Acid-free mounting materials prevent deterioration of paper documents and photographs. Label each artifact with a card that explains what it is and why it’s significant—a jersey without context is just a jersey; a jersey with a caption that reads “Worn by Marcus Hayes during the 1994 state championship, the first in school history” is a relic.
When originals aren’t available: reproduction strategy. Not every inductee has a game-worn jersey or a championship trophy in storage. For inductees whose physical artifacts are unavailable, high-quality photographic reproductions mounted on foam board or aluminum offer a credible alternative. The key is committing to quality: a pixelated reproduction scanned from a yearbook at 72 DPI undermines the exhibit’s professionalism. If a high-resolution original photo doesn’t exist, a well-designed profile panel with a formal portrait photograph is more dignified than a low-quality action shot.
Timeline Displays: Anchoring Institutional History
A well-designed timeline is the exhibit’s skeleton. It gives visitors a map of the institution’s history before they encounter individual inductees, creating the context that makes individual achievements legible.
What belongs on the timeline:
- Program founding year and founding coach
- First conference championship or major tournament appearance
- Significant facility milestones (new gymnasium, field renovation, dedicated hall of fame space)
- State championships or national recognitions
- Record-setting seasons or individual milestones
- Significant coaching transitions
- Induction class years
Physical timeline formats. A horizontal timeline printed on vinyl and mounted at eye level across a corridor wall is the most common physical format—and for good reason. It’s immediately legible, scalable to any corridor length, and updatable through vinyl replacement. Vertical timelines work in alcoves or lobby spaces where horizontal wall runs aren’t available. Three-dimensional timelines—where significant years are marked by protruding panels with artifact display boxes—add depth and tactility to the exhibit’s most important moments.
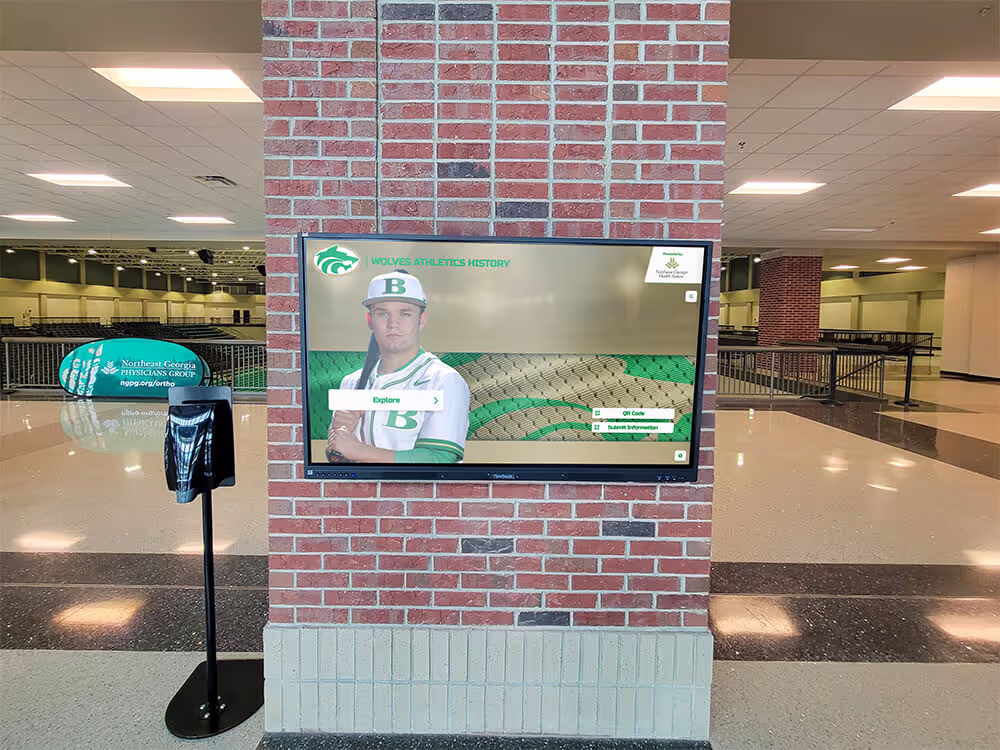
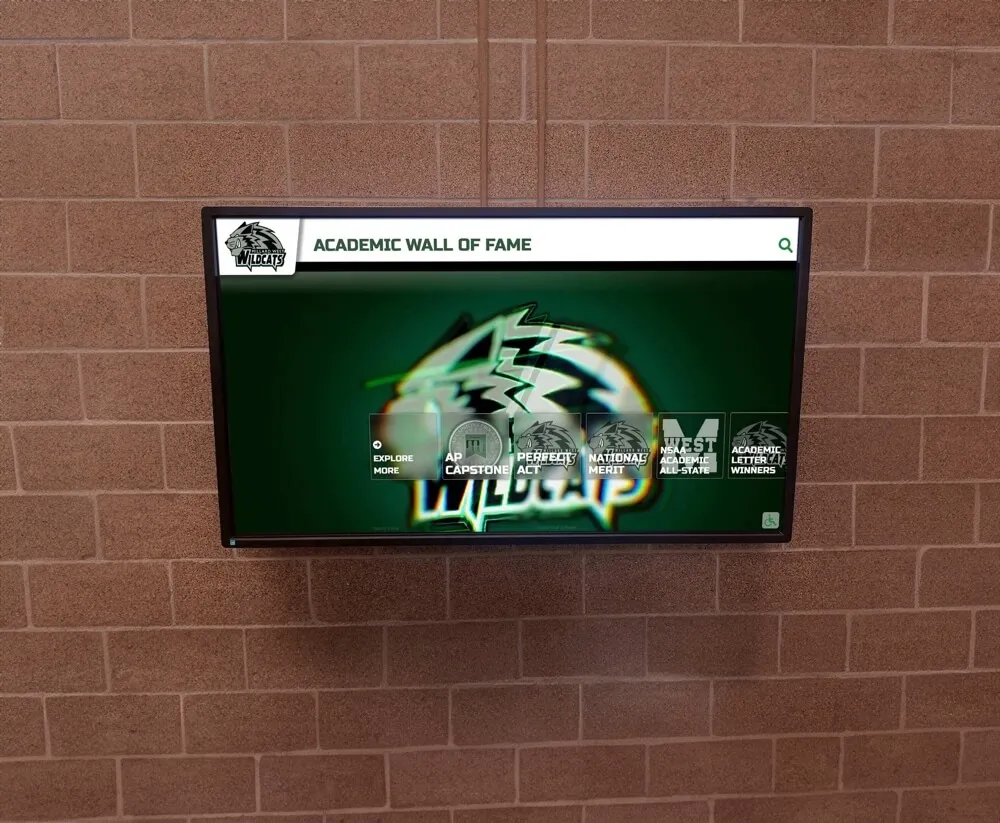
Digital timelines. A touchscreen timeline allows a visitor to tap any year and immediately see the inductees, team records, and photographs from that period. This format handles density better than any physical version: a year with seven inductees and a championship team can present all of that information without requiring wall space that most schools don’t have. Digital timelines also update without physical renovation—adding a new induction class to the timeline is a content management task, not a construction project.
Schools using digital platforms for their hall of fame exhibits can connect the timeline directly to inductee profiles, championship records, and photo archives in a single interactive experience. This is one of the clearest functional advantages that digital hall of fame software provides over purely physical exhibit designs.
Inductee Profile Design
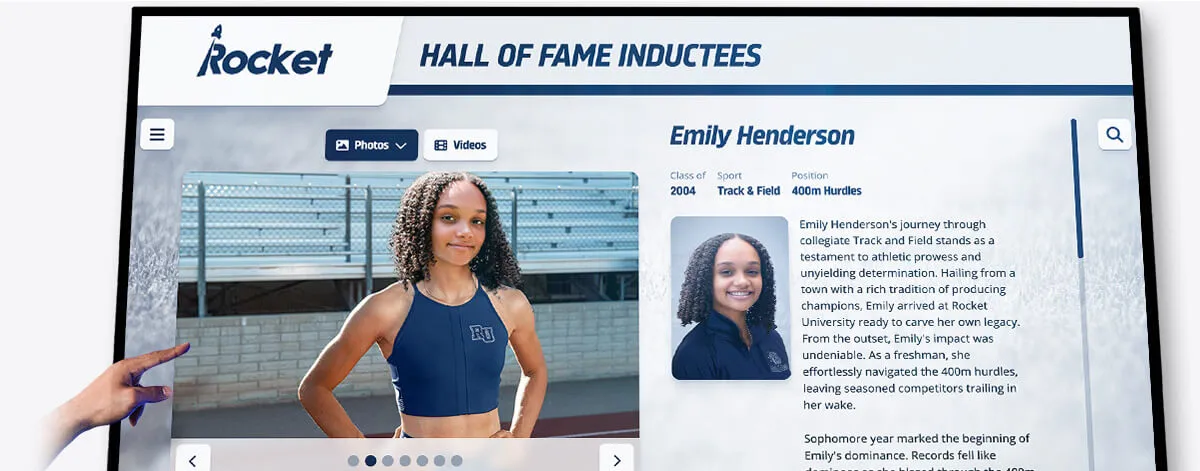
The inductee profile panel is the exhibit’s basic unit. Every design decision—layout, content hierarchy, photograph size, typography—shapes whether a visitor pauses and reads or glances and moves on.
Profile panel content hierarchy:
A well-designed profile panel presents information in reading priority order. Visitors scanning a wall at walking pace see the largest visual element first, then the largest text, then progressively smaller detail. Design to that sequence:
- Photograph — largest visual element; should feel like a portrait, not a driver’s license photo
- Name — large enough to read from five feet away
- Sport or role and years — immediately below the name; answers “who is this person and when?”
- Defining achievement — one sentence that explains why this person is in the hall of fame
- Career summary — two to four sentences that give context and a specific story
- Key statistics or records — a supporting data line, not the lead
Photograph selection. The photograph should show the inductee in action or in a moment of genuine emotion—a celebration, a coaching moment, a competitive concentration—rather than a posed portrait alone. Where action photography isn’t available, a formal portrait is appropriate, but pair it with an artifact or secondary image where possible to give the panel visual texture. Panel photographs at a minimum of 300 DPI ensure sharp reproduction at typical panel sizes (8x10 to 11x14 inches).
Profile panel format comparison:
Physical Panel (Traditional)
Best for: Permanent wall installations, formal recognition environments
Content capacity: 150–300 words, 1–2 photographs, basic stats
Update process: Reprint and reinstall; typically 2–4 week lead time
Depth available: What fits on the panel — no deeper layer
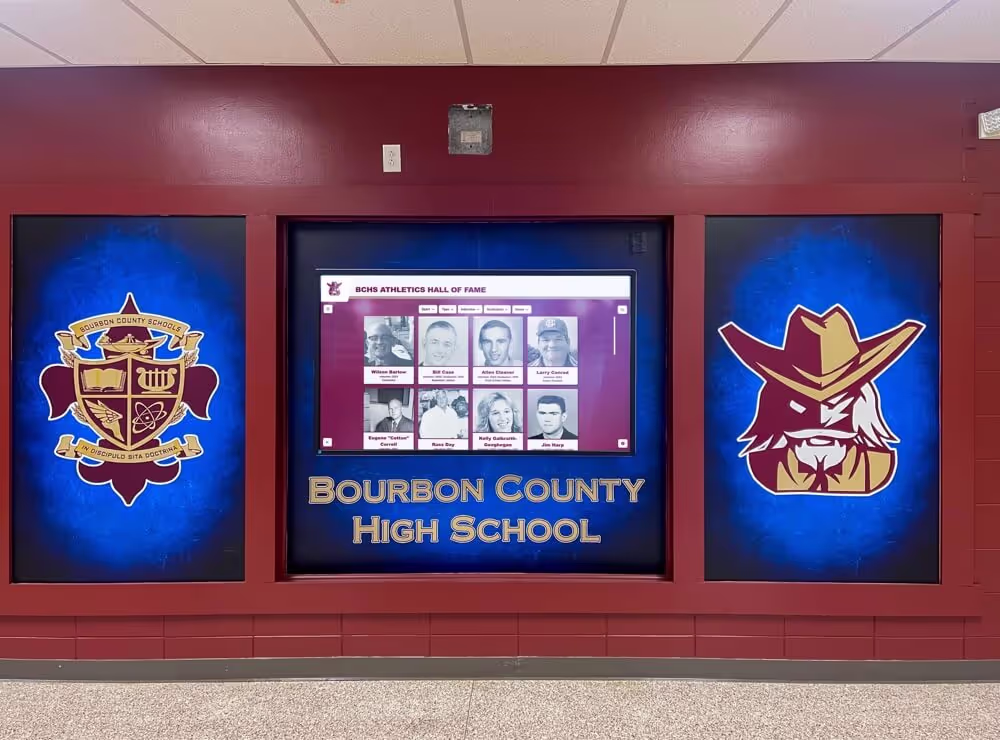
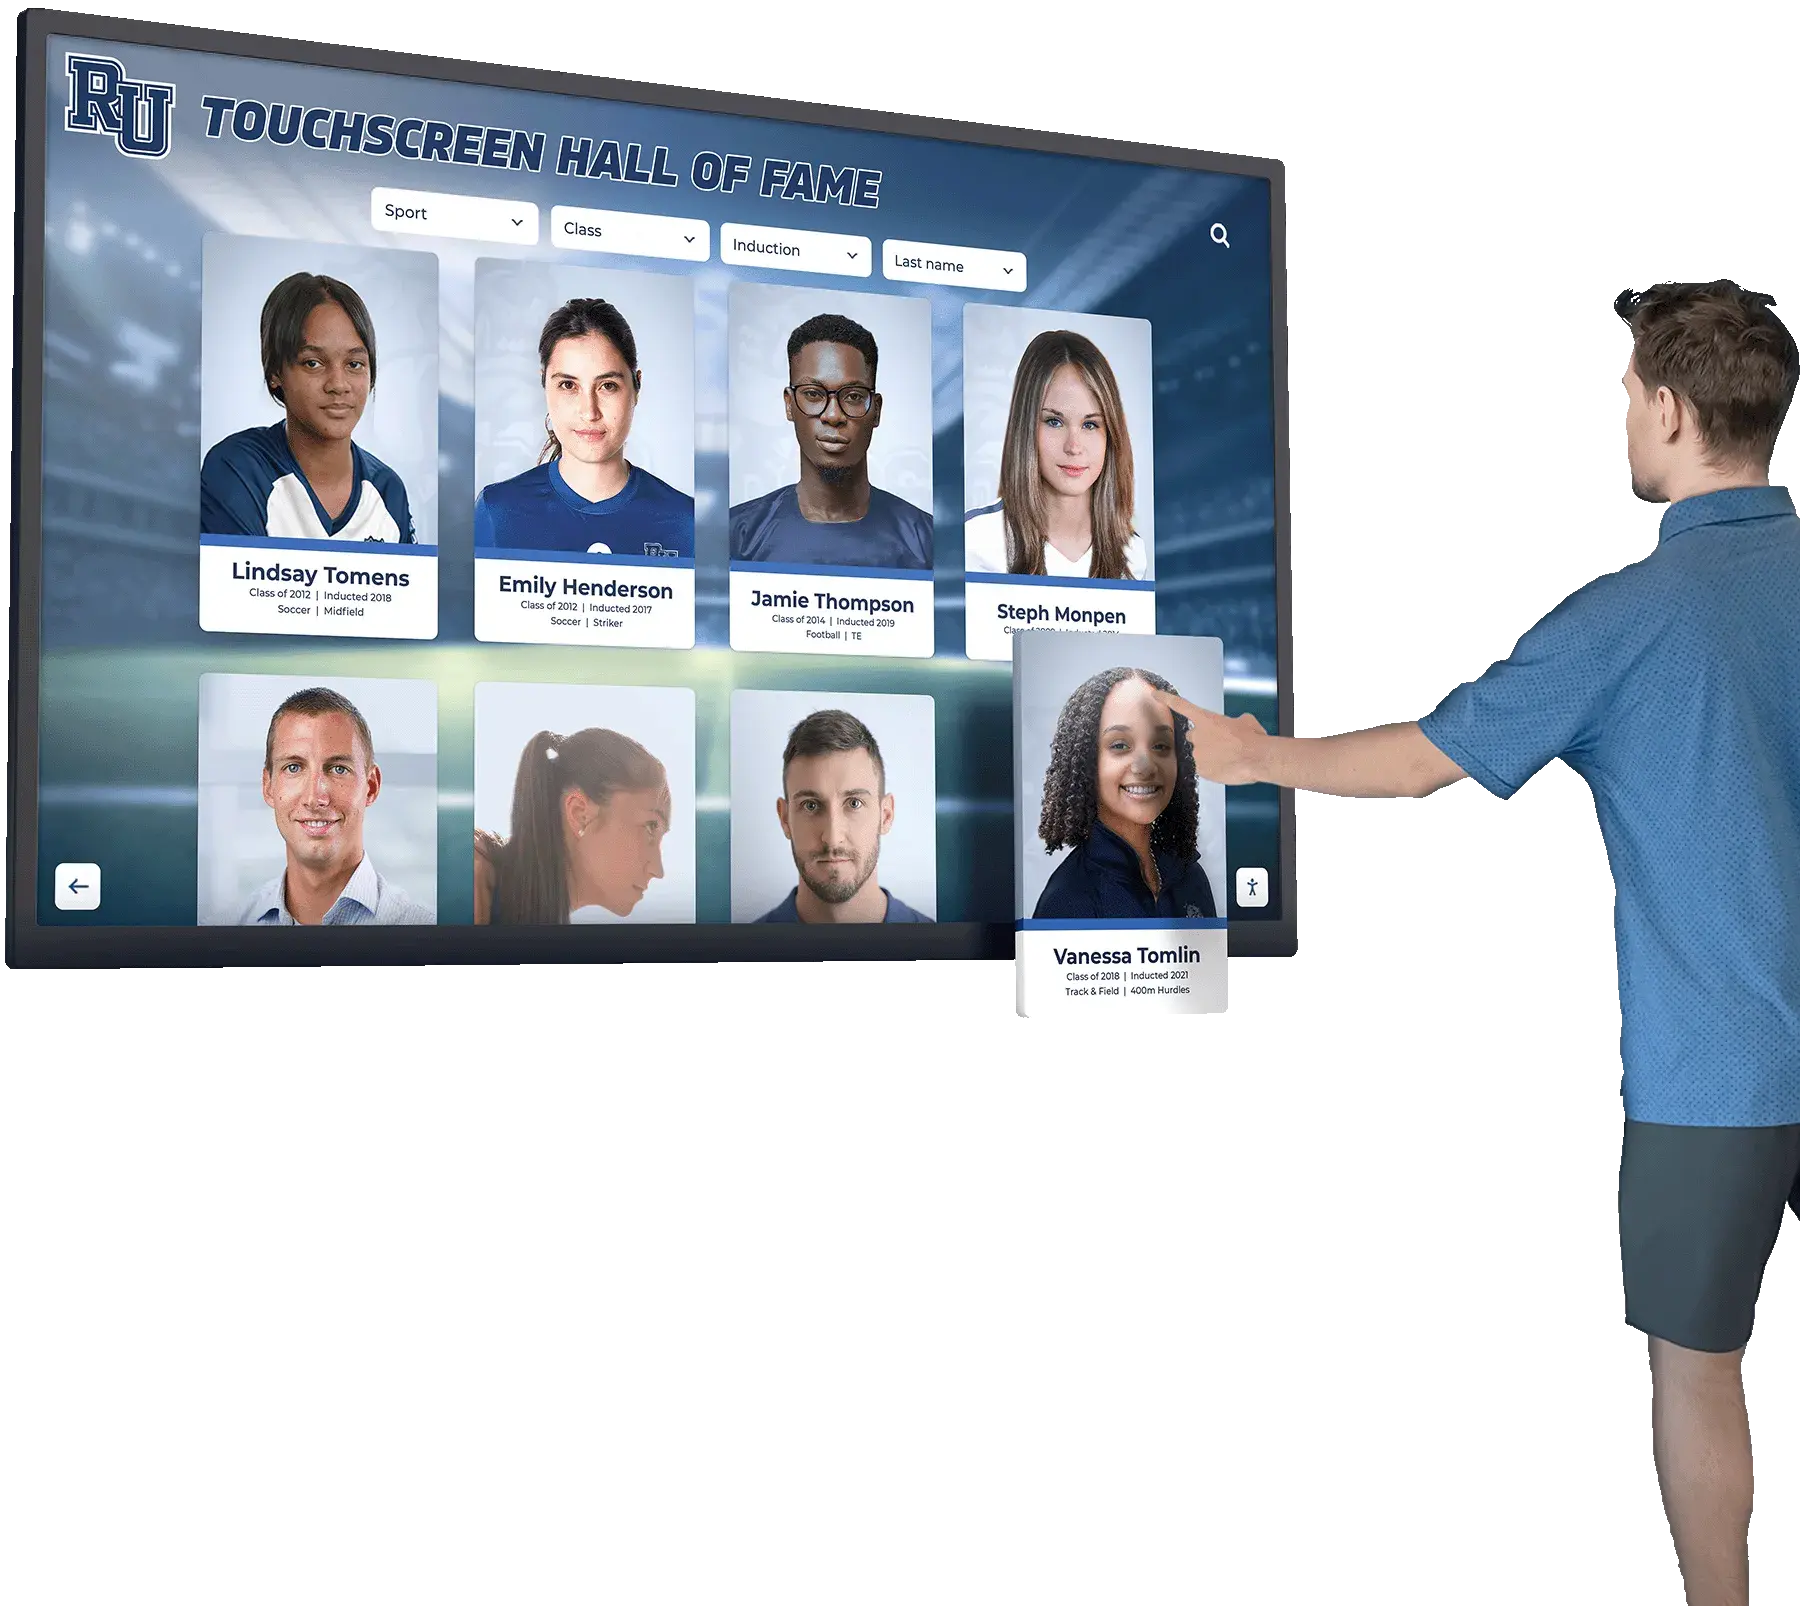
Digital Profile (Touchscreen)
Best for: Deep storytelling, video tributes, searchable archives
Content capacity: Unlimited — full bios, full stat lines, photo galleries, video
Update process: Content management system; minutes from any computer
Depth available: As much as the school can create and maintain
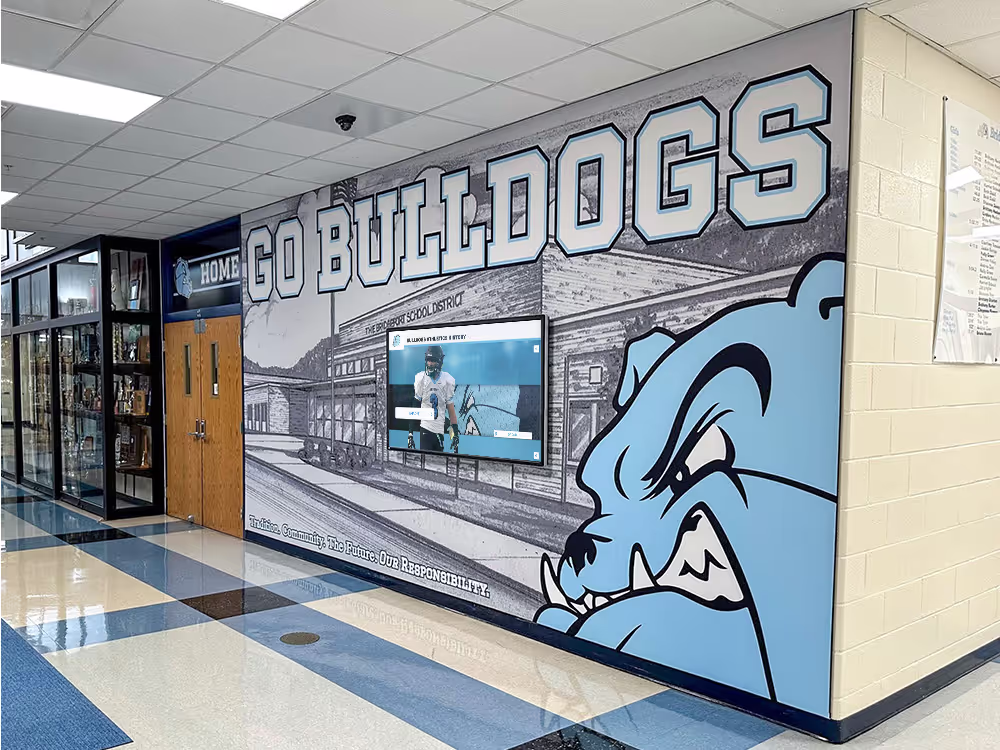
Hybrid Panel (Physical + QR)
Best for: Schools adding digital depth to existing physical installations
Content capacity: Physical panel carries the essentials; QR links to full digital profile
Update process: Update digital profile online; physical panel stays unchanged
Depth available: Full digital archive accessible via smartphone
Plaque Wall (Engraved)
Best for: Formal, traditional recognition environments
Content capacity: Name, years, achievement — minimal text
Update process: New plaque ordered and installed; 4–8 week lead time, ongoing cost
Depth available: What's engraved — no digital extension without separate installation
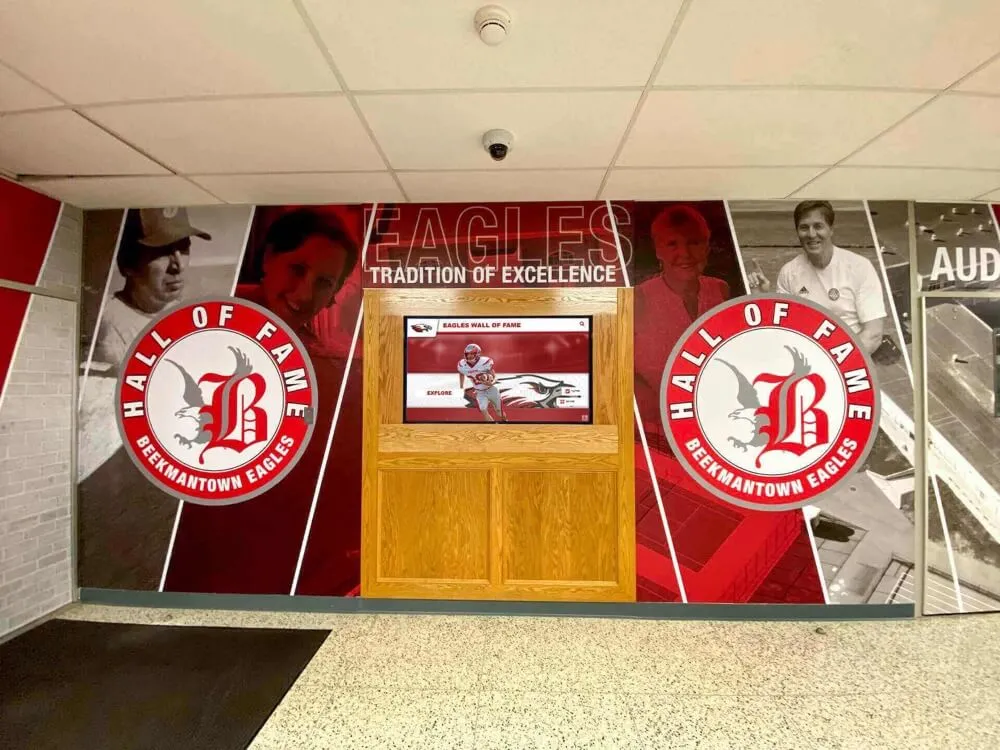
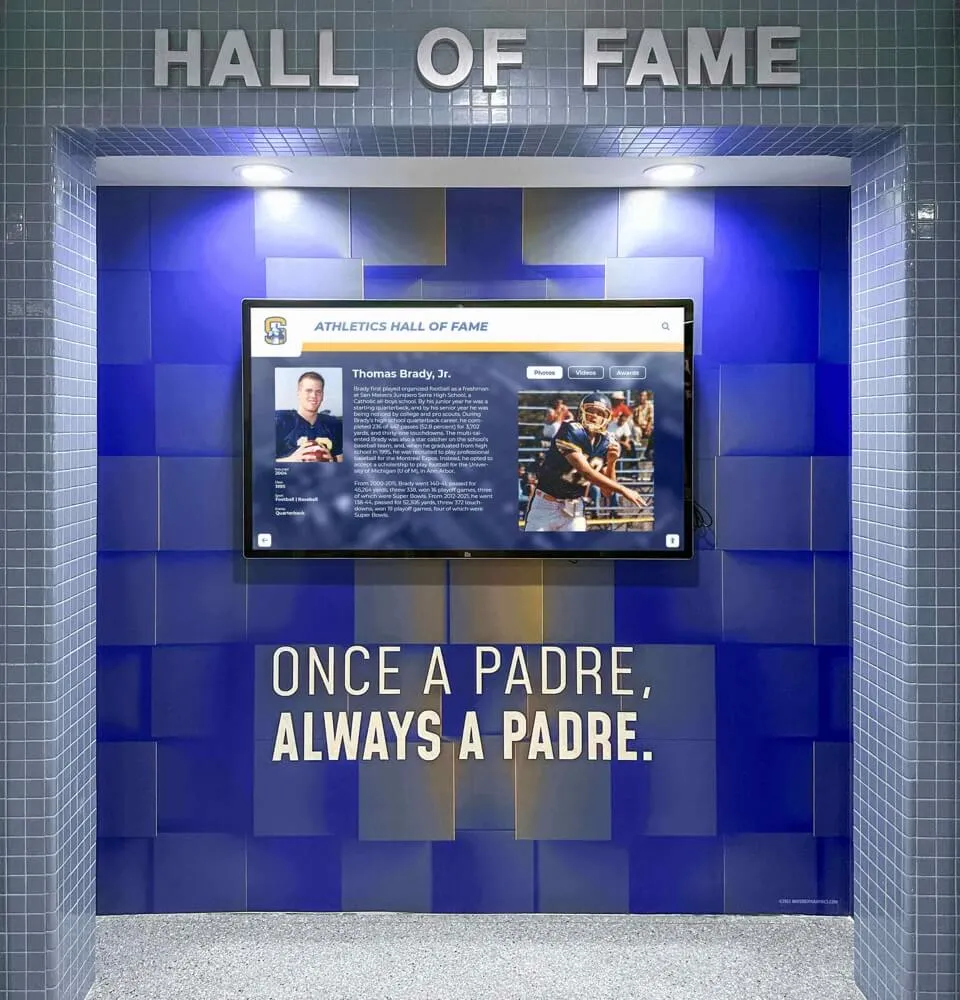
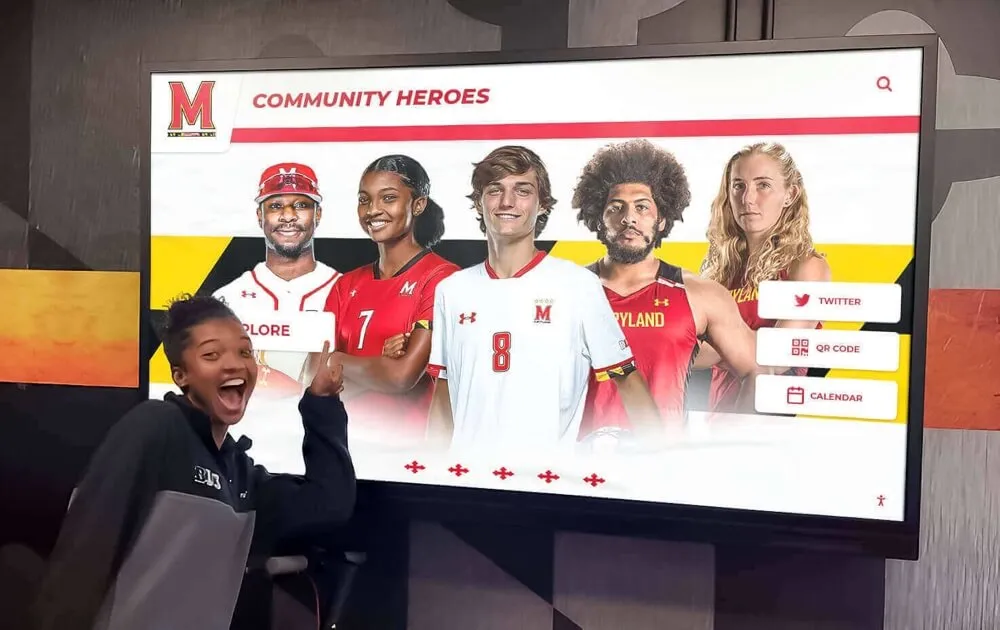
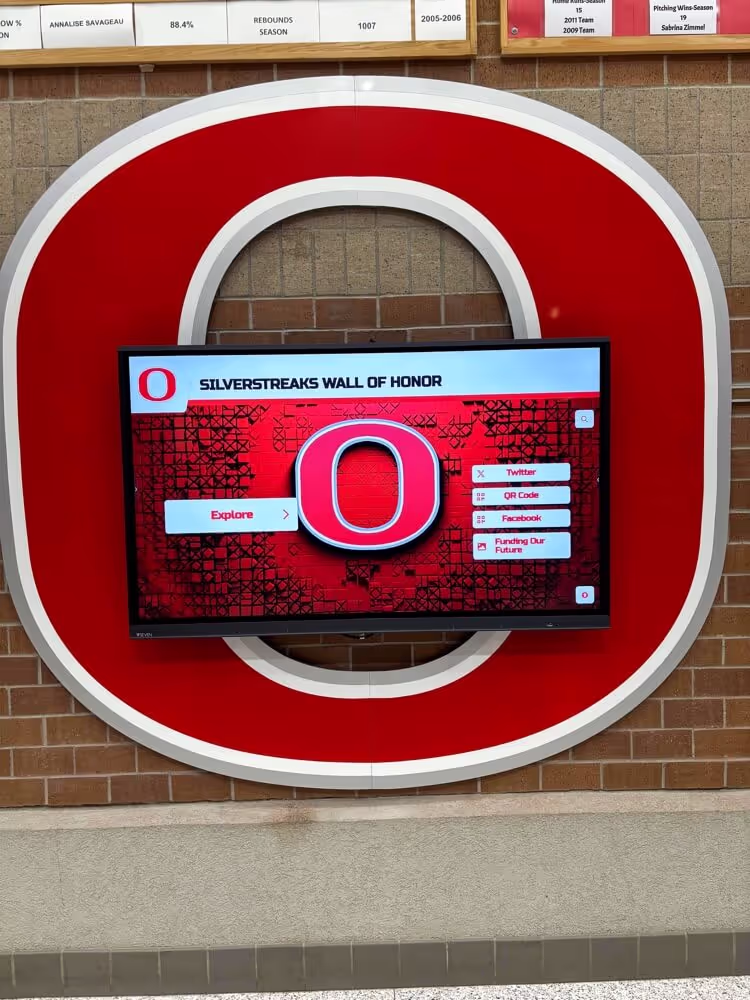
Touchscreen Extensions: The Digital Layer
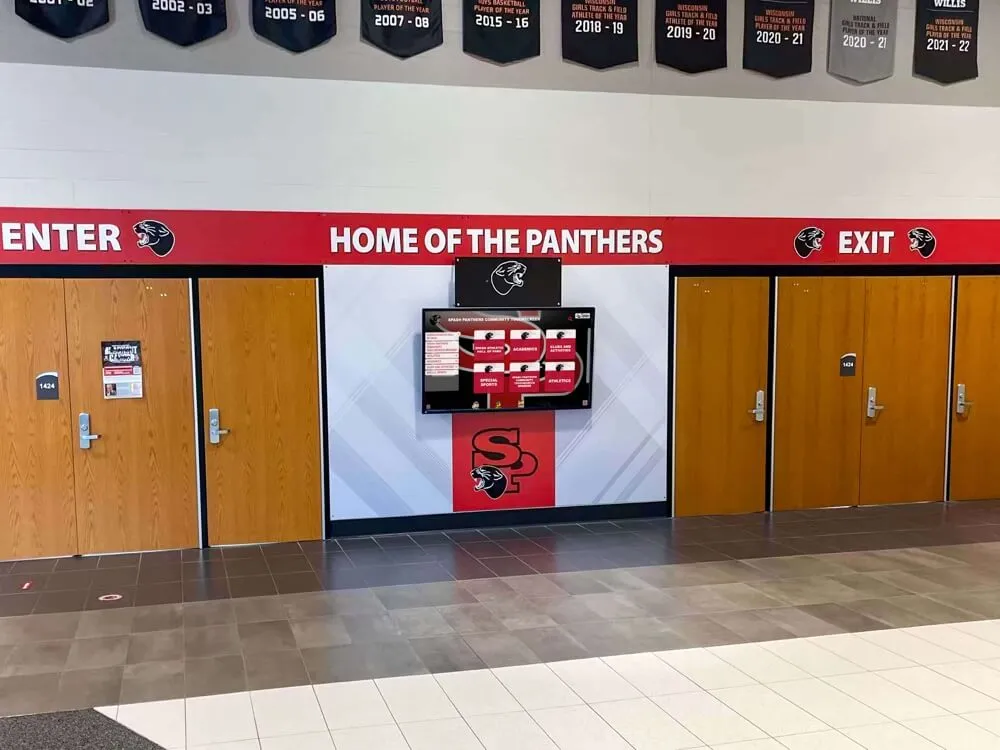
Physical exhibit walls have two fundamental constraints: they run out of space, and they can’t play video. A touchscreen kiosk positioned within or adjacent to the physical exhibit solves both problems without requiring a physical renovation every time a new induction class is added.
What the digital layer carries that the wall cannot:
- Full career statistics across multiple seasons
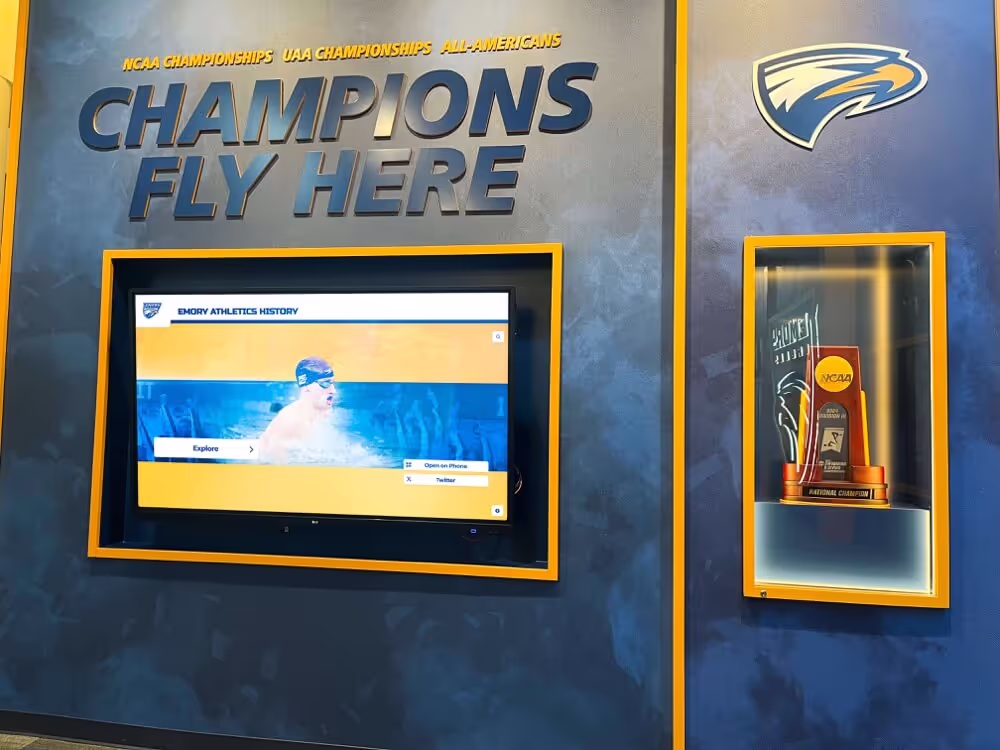
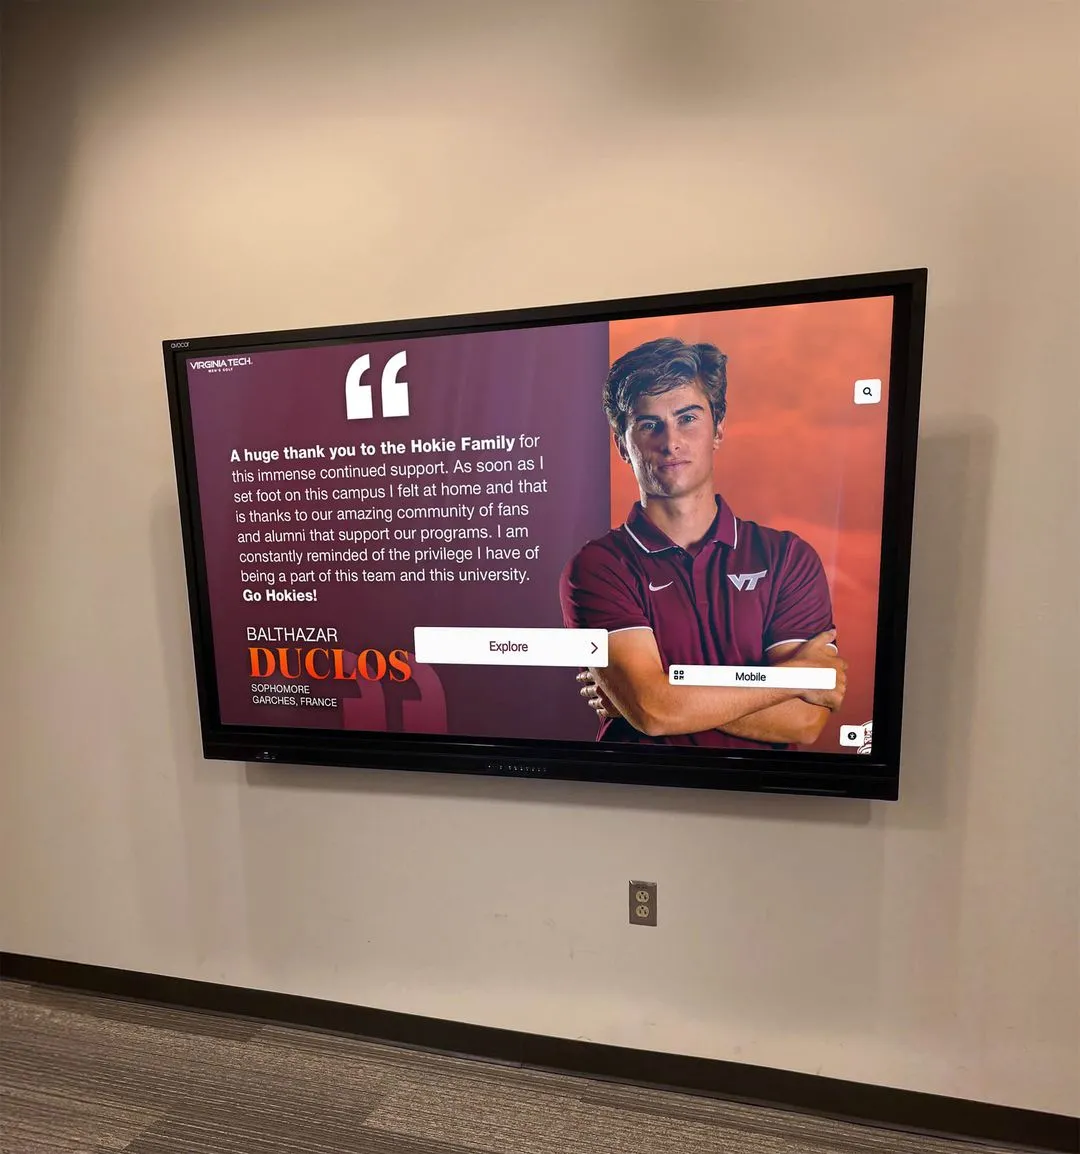
- Video tribute clips from induction ceremonies
- Photo galleries showing career arc from freshman year through senior season
- Quotes from coaches, teammates, and family members
- Connections between inductees who played together or coached the same athletes
- Historical context: how each inductee’s records compare to all-time program lists
- Current team rosters and records alongside historical recognition
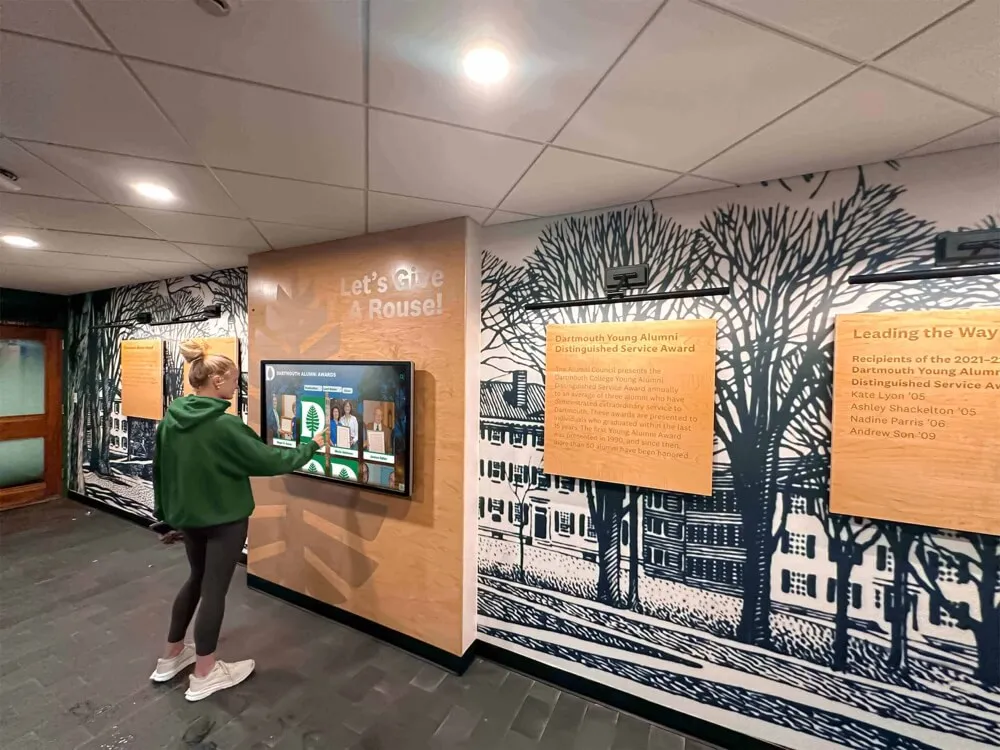
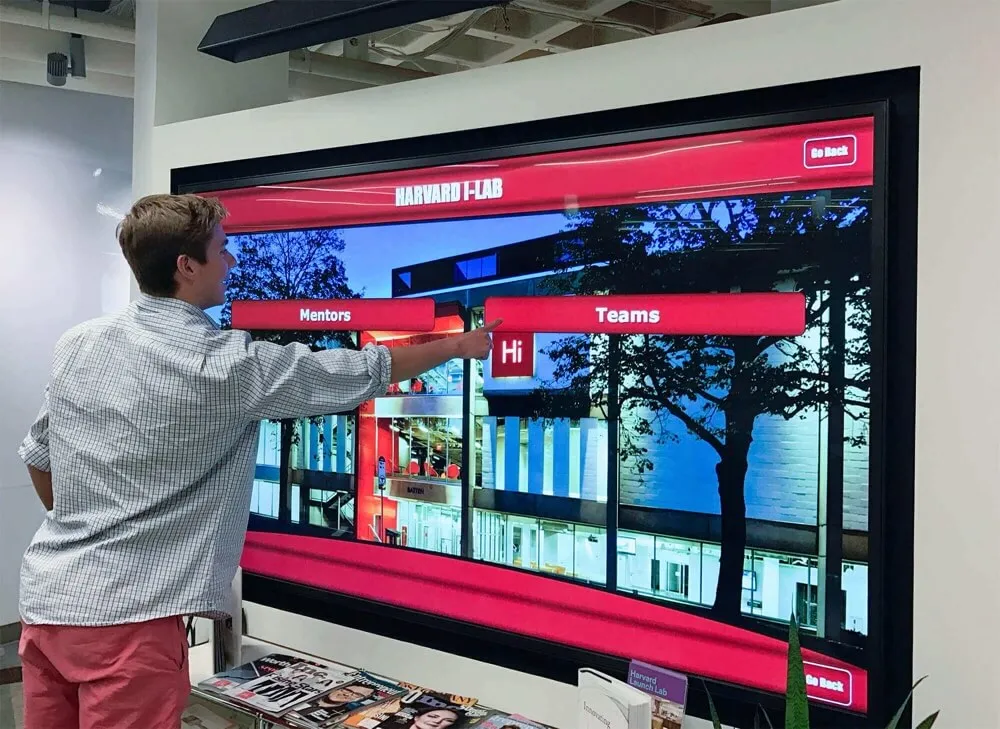
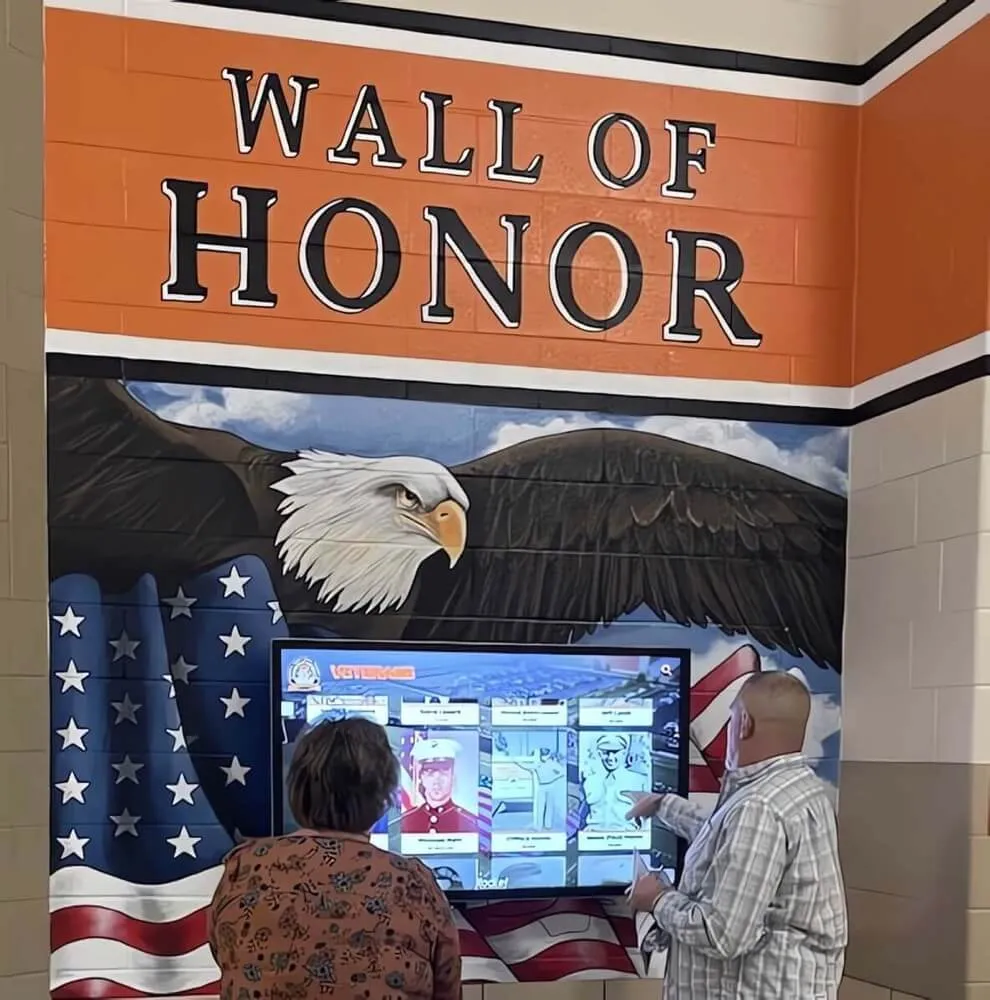
How visitors use the touchscreen. A visitor who pauses at a physical profile panel and wants to know more—what happened in that championship season, whether this athlete went on to play professionally, what the coach’s record was over a thirty-year career—finds that information immediately on the touchscreen. Visitors who don’t want to dig deeper don’t need to engage with the kiosk at all. The physical exhibit serves the casual visitor; the digital layer serves the alumni, the family member who traveled to attend an induction ceremony, and the current athlete who wants to understand what standard they’re measured against.
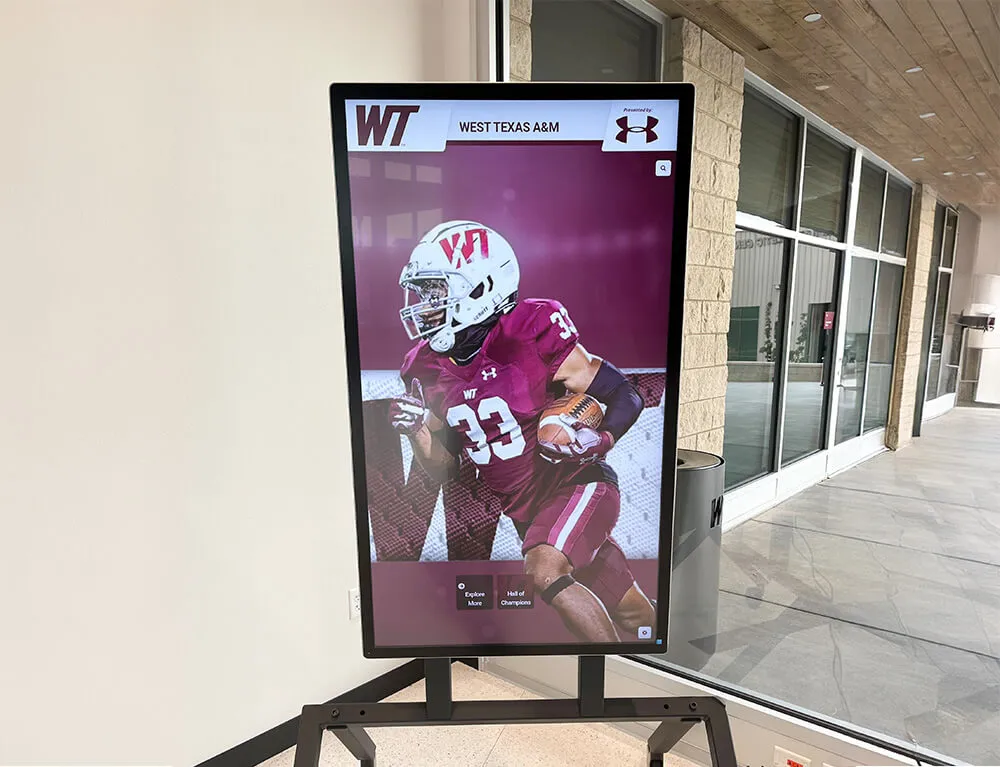
Placement and integration. Touchscreen kiosks placed at the end of a hall of fame corridor serve visitors who have completed the walkthrough and want to explore further. Kiosks positioned midway through a large exhibit serve visitors who arrive with a specific inductee in mind and want to search directly. For exhibits in lobby spaces where visitors may enter from any direction, a kiosk at the center point works as both an entry point and a depth layer for the surrounding physical panels.
Schools evaluating platforms for their digital layer should look for purpose-built recognition software rather than generic digital signage tools. Purpose-built platforms provide inductee profile templates, searchable databases, and content management systems designed for athletic and academic recognition rather than adapted retail or corporate signage tools. The guide to choosing a digital hall of fame provider outlines the specific questions to ask vendors before signing a contract.
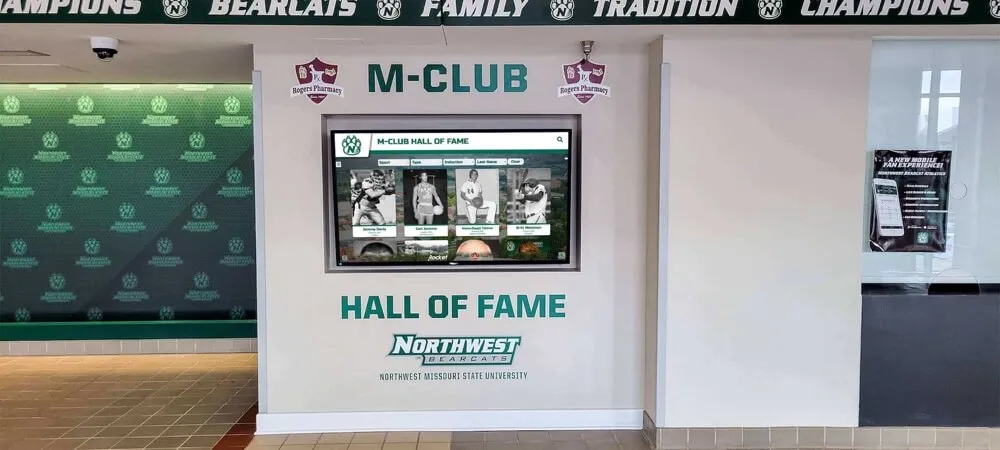
Rocket Alumni Solutions builds touchscreen kiosks and web-accessible digital archives specifically for school recognition programs—including hall of fame exhibits, championship histories, and donor recognition walls—with content management tools designed for non-technical staff.
Space and Layout Ideas
The physical space available shapes every exhibit decision. A school with a dedicated hall of fame room has different constraints than one working with a gymnasium corridor or a lobby alcove. The following layouts address the most common school environments.
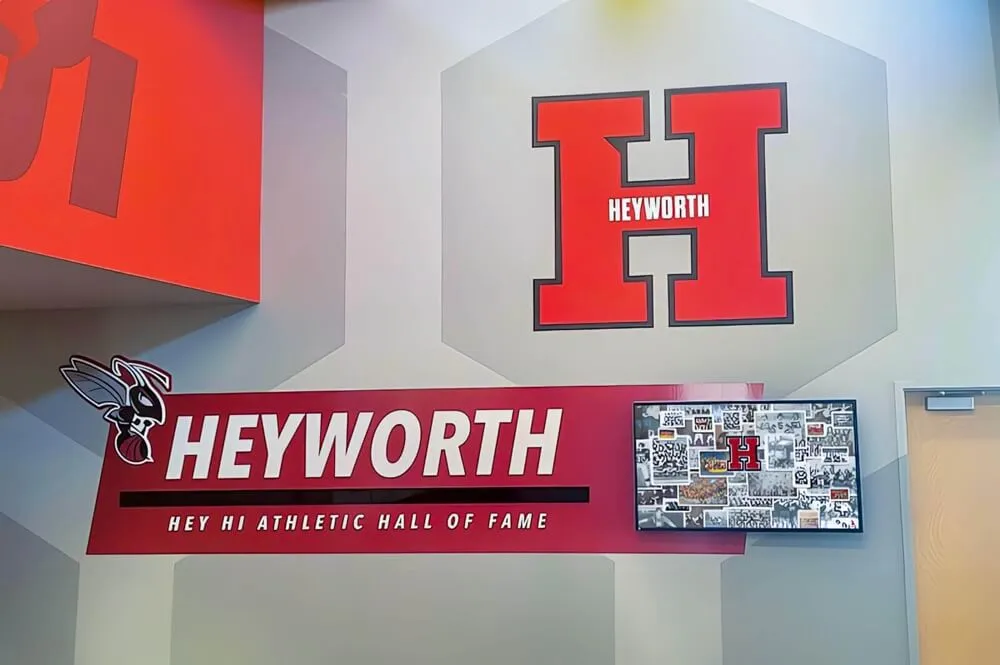
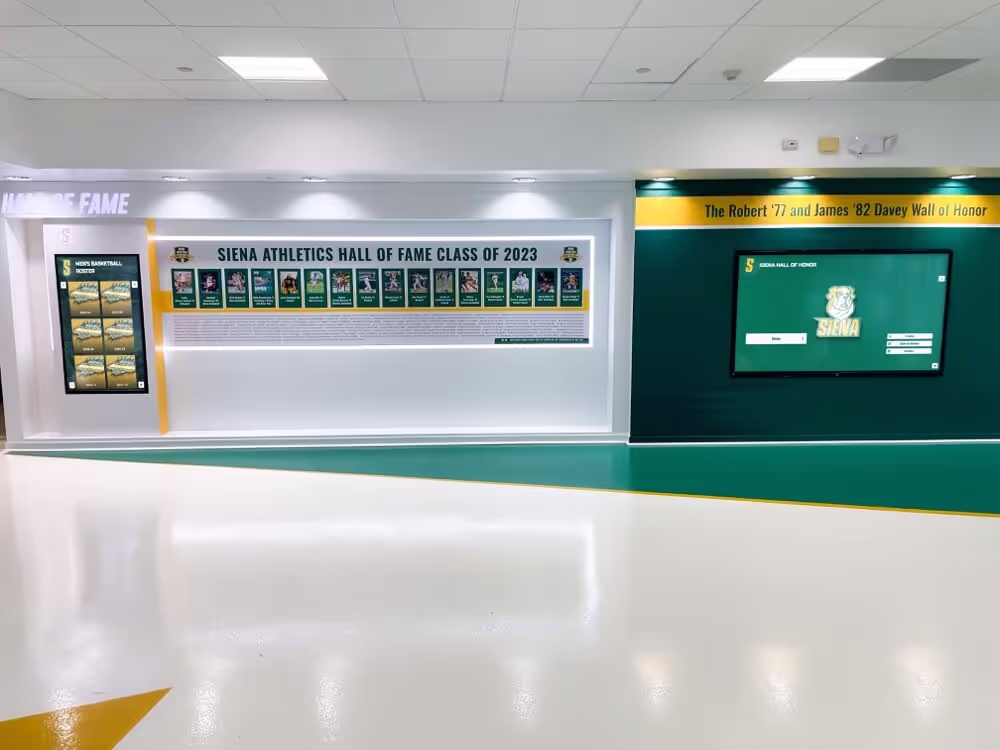
Corridor exhibit (most common). A single-loaded corridor—one primary wall with clear walking space in front—is the most common hall of fame exhibit format. In a well-designed corridor exhibit:
- Timeline runs along the primary wall from entry end to exit end
- Inductee profile panels are organized into era sections along the timeline
- A touchscreen kiosk is positioned at the corridor’s midpoint or far end
- Lighting is directional: fixtures angled at wall panels to draw the eye and create separation from overhead ambient light
- Trophy and artifact cases sit below or between profile panels, not towering above them
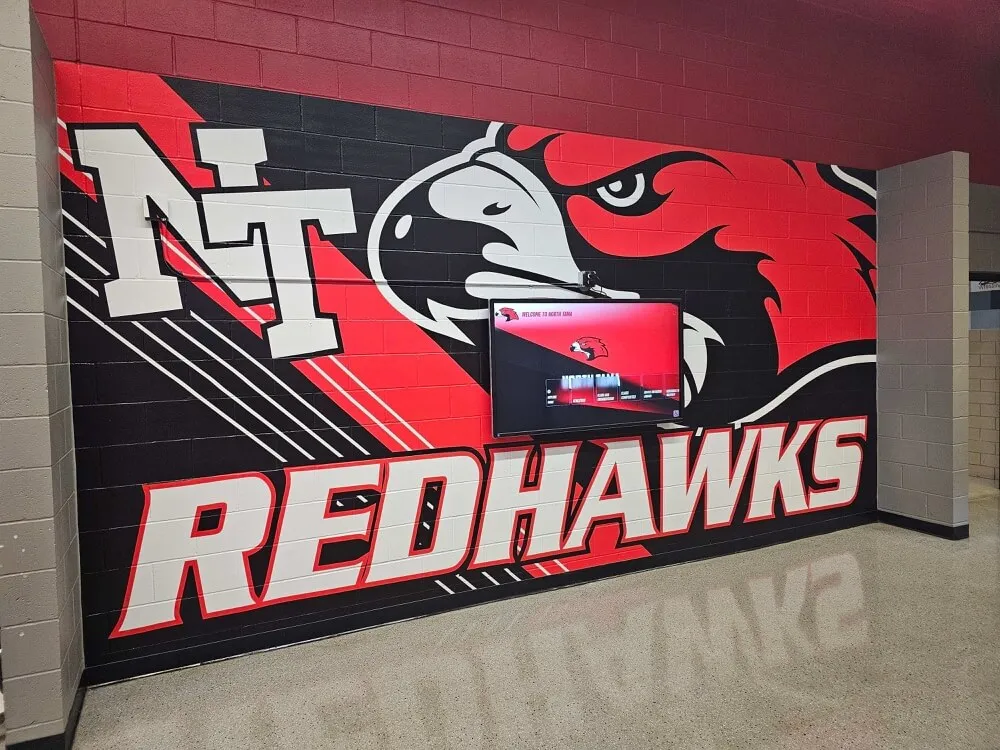
For schools without existing recognition spaces, identifying a high-traffic corridor connecting the gymnasium to the main building entrance gives the exhibit built-in daily audience—every student, coach, and visitor who enters the athletic facilities passes through.
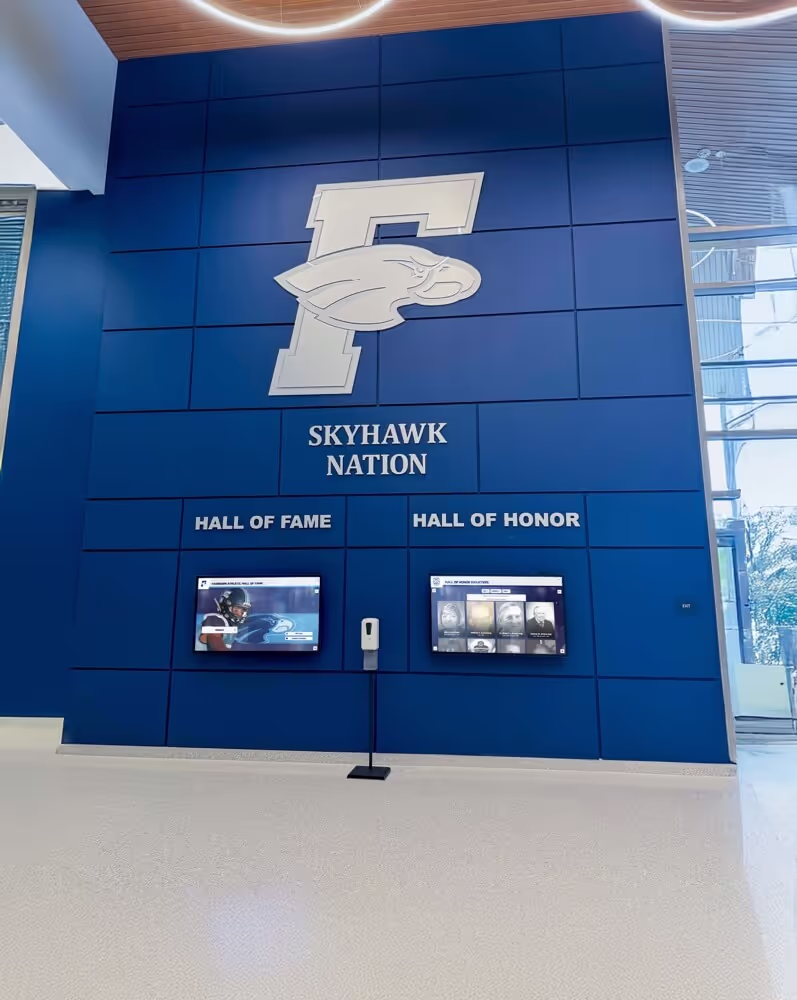
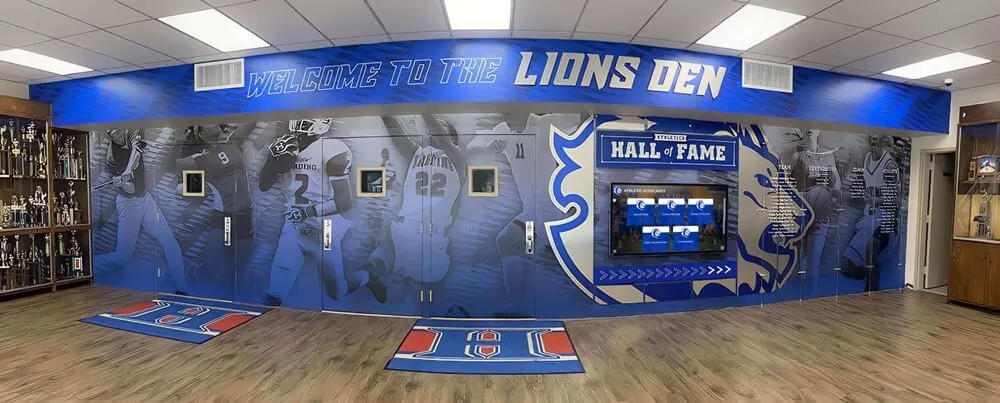
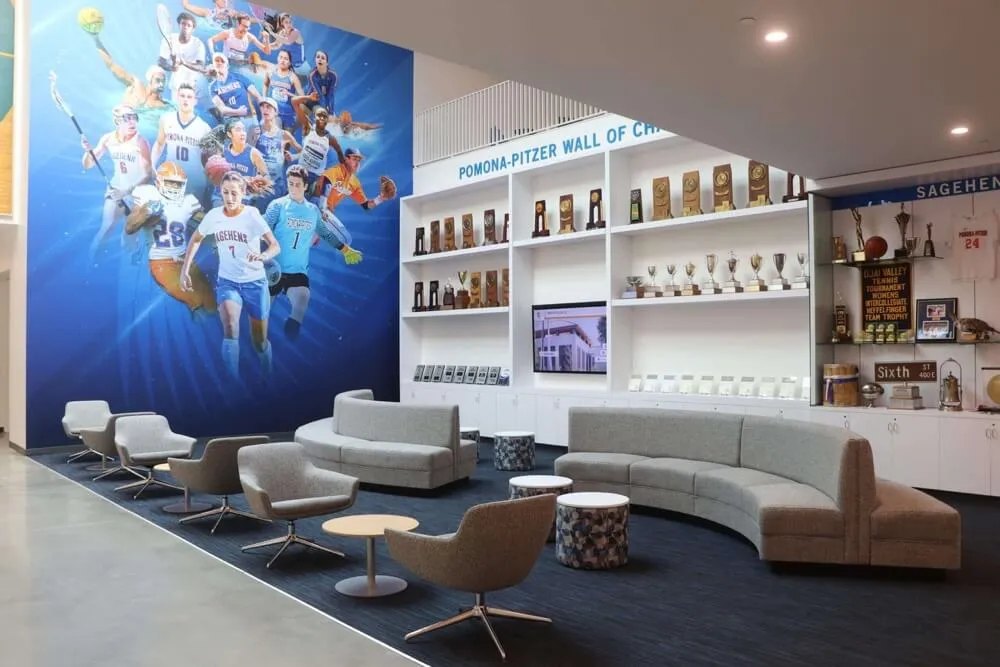
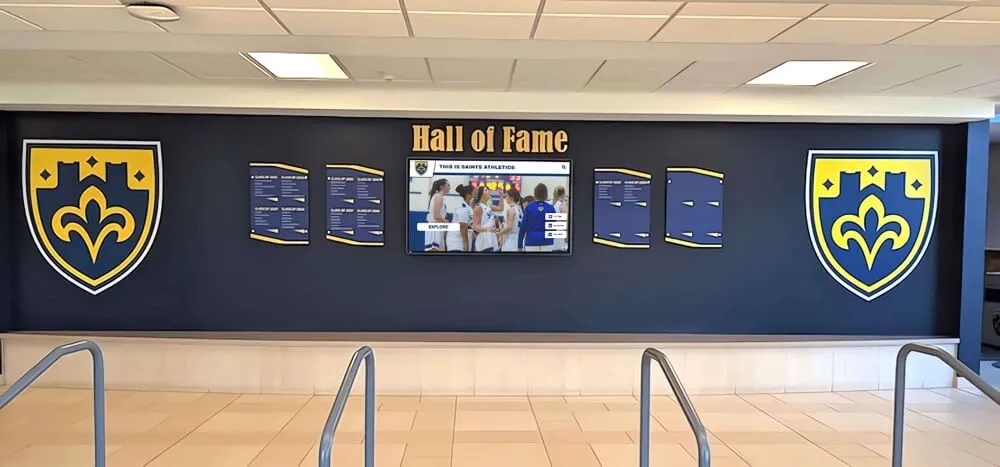
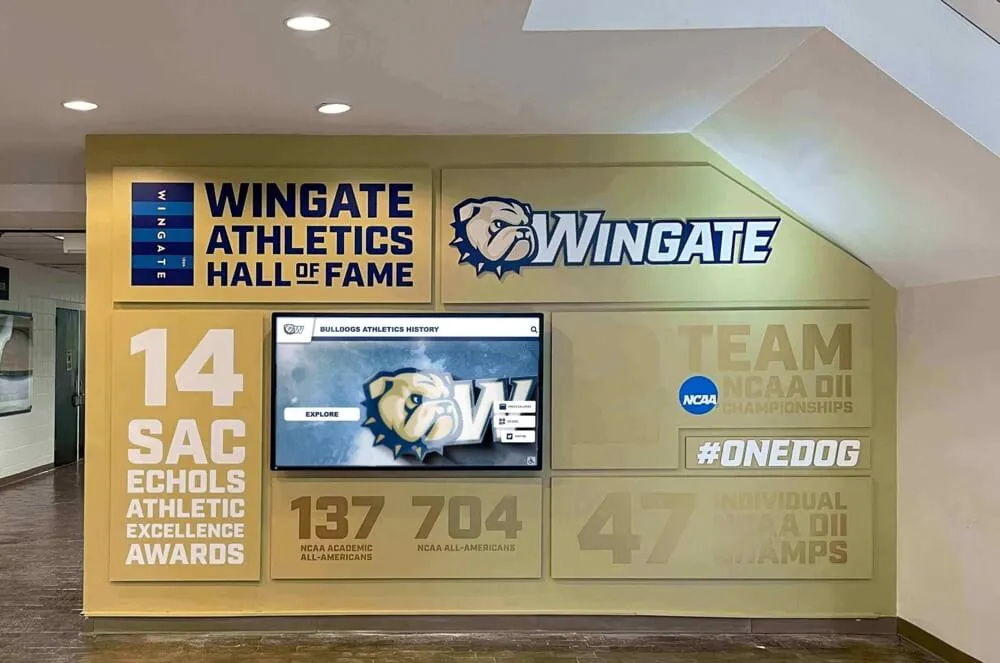
Lobby alcove. Lobby alcoves offer a contained, three-sided exhibit space that creates an immersive mini-environment. Visitors step slightly off the main circulation path and enter the exhibit space. Design principles:
- Position the most visually striking element—a large format photo, a trophy display, an illuminated timeline panel—on the back wall facing the alcove entrance
- Profile panels on the side walls flank the central element
- A touchscreen on one side wall serves visitors who step in for a closer look
Dedicated hall of fame room. Schools with a dedicated room have the most flexibility and the most responsibility. A room exhibit can develop a true walkthrough narrative—visitors enter at one point and exit at another, having moved through a designed sequence. Key planning considerations:
- Design the entry view deliberately: the first thing a visitor sees from the doorway should communicate what the space is and why it matters
- Create seating or standing areas near video display elements where visitors can watch tribute clips without blocking traffic flow
- Use the center of the room for cases with three-dimensional artifacts (trophies, equipment) and reserve walls for profile panels and timeline elements
Multi-location programs. Schools with recognition spread across multiple spaces—a lobby display near the main entrance, a corridor exhibit in the athletic wing, a smaller display near the pool or field house—benefit from a consistent design language across locations. Using the same color palette, typography, and panel format across locations signals to visitors that these spaces are part of a unified program rather than independent projects assembled over time. The 10 best hall of fame tools for schools covers design systems and platform options that support multi-location consistency.
Common Exhibit Planning Mistakes
Leading with names instead of stories. A wall of names is a census, not an exhibit. Every inductee deserves at least one specific story—a single game, a coaching decision, a season-defining moment—that gives visitors a reason to remember who they’re looking at. Even a two-sentence story is more compelling than a paragraph of statistics.
Ignoring flow in favor of coverage. The impulse to recognize as many inductees as possible in the available space leads to exhibits with too much content and no clear narrative. Visitors face walls of text with no organizing logic and disengage. Prioritize clarity and flow over exhaustive coverage; a touchscreen layer can carry the additional depth without compromising the exhibit’s readability.
Low-resolution photographs. Nothing undermines the professionalism of a hall of fame exhibit faster than pixelated photographs. If high-resolution originals aren’t available for a particular inductee, invest time in scanning archival photographs at 600 DPI or higher before production begins. Printing a 4x5 photo at 8x10 from a 72 DPI source produces an exhibit panel that looks neglected rather than honored.
Uniform, alphabetical organization. Alphabetical organization serves the administrator who built the exhibit, not the visitor exploring it. Era-based or thematic grouping gives visitors a sense of progression and makes the exhibit feel like a living history rather than a sorted list.
No update plan. An exhibit that looks current on opening day and stale three years later because no one has a clear responsibility for adding new inductees is one of the most common recognition program failures. Before the exhibit launches, document who owns content updates, what the update workflow is, and what the annual timeline looks like for adding new induction classes. For schools using digital platforms, this is a content management task; for physical-only exhibits, it requires lead time with fabricators and installers.
Treating the exhibit as complete. A hall of fame exhibit is a living record, not a finished product. The most successful exhibit programs treat each year’s induction class as a chapter added to an ongoing story, not a line item checked off a project list. Building that perspective into the initial planning—with update-ready mounting systems, scalable digital platforms, and content workflows that outlast any individual staff member—ensures the exhibit remains current and meaningful for decades.
Putting It Together
A hall of fame exhibit that turns inductee stories into a walkthrough experience requires four things working in concert: a narrative structure that guides visitors through institutional history, artifacts and photographs that make that history tangible, a timeline that gives individual achievements context, and a digital layer that carries the depth the physical wall can’t hold.
Schools starting from scratch will find that planning the story flow first—before any design decisions are made—produces exhibits that visitors engage with rather than pass through. Schools with existing physical installations looking to deepen the visitor experience will find that adding a touchscreen layer is the highest-leverage update available without a full renovation.
For schools still developing the foundational program—selection criteria, nomination processes, governance, and ceremony planning—the simple hall of fame ideas guide and the hall of fame induction ceremony ideas guide provide the full planning framework that exhibit design builds on.
The exhibit is where the honor lives after the ceremony ends. Designing it with the same care given to the induction night itself ensures that every inductee’s story is still being told to students, families, and visitors who walk through the space decades from now.
Ready to plan a hall of fame exhibit that does justice to the stories it holds? Rocket Alumni Solutions helps schools design and build interactive touchscreen displays, inductee profile archives, and web-accessible recognition platforms—giving physical exhibits a digital depth layer that grows with each induction class. Explore how schools across the country are transforming hall of fame corridors into living, searchable archives of institutional history.