


Why Build Your Own Touchscreen Kiosk?
Building your own touchscreen kiosk gives you full control over the user experience, hardware, and software. Whether you need a self-service station for a retail store, an information point for a museum, a check-in kiosk for events, or a custom solution for your business, a DIY approach lets you tailor every aspect to your needs—and often at a lower cost than buying a pre-built system.
- Customization: Choose the exact hardware, software, and peripherals you need.
- Cost Savings: Avoid expensive proprietary solutions and only pay for what you use.
- Learning Opportunity: Gain valuable experience in hardware, software, and deployment.
- Scalability: Start with one kiosk and expand as your needs grow.
Step 1: Choose Your Hardware
Hardware is the foundation of your kiosk. Consider your use case, environment, and budget when selecting components:
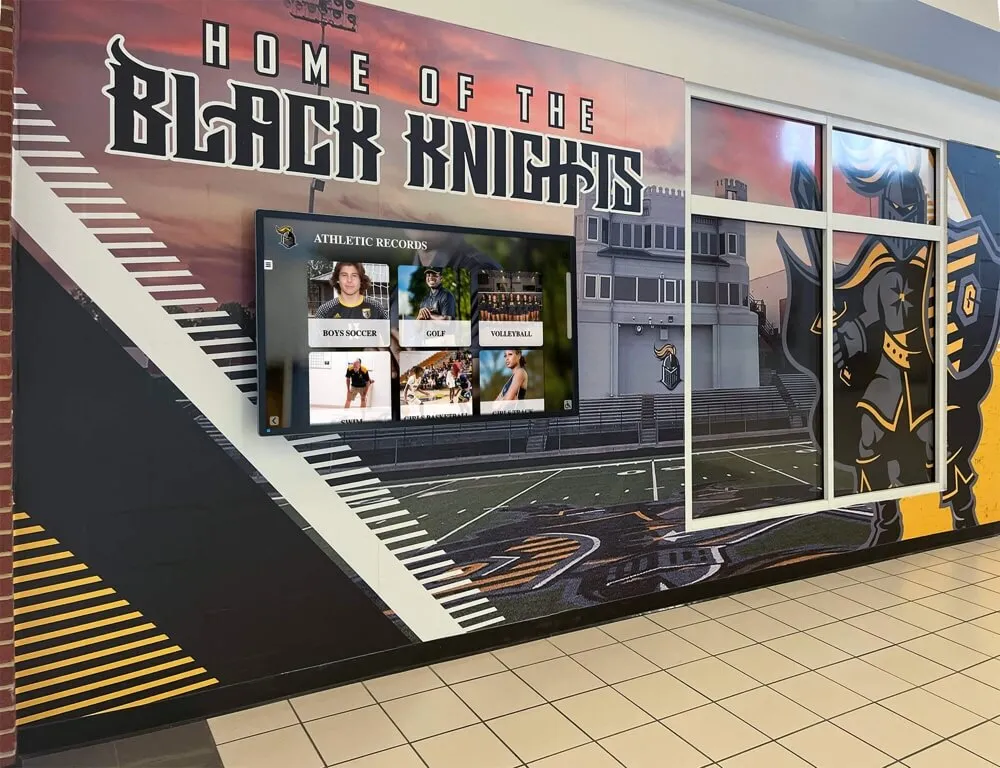
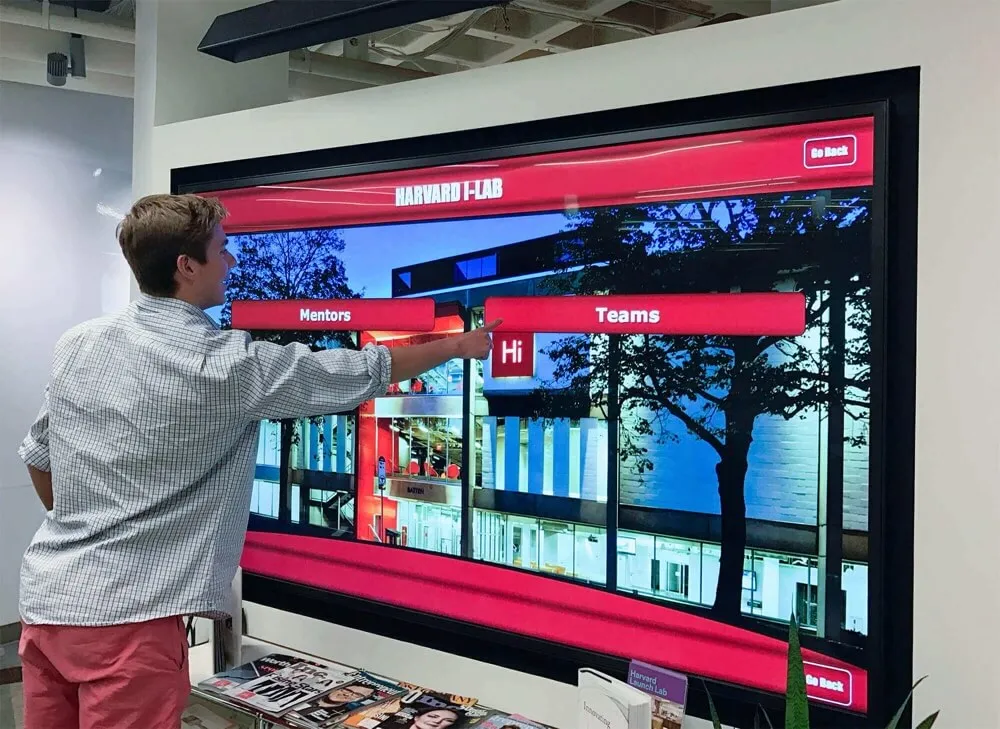
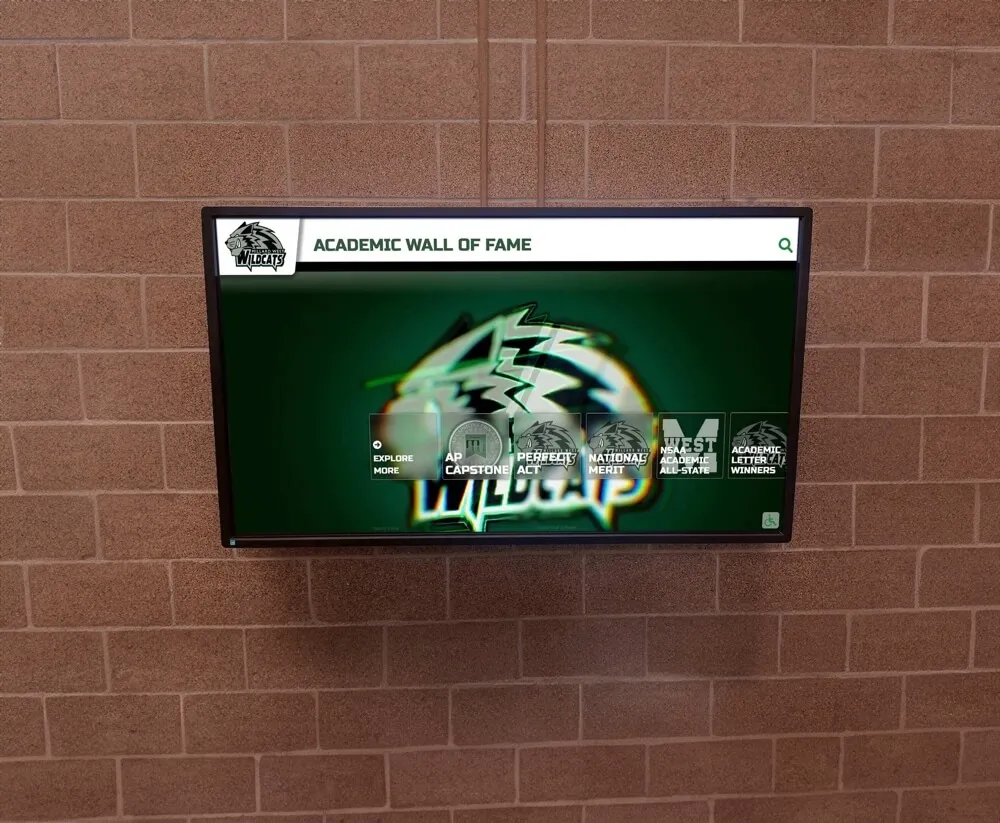
- Touchscreen Display: Commercial touchscreen monitors (Elo, ViewSonic, Planar) are rugged and reliable, while consumer tablets (iPad, Android, Windows) are great for smaller or portable kiosks. Consider screen size (typically 10"–32"), touch technology (capacitive is most common), and brightness for your environment.
- Computer/Player: Mini-PCs (Intel NUC, Dell Optiplex), Android boxes, Raspberry Pi, or all-in-one touchscreen PCs. Match your choice to your OS and performance needs. For web-based kiosks, even a Raspberry Pi 4 can be sufficient.
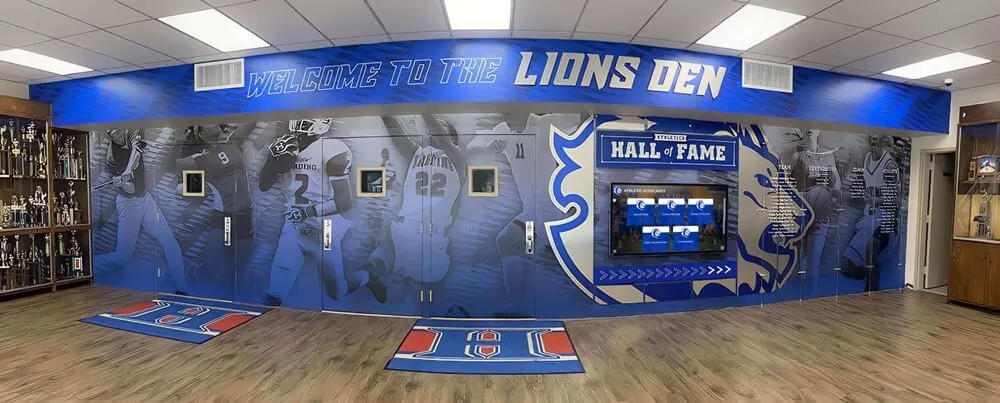
- Enclosure/Kiosk Stand: Use a purpose-built kiosk enclosure for public spaces, or a secure stand for semi-private environments. Look for options with cable management, ventilation, and ADA compliance.
- Peripherals (Optional): Barcode scanners, printers, NFC/RFID readers, speakers, cameras, or payment terminals can be added for advanced use cases. Make sure your OS and Rocket software support these devices.
- Power & Networking: Plan for reliable power (UPS recommended) and network connectivity (Ethernet preferred for stability, Wi-Fi for flexibility).
Tip: Test your hardware on a bench before final installation to ensure compatibility and performance.

Step 2: Pick Your Operating System
Choose an OS that matches your hardware, security, and management needs. Each has its pros and cons:
Windows
Great for powerful, feature-rich kiosks. Supports most commercial touchscreen hardware and peripherals. Use Windows 10/11 in kiosk mode for security. Consider Windows IoT for embedded deployments.
Android
Ideal for cost-effective, energy-efficient kiosks. Many tablets and commercial players run Android. Use kiosk lockdown apps for security. Android is great for touch-first interfaces and has a wide range of compatible hardware.
Linux / Raspberry Pi
Perfect for DIY and budget builds. Raspberry Pi 4 can power most web-based kiosks. Use Chromium in kiosk mode for a simple, secure setup. Linux offers flexibility and is ideal for custom integrations or open-source projects.
macOS / iOS
Use iPads for portable kiosks or macOS for high-end, custom installations. Leverage Guided Access (iOS) or third-party kiosk apps for lockdown. macOS is less common but can be used for unique, design-focused projects.
Tip: Always keep your OS updated for security and stability. Test your kiosk in a locked-down mode before public deployment.
Step 3: Install and Configure Rocket Software
- Sign Up: Register for a Rocket demo or account at Rocket Alumni Solutions.
- Download/Access: For web-based solutions, simply open the provided URL in your kiosk browser. For native apps, download and install on your device. Rocket supports a wide range of platforms and offers cloud-based management for easy updates.
- Configure Kiosk Mode: Set up your OS/device in kiosk mode to restrict access to only the Rocket application. This ensures security and a seamless user experience. Refer to Rocket's documentation for platform-specific instructions.
- Connect Peripherals: Attach and test any additional hardware (printers, scanners, etc.) as needed. Rocket's support team can help with advanced integrations.
- Test and Launch: Thoroughly test your kiosk for usability, performance, and security before deploying in a public setting. Simulate real-world use cases and gather feedback.
For advanced features like remote management, content scheduling, and analytics, explore Rocket's cloud-based CMS options. These tools make it easy to manage one or hundreds of kiosks from anywhere.

Troubleshooting & Common Pitfalls
- Touchscreen Not Responding: Check drivers, cables, and OS compatibility. Try a different USB port or device.
- App Not Launching in Kiosk Mode: Double-check your OS kiosk settings. For web-based kiosks, ensure the browser is set to launch the correct URL on startup.
- Network Issues: Test with a wired connection. Check firewall and proxy settings. Use a network monitoring tool to diagnose drops.
- Peripheral Not Detected: Confirm device compatibility and drivers. Test the peripheral on another system if possible.
- Performance Problems: Lower the resolution, close background apps, or upgrade hardware. For web-based kiosks, ensure a fast, stable internet connection.
Tip: Keep a checklist of your setup and test each component individually before final assembly.
Scaling & Future-Proofing Your Kiosk Project
- Cloud Management: Use Rocket's cloud CMS to manage content, monitor health, and push updates to multiple kiosks remotely.
- Modular Hardware: Choose hardware that can be upgraded or replaced as needs change (e.g., swap out a player or add new peripherals).
- Software Updates: Regularly update both OS and Rocket software to benefit from new features and security patches.
- Analytics: Use built-in analytics to track usage and optimize your kiosk's effectiveness over time.
- Accessibility & Compliance: Stay up to date with ADA and local regulations to ensure your kiosk remains accessible to all users.
As your needs grow, you can expand from a single kiosk to a network of interactive displays, all managed from a single dashboard.
Popular Use Cases for DIY Kiosks
- Retail: Product lookup, self-checkout, loyalty sign-up, and digital catalogs.
- Events: Self check-in, badge printing, interactive schedules, and wayfinding.
- Healthcare: Patient check-in, information, and feedback collection.
- Education: Library catalogs, campus directories, and interactive learning stations.
- Hospitality: Hotel check-in, digital concierge, and restaurant ordering.
- Corporate: Visitor management, meeting room booking, and employee self-service.
DIY kiosks are flexible and can be adapted to almost any industry or workflow.
Frequently Asked Questions (FAQ)
Can I use a Raspberry Pi for a commercial kiosk?
Yes! Raspberry Pi 4 is powerful enough for most web-based kiosks. For high-traffic or graphics-intensive applications, consider a mini-PC or Android player.
How do I secure my kiosk from tampering?
Use a lockable enclosure, secure cables, and configure your OS in kiosk mode. Disable unnecessary ports and restrict software access.
Can I manage multiple kiosks remotely?
Absolutely. Rocket's cloud CMS lets you update content, monitor health, and push updates to all your kiosks from anywhere.
What if my touchscreen stops working?
Check connections, drivers, and try rebooting. If the issue persists, test with another device or contact Rocket support for help.
Is Rocket software ADA compliant?
Rocket is designed with accessibility in mind and supports ADA compliance. Always test your kiosk for accessibility before launch.
Ready to Build Your Own Kiosk?
With Rocket software and the right hardware, you can launch a professional touchscreen kiosk tailored to your needs. Start your project today and bring your interactive vision to life.