


Key Takeaways
Learn the critical mistakes to avoid when installing hall of fame boards. Expert guidance on planning, hardware selection, mounting, and implementation for successful recognition displays.
Schools, universities, athletic programs, and organizations nationwide invest thousands to tens of thousands of dollars in recognition displays. Unfortunately, rushed planning, inadequate research, and common misconceptions lead to installations that disappoint stakeholders and require expensive corrections. Understanding these pitfalls before beginning your project ensures optimal outcomes and maximum return on your recognition investment.
Whether you’re planning a traditional plaque installation or implementing modern digital recognition displays, the mistakes outlined in this guide apply across all hall of fame board types. The principles of proper planning, appropriate hardware selection, professional installation, and sustainable management remain constant regardless of your chosen approach.
Mistake #1: Inadequate Planning and Needs Assessment
The single most consequential error in hall of fame board projects is rushing into implementation without thorough planning and assessment. Enthusiasm for creating recognition displays often leads institutions to skip critical preliminary steps, resulting in installations that don’t serve their intended purpose.
The Planning Deficit Problem
Many organizations approach hall of fame boards with a “ready, fire, aim” mentality—purchasing hardware or signing contracts before fully understanding their needs, constraints, and objectives. This creates a cascade of problems:
Common Planning Failures
- Unclear recognition objectives and priorities
- Undefined target audiences and user needs
- Insufficient stakeholder input and buy-in
- Unrealistic timeline and budget expectations
- Inadequate content strategy development
- Missing infrastructure assessments
Consequences of Poor Planning
- Displays installed in suboptimal locations
- Hardware that doesn't meet actual needs
- Content that doesn't resonate with audiences
- Budget overruns and scope creep
- Extended timelines and implementation delays
- Dissatisfied stakeholders and missed objectives
The Proper Planning Process
Successful hall of fame board projects begin with comprehensive assessment:
1. Define Clear Objectives
Before any hardware discussions, articulate specific goals for your recognition display. Are you primarily focused on alumni engagement, fundraising support, student inspiration, historical preservation, or community pride? Different objectives require different approaches to content, design, and functionality.
2. Conduct Stakeholder Analysis
Identify all groups who will interact with or be affected by your hall of fame board:
- Primary users (students, visitors, alumni)
- Content contributors (coaches, administrators, archivists)
- Technical support staff (IT, facilities)
- Decision-makers (administration, board members)
- Funding sources (donors, boosters, budget holders)
Gather input from representatives of each group early in the planning process. Their perspectives reveal requirements and constraints you might otherwise miss.
3. Assess Physical Environment
Thoroughly evaluate potential installation locations considering:
- Traffic patterns: Areas with consistent but not overwhelming foot traffic
- Viewing angles: Sightlines from multiple approach directions
- Lighting conditions: Natural and artificial light throughout the day
- Available space: Wall dimensions, clearances, and expansion room
- Infrastructure access: Proximity to power, network connectivity
- Environmental factors: Temperature, humidity, dust, and noise levels
4. Evaluate Technical Requirements
Even for traditional plaques, understanding your facility’s capabilities prevents installation problems:
- Wall construction and load-bearing capacity
- Electrical service availability and capacity
- Network connectivity (for digital systems)
- Climate control and ventilation
- Security and monitoring capabilities
5. Develop Content Strategy
Many institutions treat content as an afterthought, only to discover they lack the materials, resources, or workflows needed to populate their displays. Strategic content planning should happen during, not after, the planning phase.
Planning Timeline Best Practice
Allocate 4-8 weeks for comprehensive planning before making any purchase decisions. The time invested in thorough assessment prevents expensive mistakes and ensures your hall of fame board truly serves institutional goals. Organizations that rush past planning typically spend more time and money correcting problems than they saved by moving quickly.
For institutions planning digital hall of fame implementations, the planning phase becomes even more critical as technology selections directly impact long-term functionality and management requirements.
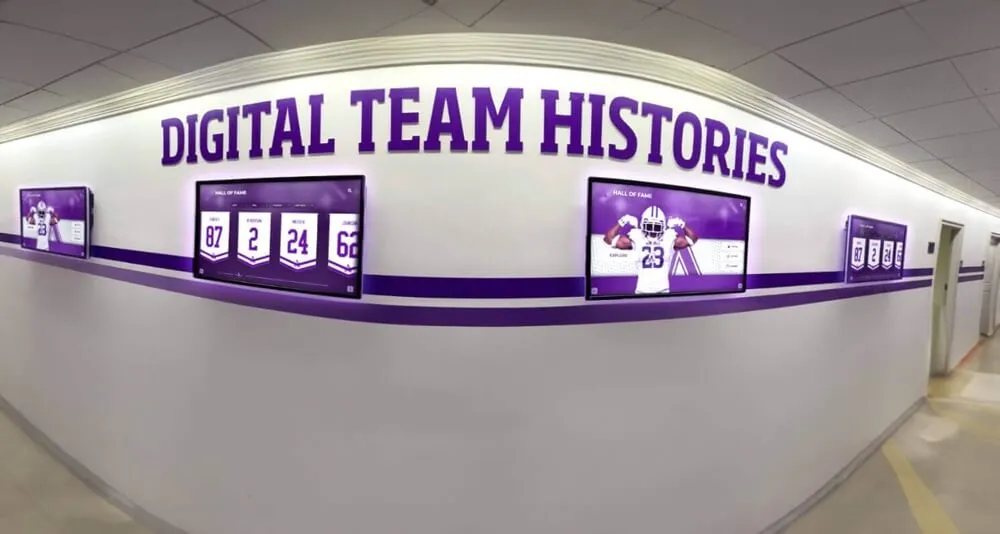
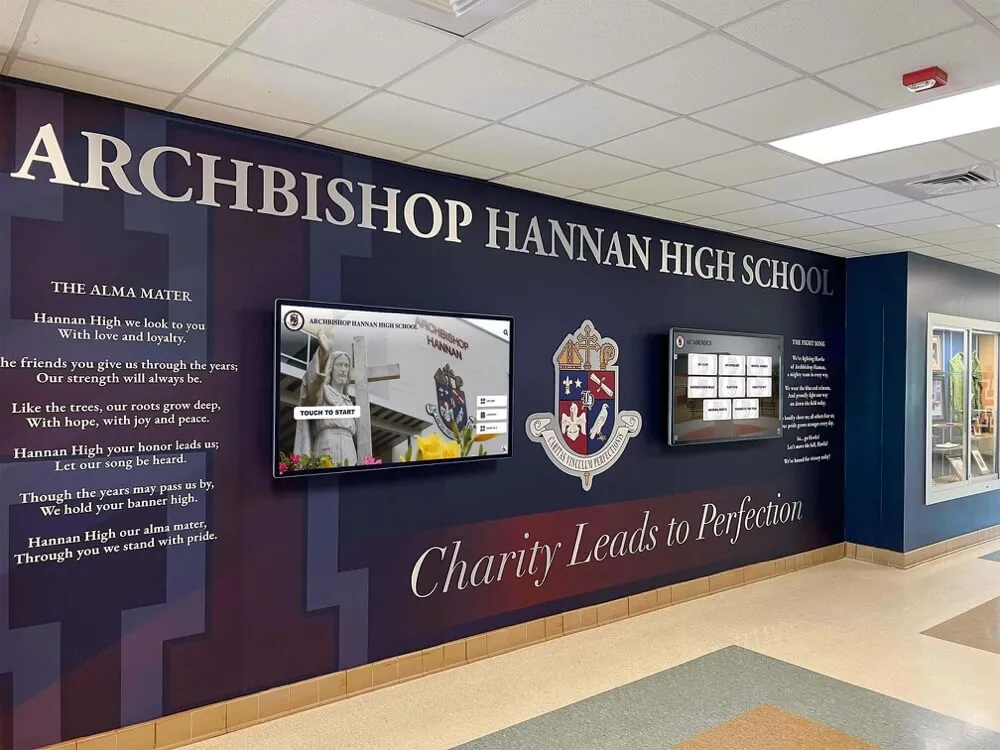
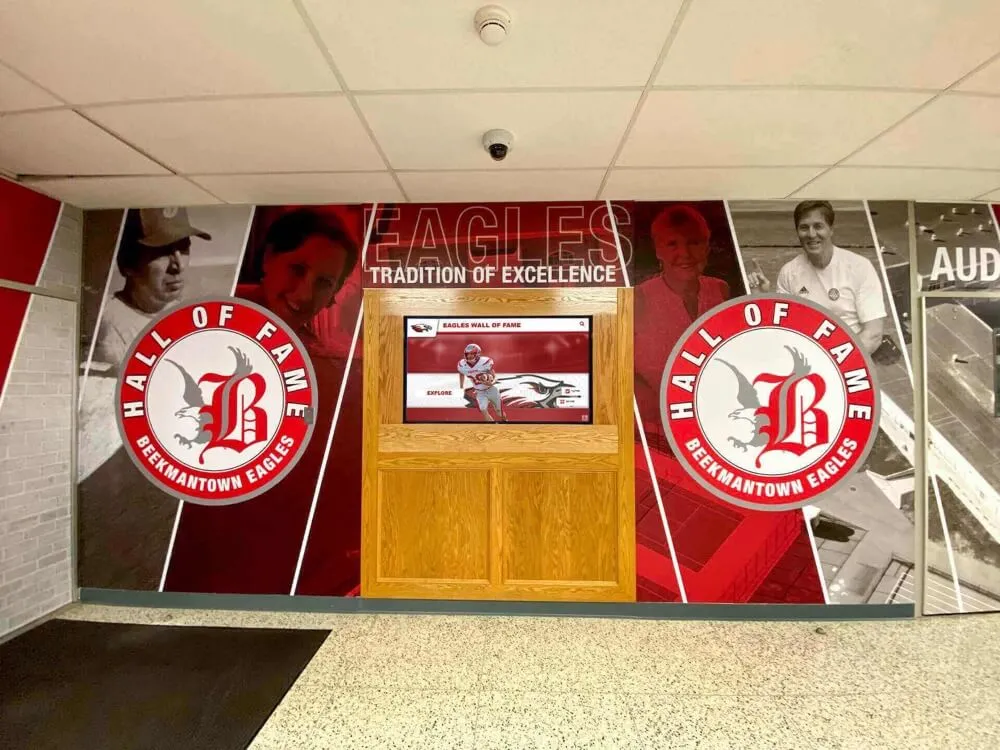
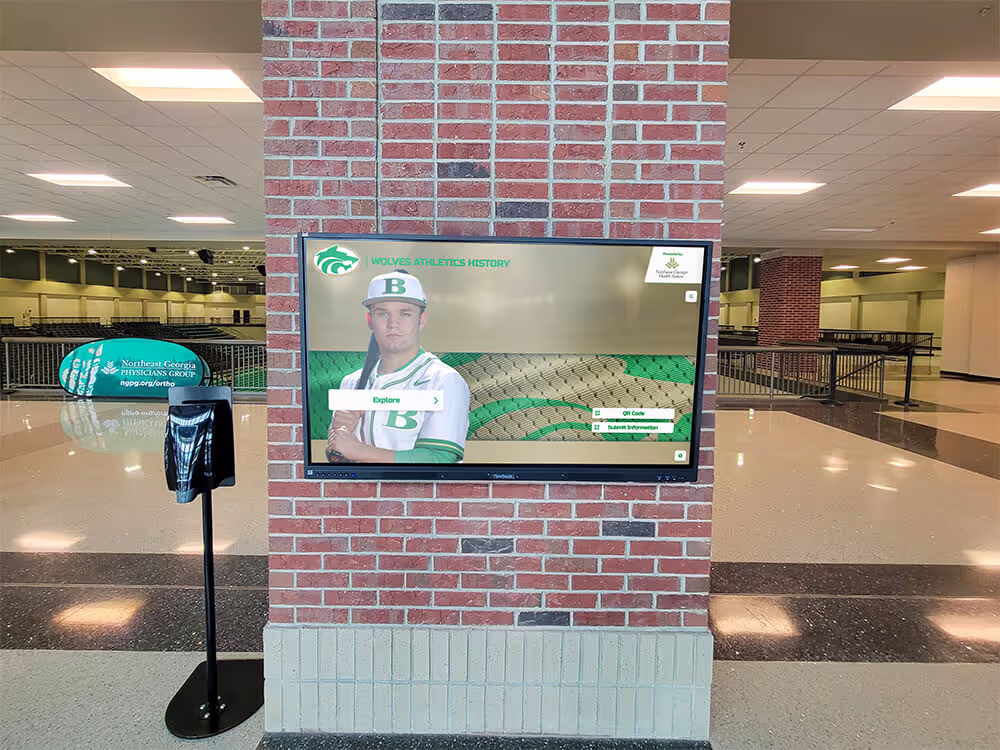
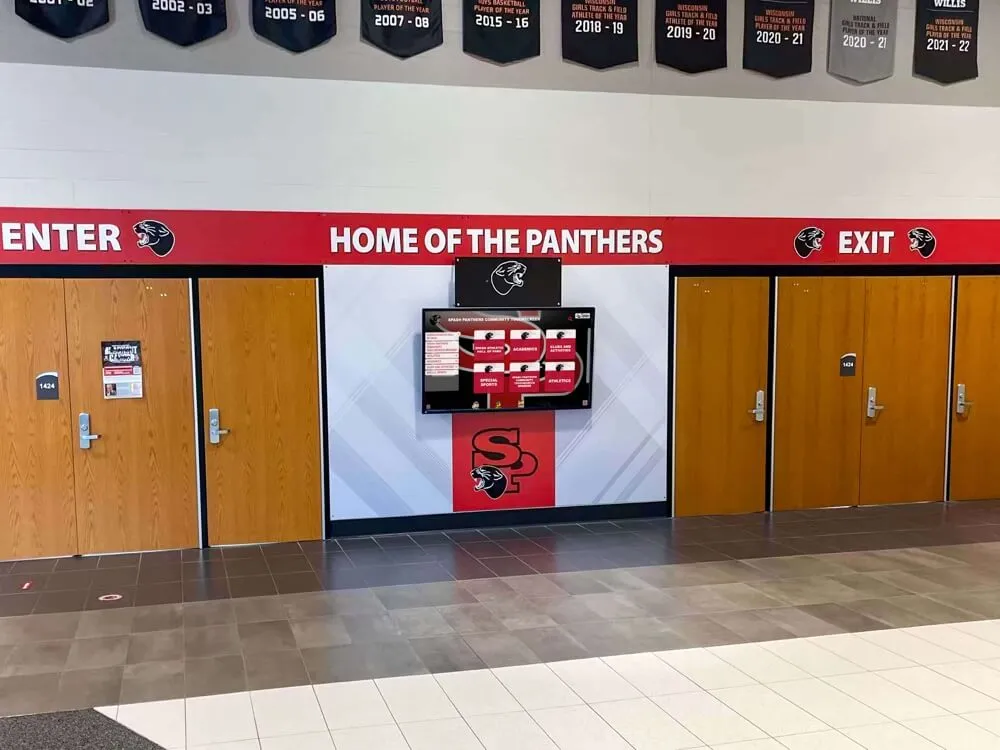
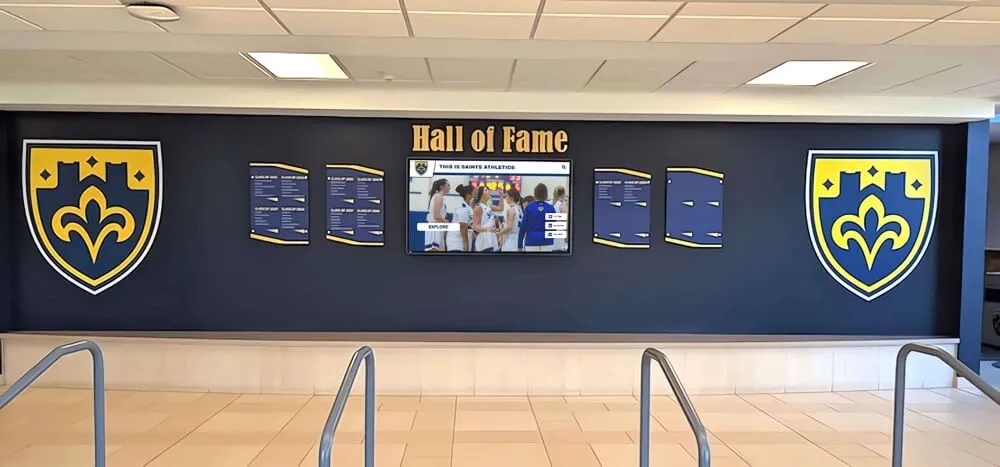
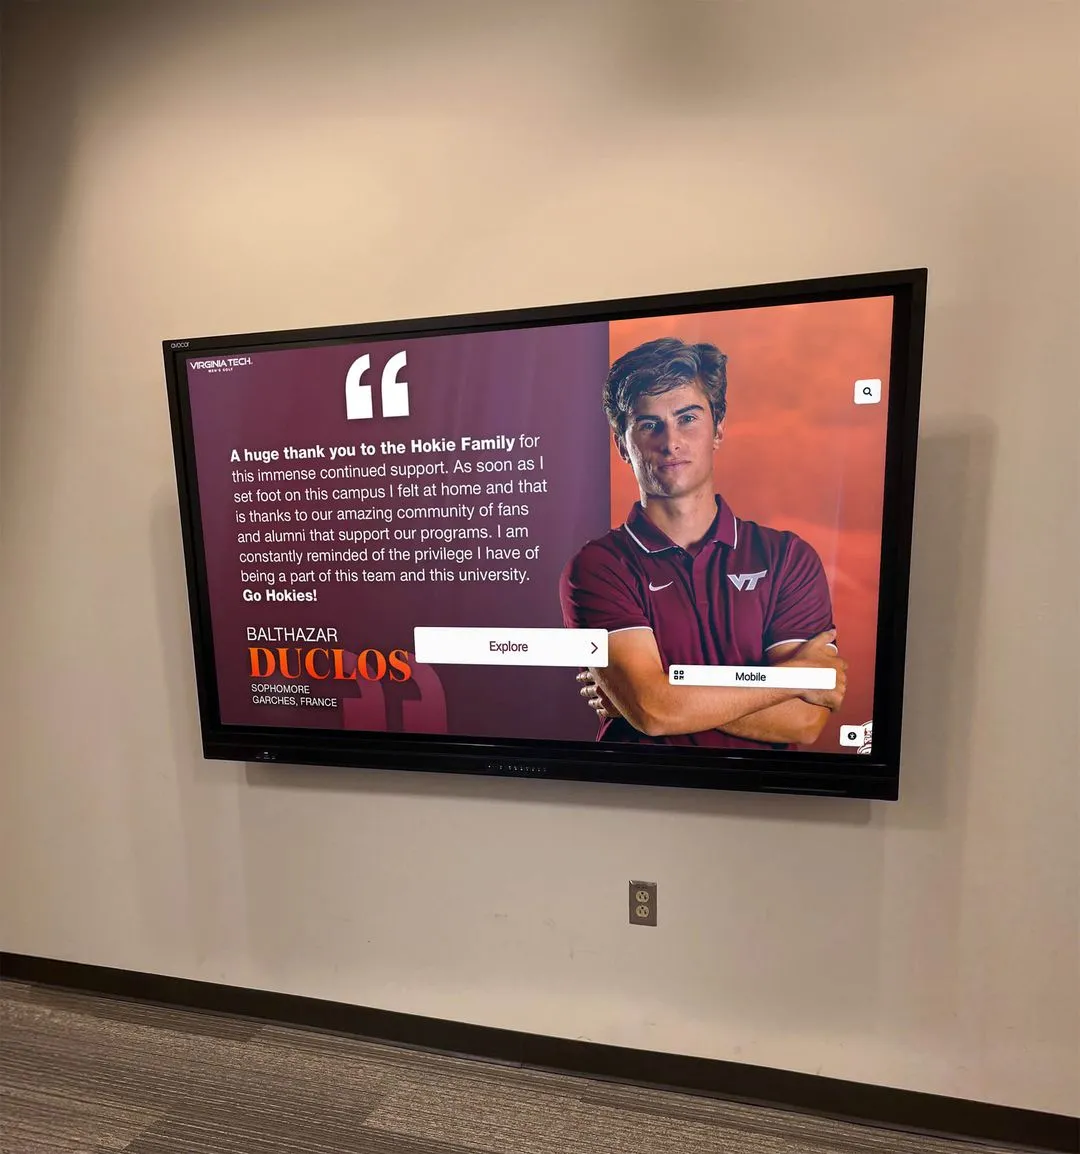
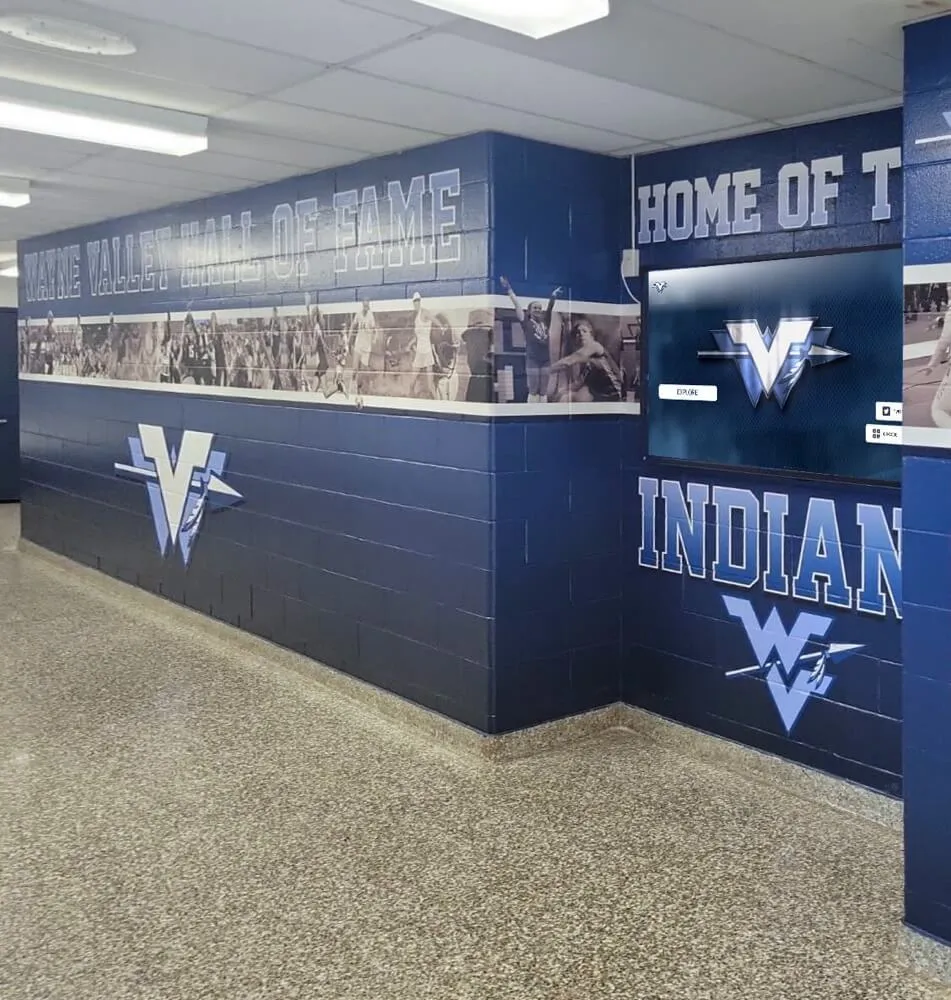
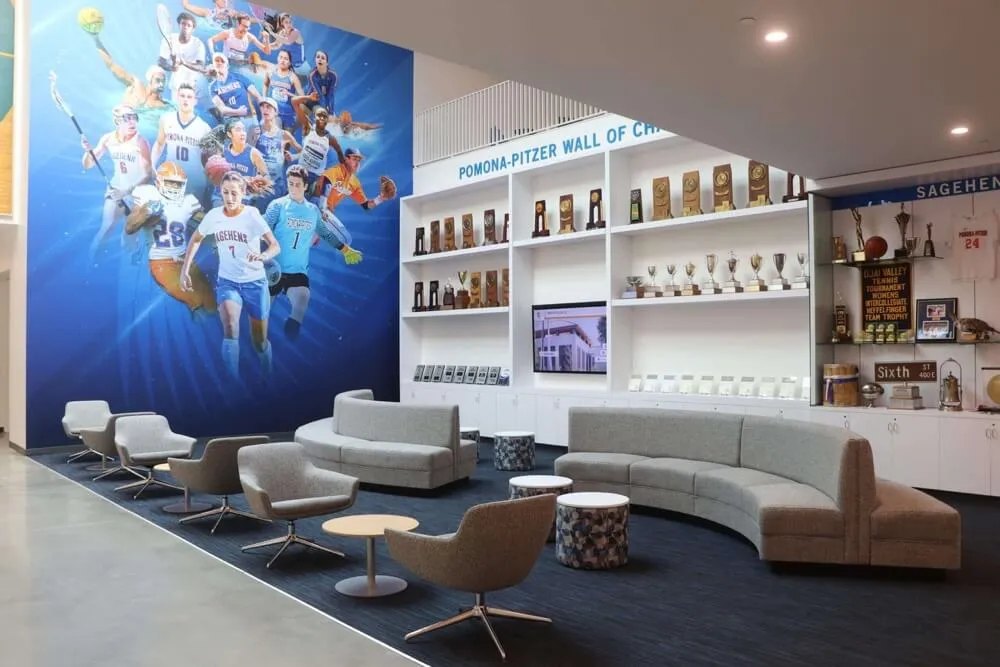
Mistake #2: Choosing the Wrong Display Size and Configuration
Display size represents one of the most visible and least reversible decisions in hall of fame board projects. Unfortunately, many institutions misjudge their size requirements, resulting in displays that are either too small to be effective or inappropriately large for their space.
The Size Selection Problem
Two opposite errors commonly occur:
Undersizing: Selecting displays too small for viewing distance, resulting in illegible content and poor visitor engagement. This happens when budget constraints drive decisions without proper assessment of functional requirements.
Oversizing: Installing displays that overwhelm spaces, appear disproportionate, or create viewing angle problems for interactive touchscreen functionality.
Proper Display Sizing Methodology
Calculate Viewing Distance Requirements
Professional display sizing follows established ratios between screen height and optimal viewing distance:
| Viewing Distance | Recommended Display Size | Screen Height | Application |
|---|---|---|---|
| 3-5 feet | 32-43 inches | 16-21 inches | Small rooms, close viewing |
| 6-8 feet | 43-55 inches | 21-27 inches | Standard hallways, offices |
| 9-12 feet | 55-65 inches | 27-32 inches | Large hallways, common areas |
| 13-18 feet | 65-75 inches | 32-37 inches | Lobbies, atriums |
| 19+ feet | 75-86 inches | 37-42 inches | Large public spaces |
The formula is: Viewing Distance (inches) ÷ 1.5 to 2.5 = Optimal Screen Height (inches)
Consider Mixed Use Cases
Hall of fame boards often serve dual purposes: distance viewing by passersby and close-up interaction for engaged visitors. This requires balancing:
- Distance readability: Text and images visible from typical passing distance
- Touch interaction ergonomics: Comfortable reach and viewing for users 2-3 feet away
- Content density: Sufficient screen real estate for comprehensive information
Account for Resolution Requirements
Larger displays require higher resolution to maintain image quality:
- 43-55 inch displays: Full HD (1920×1080) adequate
- 55-75 inch displays: 4K (3840×2160) recommended
- 75+ inch displays: 4K essential for clarity
Configuration Mistakes to Avoid
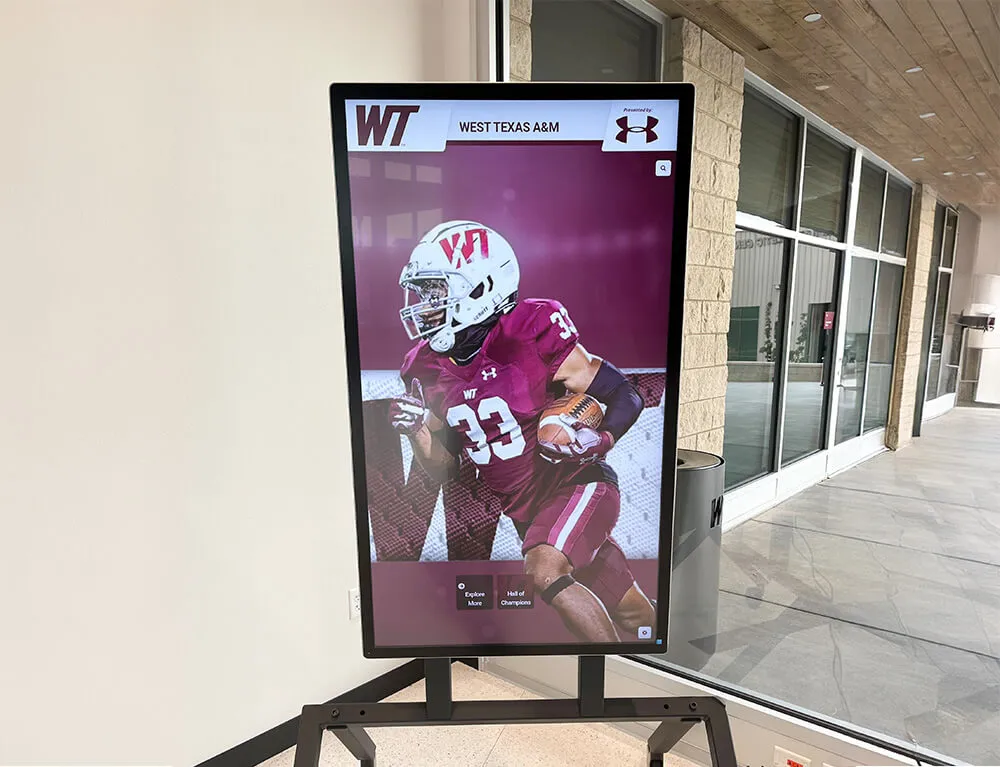
Portrait vs. Landscape Orientation
While portrait (vertical) orientation seems intuitive for wall space efficiency, it creates significant problems:
- Most content (photos, videos) is landscape-oriented, resulting in wasted screen space
- Text flows better in landscape format for readability
- Touchscreen ergonomics favor landscape orientation for user comfort
- Hardware selection more limited and expensive for portrait installations
Unless specific content requirements demand portrait orientation, landscape configuration delivers better functionality and value.
Video Wall Complications
Multi-display video walls create impressive visual impact but introduce complexity many institutions underestimate:
- Significantly higher hardware costs (4-9x displays plus specialized processors)
- Complex mounting and alignment requirements
- Increased power and cooling demands
- More difficult content management
- Higher ongoing maintenance needs
Unless you have specific requirements that single displays can’t address—such as very large spaces, multiple simultaneous user interactions, or separation of content zones—single-display solutions offer better value and simpler management.
Size Selection Best Practices
- Create scale mockups: Use cardboard cutouts or projected outlines at your installation site to visualize actual display size in context
- Visit existing installations: See various display sizes in similar environments before making decisions
- Prioritize functionality over impressiveness: Bigger isn’t always better; optimal size serves users effectively
- Plan for content needs: Ensure your chosen size provides adequate space for planned content types and density
- Consider future flexibility: Digital systems offer content scaling; physical displays lock you into fixed dimensions
Understanding hardware selection principles helps ensure your display size aligns with technical capabilities and institutional requirements.
Mistake #3: Selecting Consumer-Grade Instead of Commercial Hardware
Perhaps the most expensive long-term mistake institutions make is purchasing consumer-grade equipment for continuous institutional use. The apparent savings of consumer displays quickly evaporate through premature failures and replacement costs.
The Consumer vs. Commercial Distinction
Consumer televisions are engineered for:
- 4-8 hours daily use in climate-controlled homes
- 1-2 year expected lifespans
- 250-350 nit brightness suitable for dim living rooms
- Limited warranty coverage (typically 1 year, parts only)
- Residential support and service
Commercial displays are designed for:
- 16-24 hour continuous operation
- 50,000-100,000 hour lifespans (5-11 years of continuous use)
- 450-700 nit brightness for well-lit institutional spaces
- Comprehensive warranties (3-5 years with advanced replacement)
- Professional support infrastructure
The Real Cost of Consumer Hardware
Consumer Display 5-Year Cost
- Initial Purchase: $600
- First Replacement (18 months): $600
- Second Replacement (36 months): $600
- Third Replacement (54 months): $600
- Labor/Reinstallation (3x): $900
- Downtime/Lost Value: $500
Total 5-Year Cost: $3,800
Commercial Display 5-Year Cost
- Initial Purchase: $1,200
- Replacements: $0
- Warranty Repairs: $0
- Additional Labor: $0
- Downtime: Minimal
- Estimated Remaining Life: 3-6 years
Total 5-Year Cost: $1,200
Total Savings: $2,600
Commercial Hardware Requirements
For digital hall of fame installations, specify:
Display Specifications:
- Commercial-grade LCD panel with 50,000+ hour rated lifespan
- 450-700 nit brightness for institutional lighting conditions
- IPS panel technology for wide viewing angles (178°)
- Commercial warranty: minimum 3 years, preferably 5 years
- Thermal management designed for vertical mounting and continuous operation
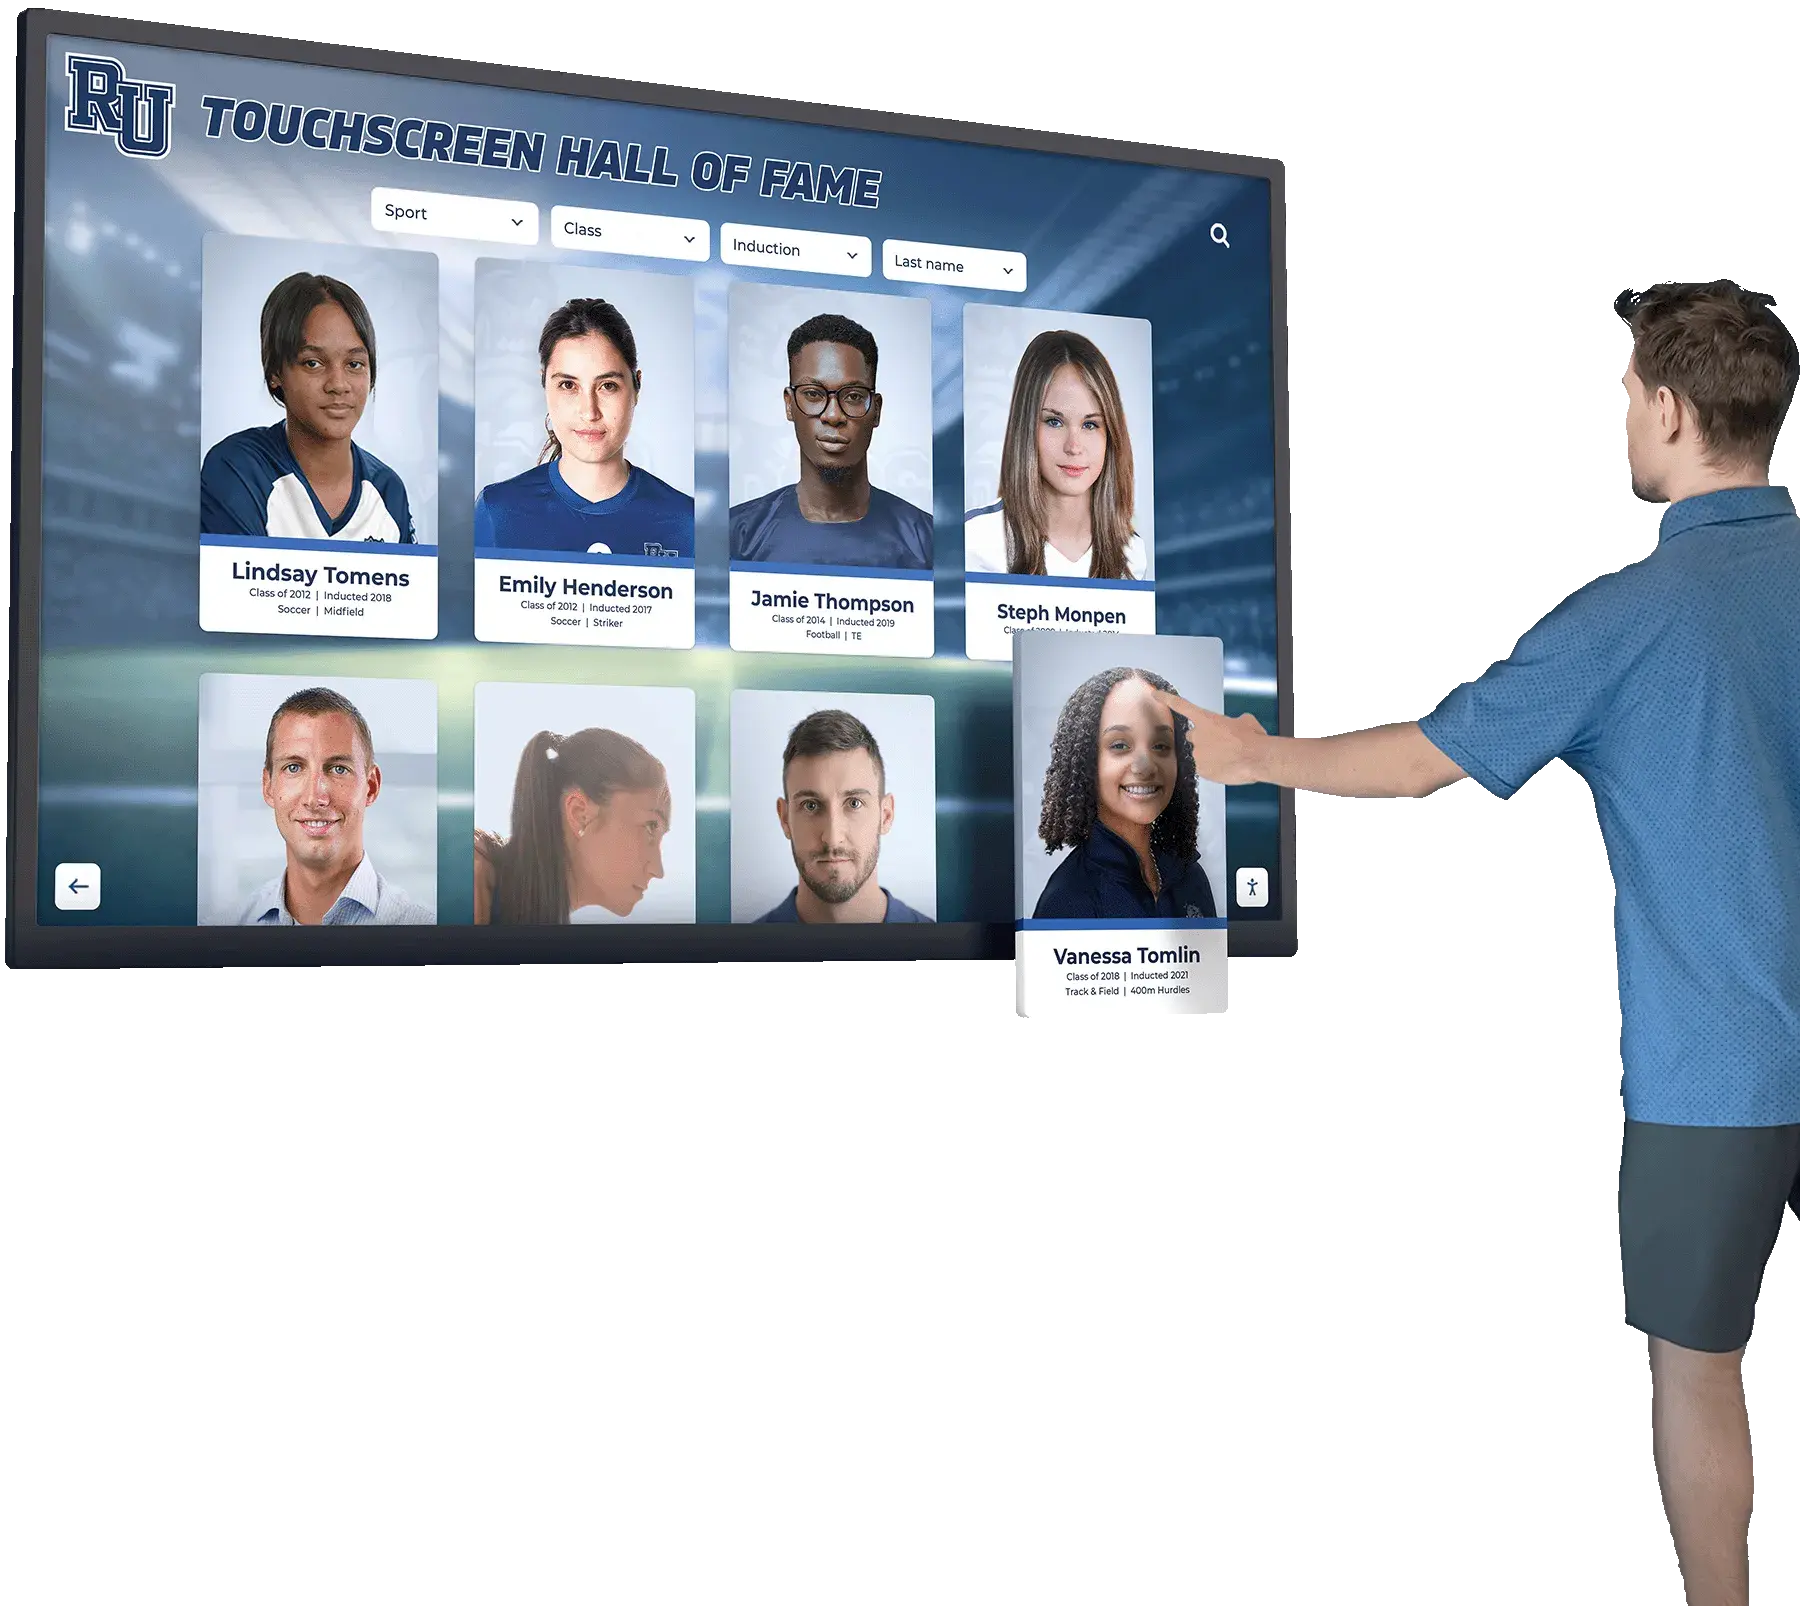
Touchscreen Technology:
- Projected capacitive (PCAP) technology for durability and accuracy
- 10+ touch points for responsive multi-user interaction
- Commercial-grade glass overlay (6-8mm tempered glass)
- Anti-glare and anti-fingerprint coatings
- Rated for millions of touches without degradation
Computing Hardware:
- Commercial-grade mini PC or dedicated media player
- Solid-state storage (no moving parts for reliability)
- Adequate processing power for smooth 4K content playback
- Commercial warranty and support
- Designed for continuous operation and remote management
Where to Compromise (and Where Not To)
Areas where budget-conscious decisions work:
- Mid-range within commercial specifications (not bottom-tier commercial, but not flagship models)
- Modular upgradability (start with current needs, expand capabilities later)
- Phased implementation (single display first, additional displays as budget allows)
Areas where cutting costs creates problems:
- Never use consumer TVs for institutional continuous-use applications
- Don’t skip touchscreen overlays (if interactive functionality matters)
- Avoid cheapest mounting hardware (displays are too valuable to risk)
- Don’t select underpowered computing hardware (poor performance frustrates users)
For detailed guidance on appropriate specifications, see our comprehensive hardware selection guide that covers all technical considerations for long-lasting installations.
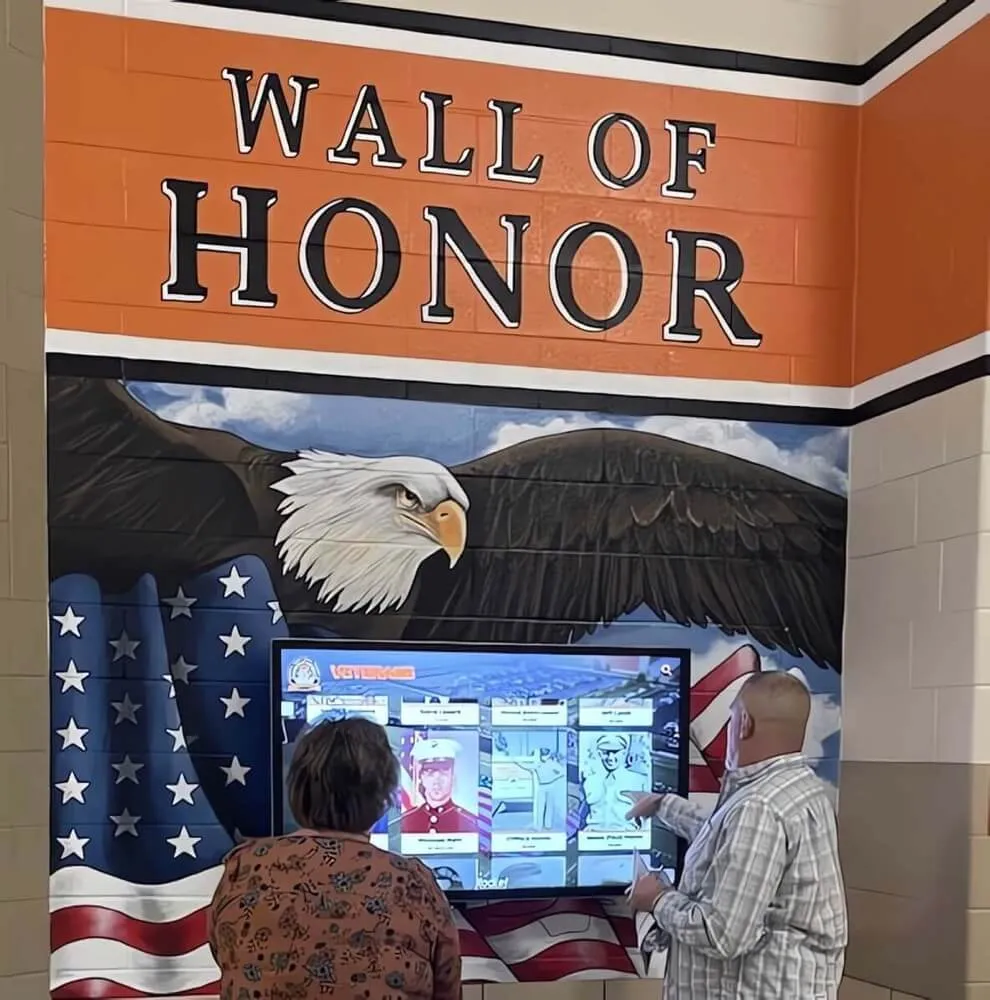
Mistake #4: Improper Mounting and Installation Techniques
Even with perfect planning and appropriate hardware, poor installation techniques compromise display functionality, create safety hazards, and generate ongoing maintenance problems. Mounting represents the literal foundation of your hall of fame board—mistakes here have serious consequences.
Common Mounting Errors
1. Inadequate Structural Support
The mistake: Mounting displays directly to drywall using drywall anchors, or attaching heavy commercial displays to single studs without adequate support.
Why it fails: Commercial displays weighing 40-100+ pounds require robust mounting to prevent accidents. Drywall anchors gradually loosen under constant load. Single studs may not provide adequate support for larger displays, especially with the leverage forces created by wall-mounted screens.
The solution:
- Always mount to wall studs, not just drywall
- Use commercial mounting systems rated for 2-3x your display weight
- Distribute load across multiple studs for displays over 55 inches
- Consider reinforced backing plates for drywall installations
- Consult structural engineers for displays over 75 inches or video wall installations
2. Incorrect Mounting Height
The mistake: Installing displays too high, too low, or without considering accessibility requirements and user ergonomics.
Why it fails: High-mounted displays create neck strain and make touchscreen interaction uncomfortable or impossible. Low-mounted displays don’t account for wheelchair users or create viewing angle problems. ADA compliance issues may arise from inaccessible installations.
The solution:
- Position bottom edge of display 15-48 inches from floor (ADA guidelines)
- Center display at standing eye level (approximately 60 inches from floor to display center)
- For touchscreen displays, ensure interactive elements fall within 15-48 inch reach range
- Account for wheelchair approach space (minimum 30×48 inches clear floor area)
- Test ergonomics with actual users before finalizing permanent mounting
3. Ventilation Blockage
The mistake: Mounting displays flush to walls without ventilation space, enclosing displays in cabinets without airflow, or blocking ventilation openings with cables or decorative elements.
Why it fails: Displays generate significant heat during operation. Without proper ventilation, internal components overheat, leading to reduced lifespan, performance throttling, and premature failure. Consumer displays fail especially quickly under heat stress.
Ventilation Requirements
- Minimum 2-4 inches clearance on all sides of display
- Ensure vents on rear and sides remain unobstructed
- Avoid enclosed installations without ventilation fans
- Consider ambient temperature of installation location
- Monitor display temperature during first weeks of operation
4. Cable Management Failures
The mistake: Running cables exposed across walls, creating trip hazards with floor cables, or making cable access difficult for future maintenance.
Why it fails: Exposed cables look unprofessional, create safety hazards, and are vulnerable to damage. Inaccessible cable routing makes repairs and upgrades extremely difficult.
The solution:
- Run cables through walls whenever possible (in-wall rated cables required by code)
- Use commercial cable management channels for exposed runs
- Create maintenance access panels for connection points
- Label all cables clearly for future reference
- Leave service loops at connection points for flexibility
- Document cable routing with photos and diagrams
5. Power and Network Infrastructure Shortcuts
The mistake: Using extension cords, power strips, or unreliable WiFi instead of proper electrical and network infrastructure.
Why it fails: Extension cords violate electrical codes for permanent installations. Power strips create failure points and fire hazards. Unreliable WiFi causes content update problems and management difficulties.
The solution:
- Install dedicated electrical circuits for displays
- Hard-wire Ethernet connections whenever possible (more reliable than WiFi)
- Use surge protection systems to protect expensive equipment
- Ensure network bandwidth and security requirements are met
- Plan for future expansion with extra capacity
Professional Installation Considerations
When to hire professionals (vs. DIY):
DIY appropriate for:
- Smaller displays (under 55 inches) in simple installations
- Existing infrastructure already in place
- Organizations with experienced technical staff
- Straightforward mounting to solid walls with stud access
Professional installation required for:
- Displays 55 inches and larger
- Any video wall installations
- Installations requiring electrical work or wall penetrations
- Recessed or custom mounting solutions
- Installations in high-value public spaces where appearance matters
- Organizations without technical expertise
Professional installation includes:
- Site assessment and preparation
- Proper mounting hardware selection and installation
- Code-compliant electrical and network connections
- Professional cable management and finishing
- Testing and commissioning
- Documentation and training
- Warranty and support
The cost of professional installation ($500-2,000 depending on complexity) is modest insurance against expensive mistakes and safety issues. Many organizations that attempt DIY installation to save money end up hiring professionals to correct problems—spending more total than professional installation would have cost initially.
Mistake #5: Neglecting Content Planning and Development
Technical implementation receives most attention in hall of fame board projects, but inadequate content planning creates the most common reason these installations disappoint. Beautiful hardware displaying mediocre or incomplete content fails to achieve recognition objectives.
The Content Planning Gap
Common content mistakes include:
1. Starting Content Development Too Late
Many organizations purchase and install hardware before seriously addressing what they’ll display on it. This creates:
- Launch delays while scrambling to gather content
- Rushed, low-quality content that doesn’t showcase the system
- Incomplete recognition coverage that frustrates stakeholders
- Missed opportunities to integrate content planning with system design
The solution: Begin content planning during initial assessment phases, before hardware selection. Content requirements should inform technology decisions, not be forced to fit technology constraints.
2. Underestimating Content Development Effort
Organizations routinely underestimate the time, effort, and resources required to:
- Research and verify historical achievements and records
- Gather photos, videos, and supporting materials
- Digitize physical materials at appropriate quality
- Write compelling descriptions and biographical information
- Organize content into logical, navigable structures
- Review, approve, and finalize content for publication
Reality check: Comprehensive content development for hall of fame boards typically requires:
- 100-200 hours for medium-sized programs (50-100 inductees)
- 200-500 hours for large programs (100-300 inductees)
- 500+ hours for comprehensive historical archives
These numbers assume existing materials are reasonably organized. Poorly documented programs require significantly more research time.
The solution: Budget adequate time and resources for content development. Consider hiring assistance for large digitization or research projects. Implement phased content approaches that launch with core content and expand over time.
3. Inconsistent Content Standards
Without clear standards, content quality varies dramatically:
- Inconsistent biographical information (some detailed, others sparse)
- Mixed image quality (professional photos alongside low-resolution snapshots)
- Varying levels of achievement documentation
- Inconsistent formatting and presentation styles
The solution: Develop detailed content templates and style guides before beginning content creation:
Content templates should specify:
- Required fields for each content type
- Optional supplementary information
- Image specifications (resolution, aspect ratio, file format)
- Video specifications (length, format, resolution)
- Text length guidelines (character counts for descriptions)
- Source documentation requirements
4. Ignoring Copyright and Permission Issues
Using photos, videos, or content without proper rights creates legal liability:
- Photos taken by professional photographers (owned by photographer, not subject)
- Media from publications, broadcasts, or websites (owned by publishers)
- Music or audio in video content (licensed separately from video)
- Images of people (publicity rights and privacy considerations)
The solution:
- Obtain written permissions for all content use
- Use only content you have rights to or that falls under fair use
- Document permission sources for future reference
- Consider having recognized individuals sign permission forms as part of induction processes
- Maintain permission documentation systematically
Systematic Content Development Process
Phase 1: Content Audit and Planning (Weeks 1-2)
- Inventory existing materials and identify content gaps
- Define content categories and organizational structure
- Create content templates and quality standards
- Establish approval workflows and responsibilities
- Develop content collection strategies
Phase 2: Content Gathering (Weeks 3-8)
- Launch systematic content collection campaigns
- Engage stakeholders (coaches, alumni, archivists)
- Research gaps in historical records
- Gather supplementary materials (photos, videos, documents)
- Verify accuracy of information
Phase 3: Content Processing (Weeks 9-14)
- Digitize physical materials at appropriate quality
- Edit and enhance photos and videos
- Write descriptions and biographical content
- Apply metadata and tags for organization
- Quality check against standards
Phase 4: Content Review and Approval (Weeks 15-16)
- Submit content through approval workflows
- Address feedback and make revisions
- Verify accuracy with subject matter experts
- Final quality assurance review
- Legal/compliance review for permissions
Phase 5: Content Upload and Testing (Weeks 17-18)
- Upload content to management system
- Configure organization and navigation
- Test on actual display hardware
- Verify rendering quality and performance
- Make adjustments based on testing
Successful content planning strategies treat content development as equal in importance to technical implementation, ensuring displays effectively serve recognition objectives from day one.
Mistake #6: Insufficient Budget Planning and Hidden Costs
Budget overruns plague hall of fame board projects when organizations underestimate true costs or fail to account for expenses beyond obvious hardware purchases. Comprehensive budget planning prevents surprises and ensures adequate resources for successful implementation.
The Budget Planning Problem
Common budgeting mistakes include:
1. Hardware-Only Budgeting
Focusing exclusively on display costs while ignoring:
- Professional installation labor
- Mounting hardware and materials
- Content management software (for digital systems)
- Content development and digitization
- Training and documentation
- Ongoing maintenance and support
- Replacement and upgrade reserves
2. Ignoring Infrastructure Upgrades
Existing facilities may require improvements:
- Electrical work (dedicated circuits, surge protection)
- Network upgrades (Ethernet drops, bandwidth increases)
- Structural reinforcement (wall strengthening for heavy displays)
- Climate control improvements (HVAC for heat management)
3. Underestimating Soft Costs
Non-hardware expenses that often exceed expectations:
- Staff time for project management and coordination
- Vendor evaluation and selection process
- Training development and delivery
- Launch events and promotional materials
- Documentation creation and system maintenance procedures
Comprehensive Budget Framework
For single display digital hall of fame implementation:
Core Implementation Costs
- Commercial Display (55-65"): $1,500-3,000
- Touchscreen Overlay: $1,000-2,000
- Computing Hardware: $500-1,000
- Mounting System: $200-400
- Software Platform: $1,500-3,000
- Professional Installation: $800-1,500
Subtotal: $5,500-10,900
Additional Project Costs
- Content Development: $1,000-3,000
- Infrastructure Upgrades: $500-2,000
- Training/Documentation: $500-1,000
- Project Management: $1,000-2,000
- Launch/Promotion: $300-800
- Contingency (10-15%): $800-1,500
Subtotal: $4,100-10,300
Total Realistic Budget Range: $9,600-21,200
Organizations that budget only for hardware ($3,000-5,000) face significant overruns when addressing the full scope of implementation requirements.
Funding Strategies
Options for financing hall of fame board projects:
1. Capital Equipment Budgets Permanent installations qualify as capital expenditures in most institutional budgets, accessing different funding streams than operational expenses.
2. Donor Recognition Campaigns Partner with fundraising initiatives that offset costs through naming opportunities or dedicated donations.
3. Phased Implementation Start with single display at highest-priority location, expanding to additional displays as budgets allow. Digital systems scale more easily than traditional displays.
4. Grant Programs Research available grants for educational technology, facility improvements, or community engagement projects that could fund hall of fame implementations.
5. Partnership Opportunities Engage corporate sponsors, booster clubs, alumni associations, or community organizations in cost-sharing arrangements.
Ongoing Cost Planning
Beyond implementation, budget for ongoing expenses:
Annual Operating Costs:
- Software licensing/subscription fees: $500-2,000
- Electricity (display operation): $100-300
- Internet/network costs: $0-500 (usually included in existing)
- Content updates and management: $500-2,000 (staff time or contractor)
- Routine maintenance: $200-500
Replacement Reserve: Plan for eventual hardware replacement (5-10 year lifecycle) by setting aside $500-1,000 annually toward future upgrades.
Comprehensive budget planning ensures projects stay on track financially and stakeholders understand true investment requirements before committing resources.
Mistake #7: Overlooking Accessibility and Universal Design
Accessibility compliance is both a legal requirement and an ethical imperative, yet many hall of fame board installations fail to adequately consider users with disabilities. These oversights create barriers to access and potential legal liability.
Accessibility Requirements for Recognition Displays
Physical Accessibility Standards (ADA Compliance):
Mounting Height:
- Bottom edge of display: 15-48 inches from floor
- Operable elements (touchscreen): 15-48 inches from floor
- Viewing zone: Accommodate both standing and seated users
Approach Space:
- Minimum 30×48 inches clear floor space in front of display
- Space positioning allows forward or parallel approach
- No obstructions within required clearance areas
Reach Ranges:
- Forward reach: 15-48 inches maximum height
- Side reach: 9-54 inches maximum height (if reach depth under 10 inches)
- Controls and interactive elements within reach ranges
Content Accessibility:
Visual Accessibility:
- High contrast text (minimum 4.5:1 contrast ratio)
- Readable font sizes (minimum equivalent to 18pt at viewing distance)
- Sans-serif fonts for better readability
- Color not sole indicator of information (use shape, text, or patterns too)
Interactive Accessibility:
- Touch target minimum 44×44 pixels
- Adequate spacing between interactive elements
- Alternative input methods (voice, keyboard, if applicable)
- Consistent, predictable navigation patterns
Cognitive Accessibility:
- Clear, simple language appropriate for reading levels
- Logical information organization
- Consistent design patterns throughout
- Appropriate pacing for animated or timed content
Assistive Technology Compatibility:
For digital systems, ensure compatibility with:
- Screen readers (if implementing online/mobile companion)
- Voice control systems
- Alternative input devices
- Text-to-speech functionality
Universal Design Principles
Beyond minimum compliance, universal design creates better experiences for all users:
1. Multiple Means of Access
- QR codes linking to mobile-friendly content versions
- Both touchscreen and on-screen navigation buttons
- Search functionality alongside browse/explore options
- Multiple language support when serving diverse communities
2. Flexible User Experience
- Adjustable text sizes or zoom functionality
- Audio descriptions for visual content
- Closed captions for video content
- Extended time for interaction before timeout
3. Intuitive Operation
- Self-evident controls requiring no instructions
- Clear feedback for user actions
- Forgiving error handling
- Easy recovery from mistakes
Testing with Diverse Users
Before finalizing installations, test with actual users representing diverse abilities:
- Wheelchair users evaluating approach space and reach
- Users with low vision testing text readability and contrast
- Elderly users assessing touch sensitivity and navigation clarity
- Users with cognitive differences evaluating information organization
Their feedback identifies accessibility barriers that able-bodied designers may overlook.
Legal Compliance Considerations
Public institutions must comply with:
- ADA Title II (state and local governments)
- ADA Title III (places of public accommodation)
- Section 504 (federally funded programs)
- WCAG 2.1 Level AA (web content, applies to digital content)
Private schools receiving federal funding also face accessibility obligations. Proactive compliance prevents expensive retrofits and potential legal action.
For comprehensive guidance on creating inclusive installations, see our article on digital wall of fame accessibility.
Mistake #8: Inadequate Staff Training and Change Management
Technology implementation succeeds or fails based on the people who manage and use it. Organizations that neglect staff training and change management find that expensive hardware sits underutilized or poorly maintained.
The Training and Adoption Challenge
Common staff preparation failures:
1. Assuming Systems Are Self-Explanatory
Even intuitive systems require training on:
- Content management procedures and workflows
- Update processes and schedules
- Quality standards and approval procedures
- Troubleshooting common issues
- Security and backup protocols
2. Training Only Technical Staff
Successful hall of fame boards require engagement from multiple groups:
- Content contributors (coaches, administrators, archivists)
- System administrators (IT staff, facilities personnel)
- Promotional advocates (communications, advancement)
- Executive sponsors (leadership who champion the system)
Each group needs appropriate training for their role and responsibilities.
3. One-Time Training Events
Single training sessions provide inadequate preparation:
- Information overload reduces retention
- No opportunity for practice and questions
- No refresher as memories fade
- New staff miss initial training
Comprehensive Training Program Structure
Multi-Level Training Approach:
Administrator Training (8-12 hours):
- Complete system management capabilities
- User account creation and permission management
- System configuration and customization
- Advanced troubleshooting techniques
- Backup and recovery procedures
- Analytics and reporting
- Security best practices
Content Manager Training (4-6 hours):
- Content creation and editing workflows
- Media preparation and optimization
- Content organization and tagging
- Quality assurance procedures
- Publishing and scheduling
- Basic troubleshooting
General Staff Training (1-2 hours):
- System overview and benefits
- Public-facing functionality
- How to promote the system
- Where to direct questions and issues
- Basic troubleshooting for common visitor problems
Ongoing Training Support:
- Written documentation and quick reference guides
- Video tutorials for common procedures
- Regular refresher sessions (quarterly or annual)
- New staff onboarding procedures
- Advanced training as capabilities expand
Change Management Strategies
Building Organizational Support:
1. Executive Sponsorship Secure visible support from leadership who:
- Communicate the strategic value of the system
- Allocate adequate resources for success
- Remove organizational barriers
- Celebrate wins and recognize contributors
2. Stakeholder Engagement Involve key stakeholders throughout the process:
- Gather input during planning phases
- Incorporate feedback in design decisions
- Communicate progress regularly
- Address concerns proactively
3. Phased Rollout Consider graduated implementation:
- Soft launch with limited user group
- Gather feedback and make adjustments
- Preview events for key stakeholders
- Public launch with promotional support
4. Communication Strategy Develop comprehensive communication plan:
- Pre-launch awareness building
- Clear explanation of benefits
- How-to guidance for users
- Regular updates on enhancements
- Success stories and recognition
Sustainability Planning
Ensure long-term success through:
Documentation:
- Comprehensive system documentation
- Standard operating procedures
- Troubleshooting guides
- Contact information for support
- Maintenance schedules and checklists
Knowledge Transfer:
- Cross-training to prevent single points of failure
- Succession planning for key system roles
- New staff onboarding procedures
- Institutional knowledge preservation
Continuous Improvement:
- Regular feedback collection from users
- Usage analytics review
- Feature requests and prioritization
- Systematic enhancement implementation
Organizations that invest in thorough training and change management realize significantly higher return on their technology investments through consistent, effective use of hall of fame boards for their intended purposes.
Mistake #9: Failure to Plan for Ongoing Maintenance and Updates
Hall of fame boards require ongoing attention to remain effective recognition tools. Organizations that treat them as “install and forget” projects find displays quickly become outdated, poorly maintained, and ineffective.
The Maintenance Planning Gap
Common maintenance oversights:
1. No Established Update Procedures
Without clear processes for adding new achievements:
- Updates happen inconsistently or not at all
- Quality varies depending on who makes updates
- Backlogs of pending updates frustrate stakeholders
- The system becomes quickly outdated
2. Unclear Maintenance Responsibilities
When no one owns system maintenance:
- Routine cleaning doesn’t happen
- Technical issues go unaddressed
- Content remains stale
- The display falls into disrepair
3. Inadequate Budget for Ongoing Costs
Failing to budget for ongoing expenses:
- Software subscriptions lapse
- Needed updates can’t be implemented
- Maintenance gets deferred
- System degrades over time
Comprehensive Maintenance Planning
Establish Clear Maintenance Schedules:
Daily/Weekly Tasks:
- Physical cleaning of display surfaces
- Quick functionality checks
- Monitoring for visible issues
Monthly Tasks:
- Thorough system checks
- Software updates and patches
- Content quality review
- Backup verification
- Usage analytics review
Quarterly Tasks:
- Comprehensive content audit
- Hardware inspection
- Network and security review
- Stakeholder feedback collection
- Feature enhancement evaluation
Annual Tasks:
- Major content updates
- System performance optimization
- Hardware maintenance (professional service)
- Training refreshers
- Strategic planning for enhancements
Define Clear Responsibilities:
Create responsibility matrix for:
- Content updates (who creates, reviews, publishes)
- Technical maintenance (who handles hardware, software, network)
- Physical cleaning (who performs routine and deep cleaning)
- User support (who handles questions and issues)
- System administration (who manages accounts, settings, security)
Establish Update Workflows:
For content updates:
- Submission process (who can submit, required information, submission method)
- Review and approval (who approves, what criteria, timeline)
- Processing (who formats, uploads, quality checks)
- Publishing (manual vs. scheduled, who authorizes)
- Verification (confirming accurate display, gathering feedback)
For system maintenance:
- Monitoring and issue identification
- Assessment and prioritization
- Resolution or escalation
- Testing and verification
- Documentation and knowledge capture
Long-Term Sustainability
Technology Refresh Planning:
Plan for eventual technology upgrades:
- Monitor hardware performance and condition
- Track software capabilities vs. emerging needs
- Budget replacement reserves annually
- Evaluate new features and enhancement opportunities
- Plan major upgrades for 5-7 year intervals
Content Strategy Evolution:
Continuously improve content:
- Regular enhancement of existing entries with new media
- Systematic filling of historical gaps
- Addition of new recognition categories
- Implementation of new content types (videos, interviews, etc.)
- Improved organization and navigation based on usage patterns
Measuring Success and Impact:
Track metrics demonstrating value:
- Engagement analytics (interaction time, visitors, popular content)
- Stakeholder satisfaction surveys
- Donor/alumni engagement indicators
- Recruitment and retention impacts
- Operational efficiency improvements (time/cost savings)
Use metrics to justify ongoing investment and continuous improvement budgets.
For detailed maintenance guidance, see our comprehensive maintenance and troubleshooting guide that covers all aspects of keeping your hall of fame board operating optimally.
Mistake #10: Ignoring Future Expansion and Scalability
Organizations often implement hall of fame boards focused exclusively on immediate needs without considering future growth, changing requirements, or expansion possibilities. This short-term thinking creates expensive retrofits or premature obsolescence.
The Scalability Problem
Common future-proofing failures:
1. Insufficient Physical Space Planning
Installing displays without room for expansion:
- No adjacent wall space for additional displays
- No way to accommodate growing recognition programs
- Forced to relocate entire installation to expand
2. Non-Scalable Technology Selections
Choosing systems that can’t grow:
- Single-display-only software platforms
- Hardware without expansion capabilities
- Proprietary systems with limited options
- Non-integrable solutions that can’t connect with other systems
3. Inflexible Content Architectures
Rigid organizational structures that don’t accommodate:
- New recognition categories
- Different content types
- Changing presentation needs
- Integration with other systems
Planning for Future Growth
Physical Space Considerations:
When selecting installation locations:
- Reserve adjacent wall space for future displays
- Choose locations that support multi-display configurations
- Plan infrastructure (power, network) for expansion
- Consider how additional displays integrate aesthetically
Technology Selection for Scalability:
Choose platforms that support:
- Easy addition of displays to existing systems
- Content sharing across multiple locations
- Centralized management of distributed displays
- Integration with existing and future systems
- Modular feature additions as needs evolve
Content Architecture Flexibility:
Design organizational structures that accommodate:
- New categories without complete reorganization
- Variable content types and formats
- Changing emphasis and priorities
- Integration of user-generated content
- Connection to external data sources
Infrastructure Over-Provisioning:
Plan infrastructure with headroom:
- Electrical capacity for additional displays
- Network bandwidth for expansion
- Mounting infrastructure that supports growth
- Physical space reserves for future needs
Evaluating Future-Ready Solutions
When assessing technology platforms, ask:
- How easily can we add displays to this system?
- Can content be shared across multiple locations?
- What integration capabilities exist with other systems?
- How does the vendor handle feature expansion and updates?
- What’s the upgrade path as technology evolves?
- Are we locked into proprietary systems or open standards?
When planning physical installations, ask:
- Where would we place a second/third display if needed?
- Does this location support future expansion?
- Have we planned infrastructure for growth?
- How would we reconfigure for changing needs?
Solutions like those offered by Rocket Alumni Solutions provide inherent scalability, allowing institutions to start with single displays and expand to comprehensive recognition systems as budgets and needs grow—without replacing initial investments.
Conclusion: Learning from Others’ Mistakes
The mistakes detailed in this comprehensive guide represent real problems encountered by institutions implementing hall of fame boards. By understanding these pitfalls, you can avoid the expensive corrections, disappointing results, and missed opportunities that plague organizations that rush into implementation without adequate planning.
The keys to successful hall of fame board implementation are:
- Thorough planning and needs assessment before any purchase decisions
- Appropriate display sizing based on actual space and viewing requirements
- Commercial-grade hardware selections for institutional durability
- Professional mounting and installation techniques
- Early content planning with adequate development resources
- Comprehensive budget including all implementation aspects
- Accessibility compliance and universal design principles
- Thorough staff training and change management
- Planned maintenance and sustainable operations
- Future-oriented thinking about expansion and evolution
Organizations that address these ten critical areas systematically create hall of fame boards that effectively honor achievements, engage communities, and deliver lasting value to their institutions.
Expert Implementation Support
While this guide equips you to avoid common mistakes, many organizations benefit from working with experienced implementation partners who have guided hundreds of successful projects. Rocket Alumni Solutions specializes in helping institutions navigate the complexities of hall of fame board implementation—from initial planning through successful launch and ongoing support.
Whether you’re planning traditional plaque installations or modern digital recognition systems, applying these lessons learned prevents expensive mistakes and ensures your hall of fame board achieves its recognition objectives effectively.
The difference between disappointing installations and highly successful recognition systems often comes down to avoiding these common pitfalls through careful planning, appropriate selections, and professional implementation. Your institution’s achievements deserve recognition displays that honor them properly—make decisions that ensure your hall of fame board succeeds in celebrating accomplishments for years to come.