



Key Takeaways
Learn athletic archive newton rings removal techniques to eliminate rainbow interference patterns from scanned historic team photos before they appear on hall of fame displays or inductee profiles.

The Physics of Newton Rings in Flatbed Scanning
Newton rings are named after Isaac Newton, who described the thin-film interference phenomenon in his 1704 publication Opticks while studying how light behaves when refracted and reflected through curved glass surfaces. The underlying principle applies directly to flatbed scanning of photographic prints.
When a photo rests on a scanner’s glass platen, the two surfaces appear to make contact but rarely do so uniformly. Microscopic surface variations in the photo paper or its emulsion create a wedge-shaped air gap—thicker in some areas, thinner in others. The scanner’s light source reflects from both the bottom surface of the photo and the top surface of the glass, producing two reflected beams that travel paths of slightly different lengths. Where the path length difference equals half a wavelength of visible light, those reflections cancel each other through destructive interference. Where it equals a full wavelength, they reinforce each other through constructive interference. Because this relationship holds for different wavelengths at different locations across the image area, the outcome in white-light scanning is a series of iridescent colored rings or sweeping rainbow bands.
In athletic archives, Newton rings appear most prominently in:
- Flat, uniformly lit backgrounds — plain studio backdrops used in individual athlete portraits
- Gymnasium floor surfaces — the large smooth floor visible in team group photos
- Jersey and uniform fabric — particularly smooth synthetic fabrics on late-era prints
- Sky areas in outdoor championship photos — broad blue or white regions with minimal tonal variation
The rings are an artifact of the scanning geometry, not a sign of damage to the original photograph. A glossy print that shows severe Newton rings on one scanner may scan cleanly on a different unit with better glass contact or an anti-Newton ring platen.
Why Athletic Archive Photos Are Especially Susceptible
Not all print types produce Newton rings equally. Athletic archives tend to concentrate the photo formats most prone to the artifact.
Glossy color prints from the 1970s through the 1990s represent a large portion of most institutional athletic archives. These prints were produced on high-gloss resin-coated (RC) paper that dries to a very smooth, flat surface—exactly the geometry that allows a thin, uniform air gap to form between the print and the scanner glass. The resulting interference pattern is consistent enough to produce clearly visible colored bands.
Older black-and-white fiber-base prints are flat and smooth in a different way. Fiber-base paper does not curl in the same manner as RC paper, meaning it can lie very flat on the platen and produce pronounced rings, particularly in large background areas common in formal team portraits.
Professionally printed championship photos and composite team portraits—often produced on high-gloss commercial stock—combine large flat areas with highly reflective surfaces, making Newton rings nearly inevitable on standard flatbed glass without specific preventive measures.
The fragility concern compounds the problem. Archival photographs that can only be handled once or twice before physical risk increases must be scanned correctly on the first pass. Discovering Newton ring artifacts after returning a fragile print to storage means either accepting the compromised scan or retrieving the photo for a second handling cycle.
Scanning Setup to Prevent Newton Rings at Source
Prevention is more reliable and less labor-intensive than post-scan removal. Several setup choices significantly reduce Newton ring risk before the scanner lid closes.
Anti-Newton Ring Glass
Anti-Newton ring (ANR) glass is the most dependable prevention measure for institutions scanning large volumes of archival athletic photos. ANR glass has a very fine surface texture—invisible at normal viewing distance—that interrupts the perfectly uniform air gap needed to produce interference patterns. Many professional flatbed scanners designed for photographic and graphic arts work include ANR glass as a standard or optional feature. For high-throughput archive projects, confirming whether a scanner uses ANR glass before purchase or rental is worth the inquiry.
Cleaning Protocol
Scan quality degrades significantly when either the photo surface or the platen carries dust or smudges. Clean both surfaces before each session:
- Use a lint-free microfiber cloth on the scanner glass to remove dust and fingerprints
- Use a soft camel-hair brush or air puffer on the photo surface—never apply liquids directly to historic prints
- Inspect both surfaces under a raking light before placing the photo
This cleaning step also protects against a secondary artifact: dust particles that create bright or dark spots independent of Newton ring patterns.
Photo Orientation on the Platen
Rotating the photo 5 to 10 degrees on the scanner platen shifts where the interference pattern forms relative to the image content. In practice, this often moves the heaviest ring areas toward a corner or edge of the scan rather than the center where athletes’ faces and numbers appear. The scan will require minor cropping to square the image, but this tradeoff is often worth it for photos where central areas are critical.
Lid Pressure and Contact
Scanner lids that do not apply firm, even contact across the photo surface allow the air gap to vary more dramatically, which worsens ring visibility. Check lid hinges for looseness and ensure the lid closes squarely. Some workflows use a thin foam pad on top of the closed lid to add gentle additional pressure for flat prints—useful when the lid alone does not provide sufficient contact.
Resolution and Format
Scanning athletic archive photos at 600 dpi produces files that are large enough to support cropping, retouching, and resizing for multiple output formats while retaining enough resolution to distinguish Newton ring artifacts from actual image detail during post-processing. The Library of Congress Digitization Program recommends 400 dpi as a minimum for photographic prints in archival contexts; 600 dpi for prints that will be enlarged or reproduced at larger sizes. Save archival masters as TIFF files; JPEG derivatives at 85–90 quality are suitable for display and upload to hall of fame platforms.
Identifying Newton Ring Artifacts Versus Other Scanning Problems
Before investing time in Newton ring removal, confirm that the artifact is actually a Newton ring rather than a different scanning problem requiring a different fix.
Newton rings appear as smooth, curved, iridescent bands of two or three colors (commonly pink, green, and blue in varying combinations) that span broad areas of the image. They are not random—the pattern has geometric regularity, following curves that roughly parallel the boundary of the contact area between photo and glass.
Scanner dust and debris appear as sharply defined dark or bright spots, repeating in the same position across multiple scans of different photos made without cleaning the glass between sessions.
Glass scratches produce linear artifacts along a consistent axis, often visible as faint lines crossing the entire frame in the scan direction.
Optical focus issues produce general softness across the image rather than localized color banding. Focus problems are consistent across the scan field or biased toward one edge.
JPEG compression artifacts appear as blocky 8x8 pixel squares, most visible around high-contrast edges, and result from how the file was saved rather than how it was captured.
When Newton rings are confirmed, the next decision is whether to rescan or retouch. Rescan when: the original equipment is unavailable or inferior, rings cross faces or critical detail areas, or the original is stable enough to handle again safely. Retouch when: the original has already been returned to storage, rings appear only in background areas, or the scanning conditions that caused the rings have been corrected for future scans but this file must be delivered promptly.
Post-Scan Newton Ring Removal Techniques
Frequency Separation in Adobe Photoshop
Frequency separation is the most precise post-scan removal method for archival athletic photos. It divides the image into two layers: a high-frequency layer containing sharp edge detail and fine texture, and a low-frequency layer containing broad tonal and color information. Newton rings live almost entirely in the low-frequency layer because they span large areas with gradual color transitions.
Basic workflow:
- Open the scanned file and duplicate the background layer twice
- Name the upper duplicate “High Frequency” and the lower “Low Frequency”
- Apply a Gaussian blur to the Low Frequency layer—radius typically 3–10 pixels depending on the size of the rings
- With the High Frequency layer active, go to Image > Apply Image; set the Source to the Low Frequency layer, blending to Subtract, Scale 2, Offset 128
- Change the High Frequency layer blending mode to Linear Light
- The Low Frequency layer now holds only the broad tonal information, including Newton rings
- Work on the Low Frequency layer with the Healing Brush or Clone Stamp, sampling ring-free areas to paint over ring areas—the fine photographic detail in the High Frequency layer remains untouched
This approach corrects rings without softening the sharp detail in athletes’ faces, jersey numbers, or name placards.
Targeted Hue/Saturation Adjustment
For rings with strong color saturation against a neutral background—common on plain studio backdrops in portrait sessions—a targeted Hue/Saturation adjustment is faster than frequency separation:
- Add a Hue/Saturation adjustment layer
- From the color range dropdown, select the dominant ring color (typically Reds, Magentas, Greens, or Cyans depending on the specific scan)
- Reduce Saturation for that range until the ring colors blend with the surrounding background
- Use the adjustment layer mask to restrict the correction to the ring-affected area, protecting correctly-colored portions of the image such as uniform colors or skin tones
This method works well for mild rings in single-color backgrounds but is less precise when rings cross varied-hue areas like patterned stands or multi-colored scoreboards in team photo backgrounds.
Healing Brush for Localized Rings
When rings appear in a limited region of an otherwise clean scan, using the Healing Brush directly on the composite image without frequency separation is faster and often sufficient:
- Select the Healing Brush (not Spot Healing Brush)
- Set Sample to All Layers and Aligned off
- Alt/Option-click a ring-free area near the affected region to set a clean sample point
- Paint over the ring area using strokes parallel to the ring bands
- Reduce brush opacity to 50–70% for gradual blending over rings that transition smoothly into surrounding tones
This approach risks slightly softening fine detail if the brush samples across a tonal boundary, so use it on background and floor areas rather than directly over athletes.
Adobe Lightroom Local Adjustments
Lightroom Classic’s Adjustment Brush and Radial Filter tools support localized Hue, Saturation, and Luminance corrections that can reduce mild Newton rings without requiring Photoshop:
- Apply an Adjustment Brush or Radial Filter over the ring area
- Use the HSL panel within the local adjustment to shift Hue and reduce Saturation for the dominant ring color
- Feather the mask edges to blend corrections naturally
Lightroom corrections are less precise than Photoshop frequency separation for severe rings but are faster for batch workflows where most images have only minor artifacts in peripheral areas.
Free Tools: GIMP and Nik Collection
Schools operating without Adobe Creative Cloud licenses have workable alternatives. GIMP (free, open source) includes Heal Selection (Script-Fu > Heal Selection) and Clone tools that parallel Photoshop’s capabilities. The Colors > Hue-Saturation function supports per-channel adjustments equivalent to Photoshop’s targeted Hue/Saturation approach. GIMP Script-Fu can automate repetitive steps across a folder of scans.
Nik Collection (free from DxO as of this writing) includes Viveza, which applies control-point-based local color corrections. Place control points over ring areas, reduce Saturation and adjust Hue locally, and the correction blends automatically based on tonal similarity to neighboring pixels.
Batch Strategies for Large Athletic Archive Projects
Athletic archives that contain photographs spanning 30 to 60 years often represent hundreds of scanned images—too many to address individually without a systematic workflow.
Triage Before Retouching
Not every scan with Newton rings requires the same depth of correction. Triage incoming scans into three groups before opening Photoshop:
- Priority A: Scheduled for hall of fame inductee profiles or active display — Requires full frequency separation correction regardless of ring severity
- Priority B: Background archive, not scheduled for display — Correct rings that cross faces or key detail; accept rings in background areas only if they do not detract from the primary subjects
- Priority C: Documentation copies only — Note the artifact in metadata but defer correction until the image is scheduled for display use
Photoshop Actions for Repeatable Setup
Create a Photoshop Action that automates the frequency separation layer setup—the most time-consuming reproducible step in the workflow. The Action should duplicate the background layer, name each copy, apply the Gaussian blur to the Low Frequency layer, apply the Apply Image command to the High Frequency layer, and set the blending mode. The manual correction work cannot be automated since ring placement varies by image, but eliminating the setup steps saves several minutes per image across a large project.
Batch Scanning with Consistent Settings
Establishing a documented scan profile—scanner model, glass condition, resolution, color profile, bit depth, file format—and applying it consistently across an archive project makes post-scan correction more predictable. Rings produced under consistent conditions respond to consistent correction parameters, which makes Photoshop Actions more effective. Variable scanning conditions produce variable ring characteristics that resist batch correction.
Scanning sports-specific collections by sport and era before mixing into a general archive also helps: track and field photo collections from a specific decade share similar paper stock, print size, and condition characteristics, making ring patterns more uniform within the batch.
From Corrected Scans to Digital Recognition Displays
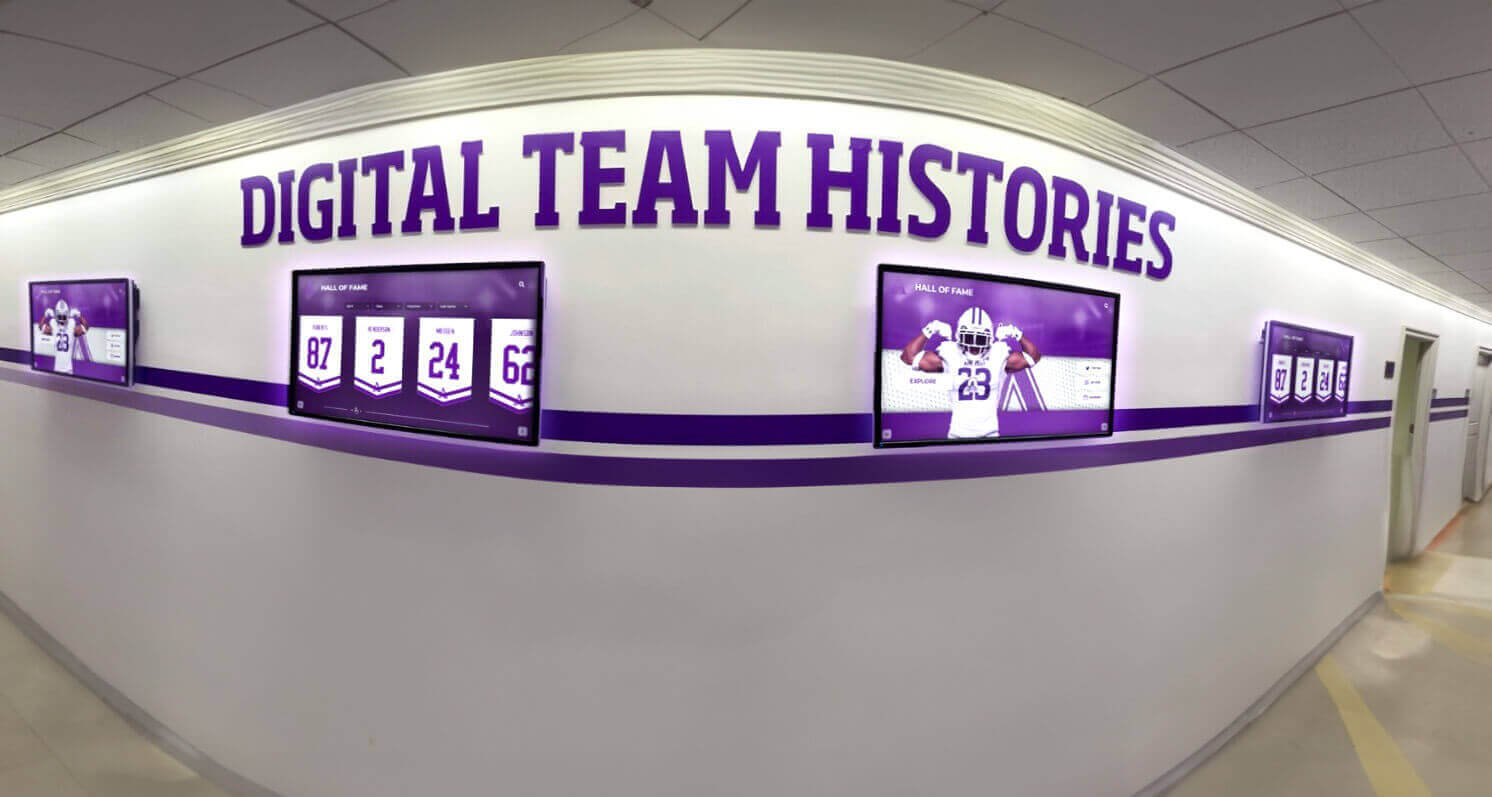
Clean athletic archive scans do more than satisfy an archivist’s quality standard—they determine what visitors, students, and inductee families see when they interact with a school’s hall of fame.
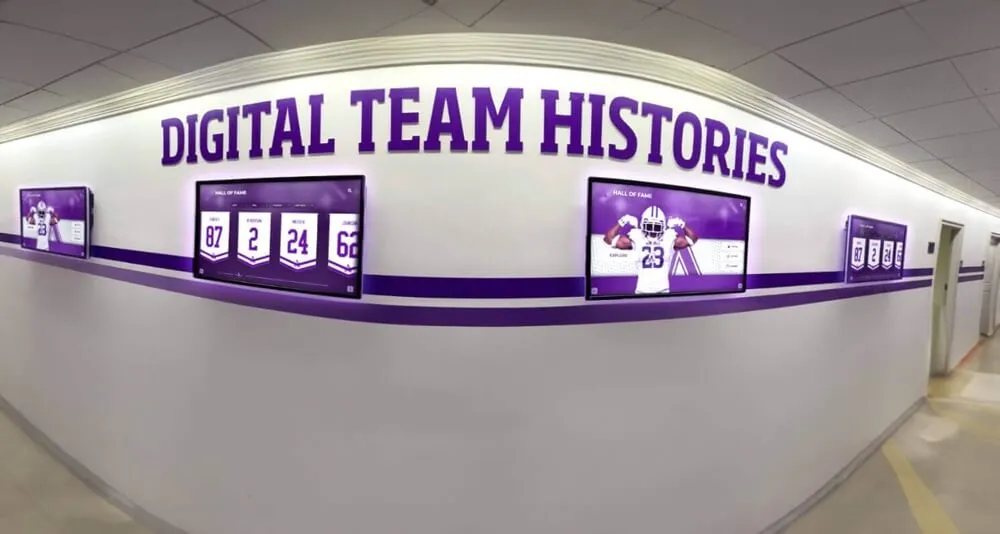
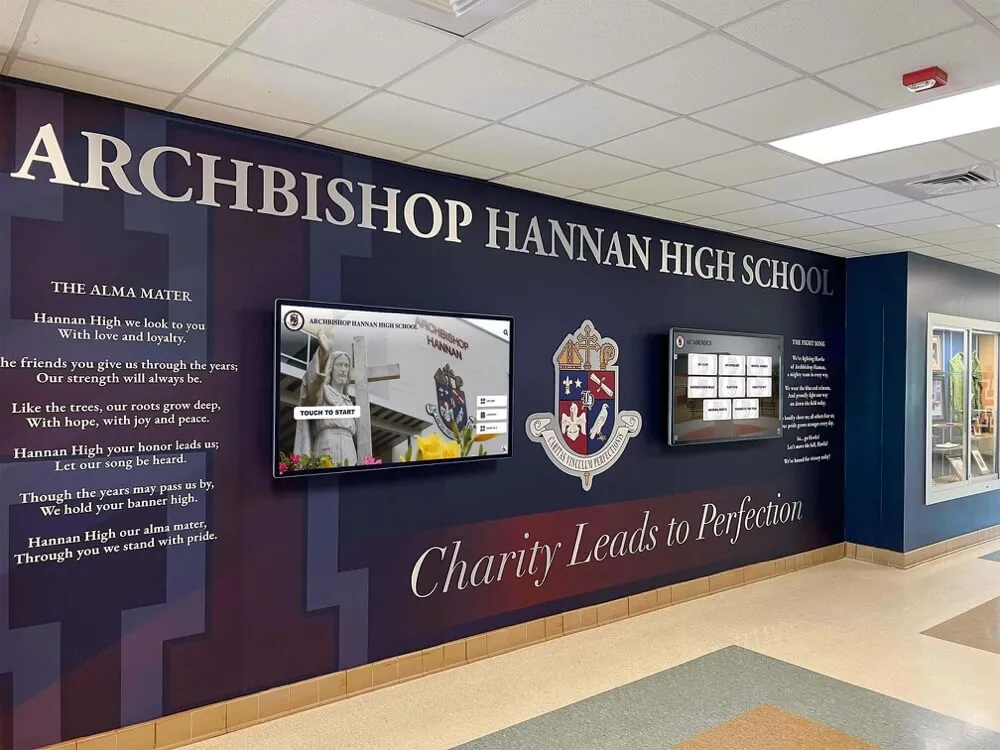
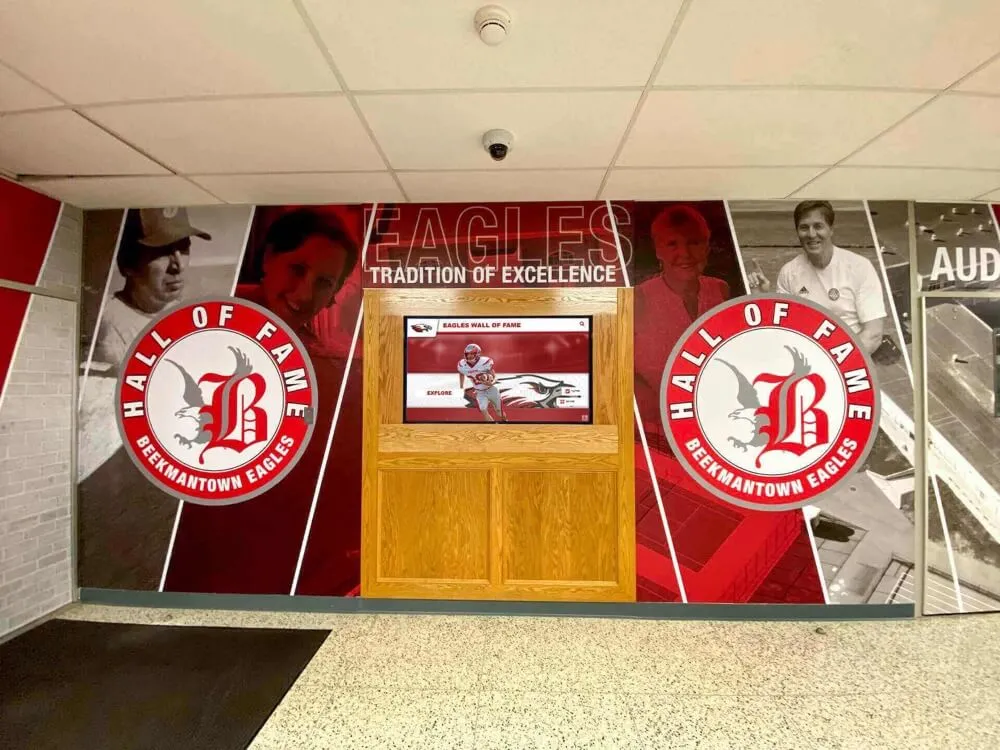
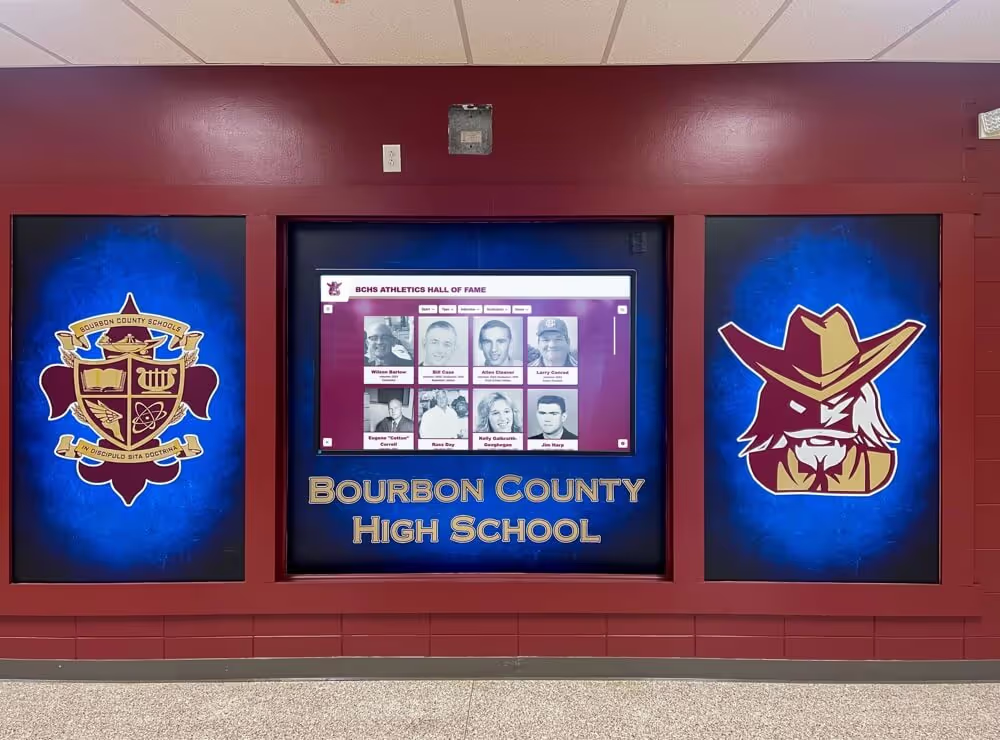
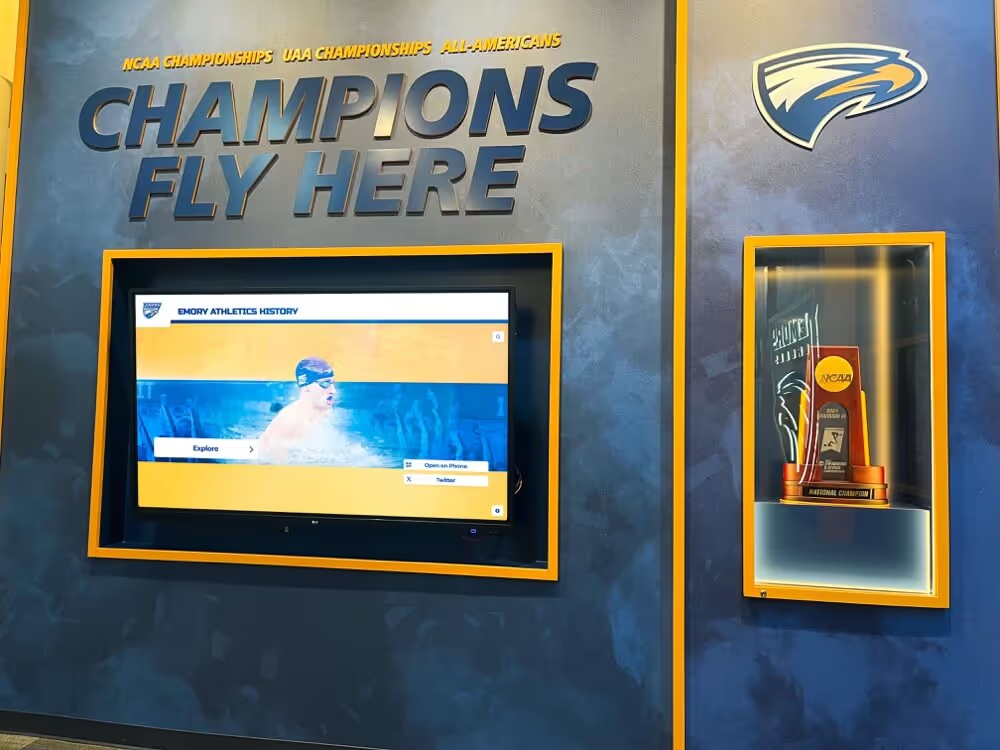
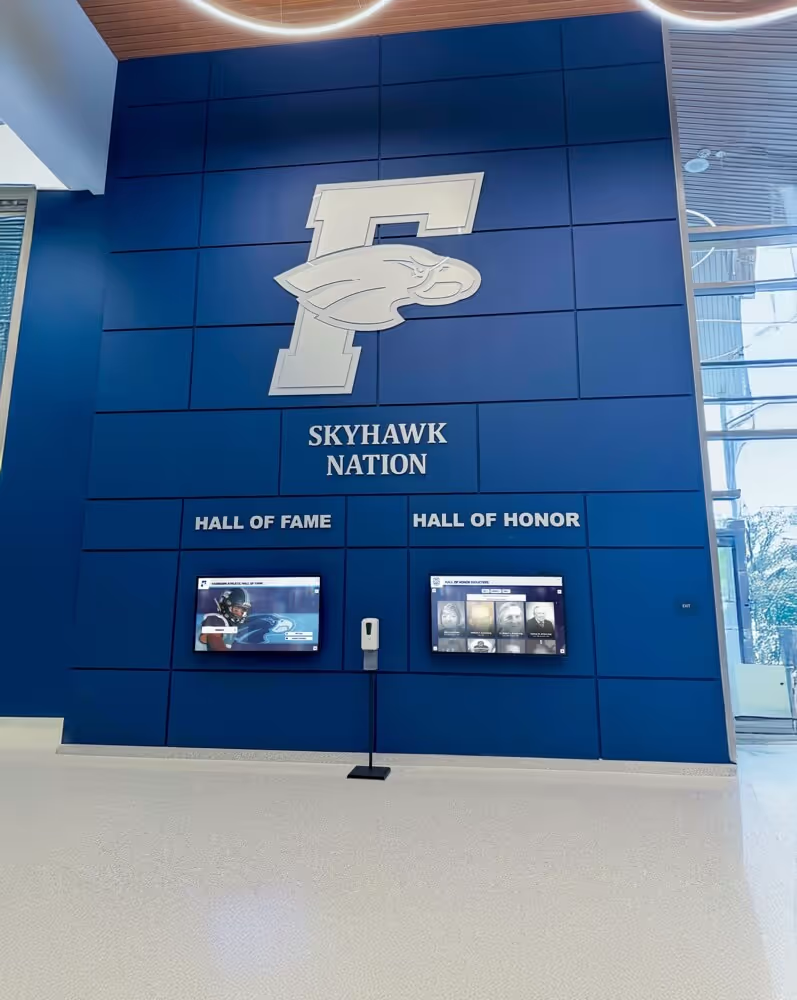
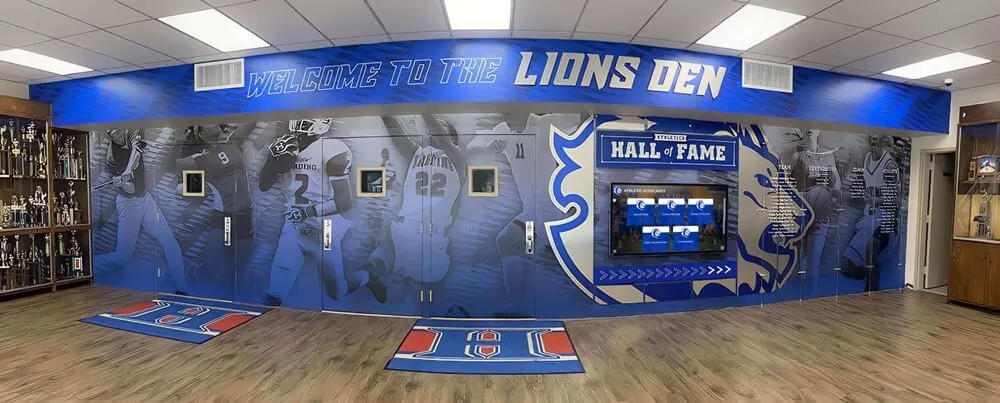
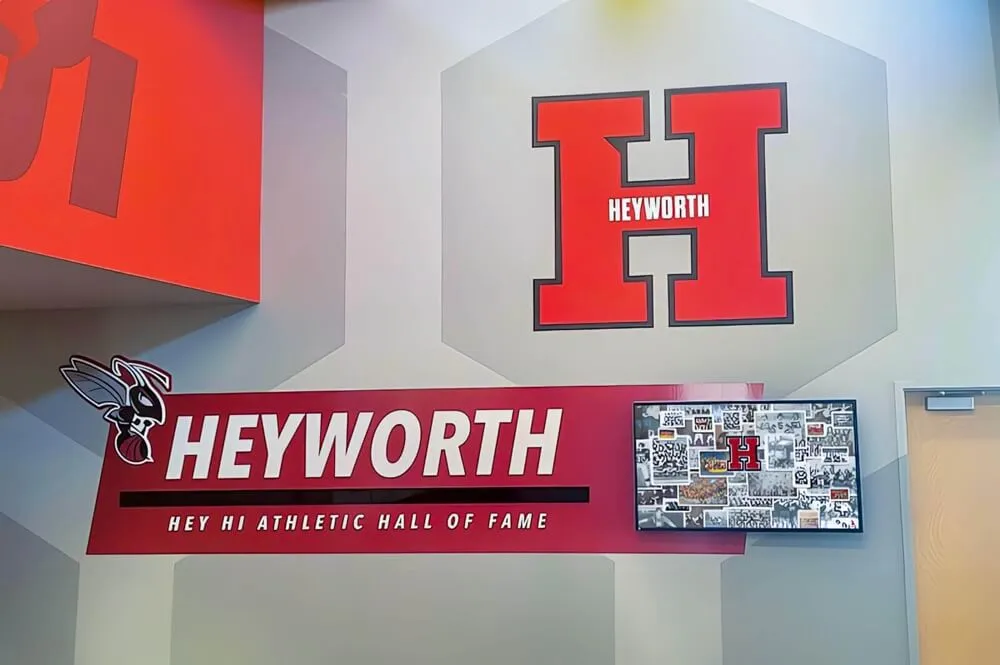
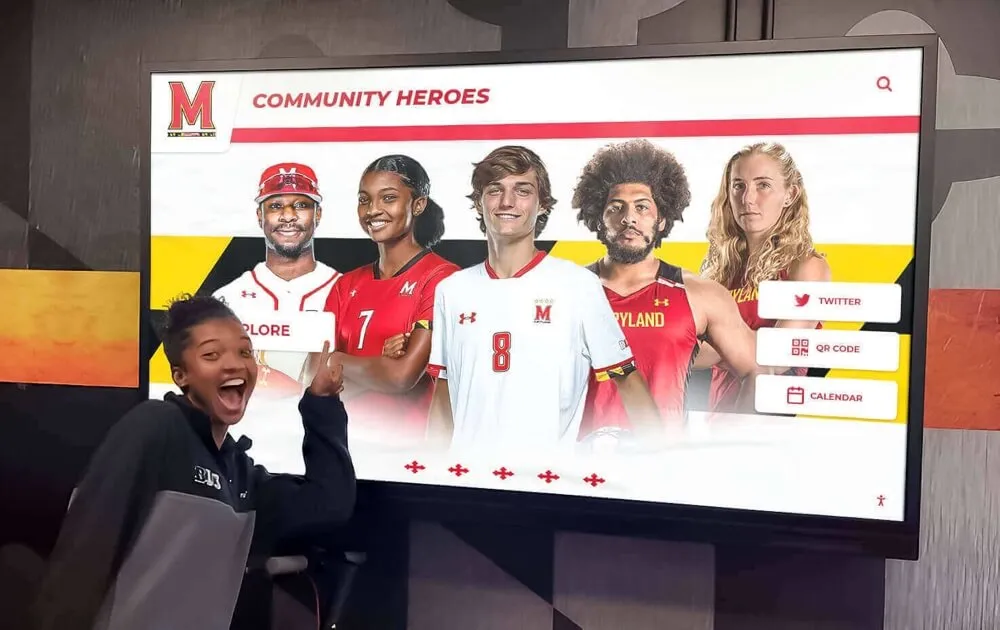
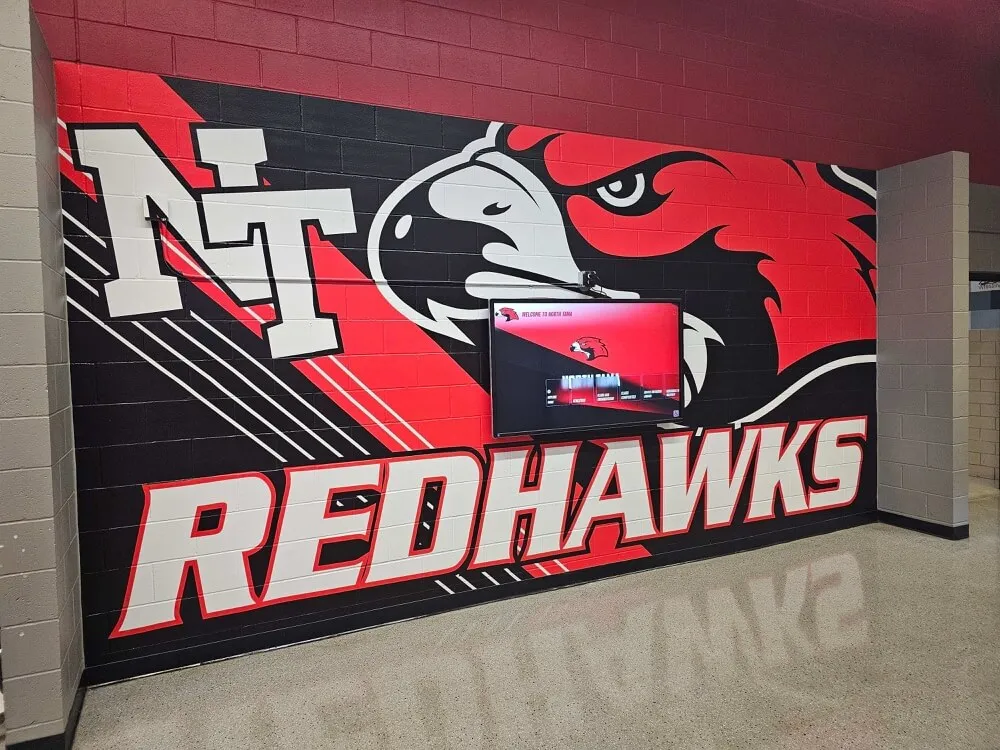
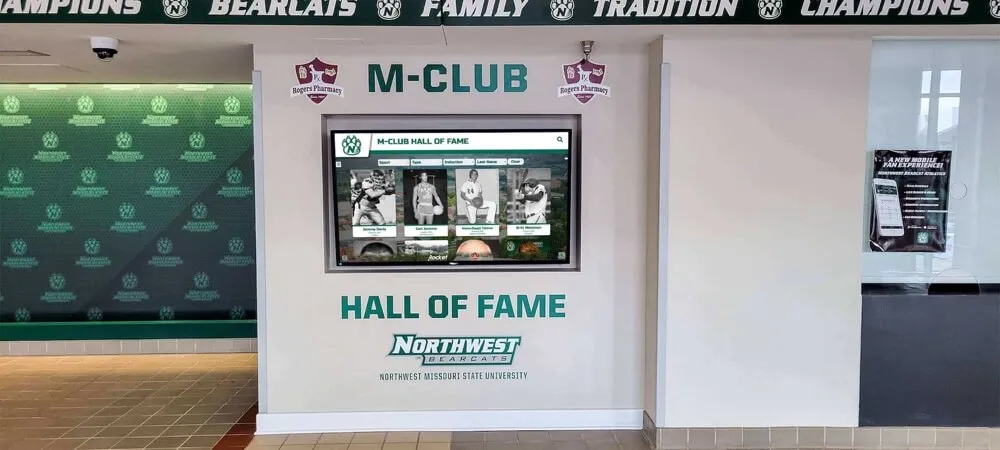
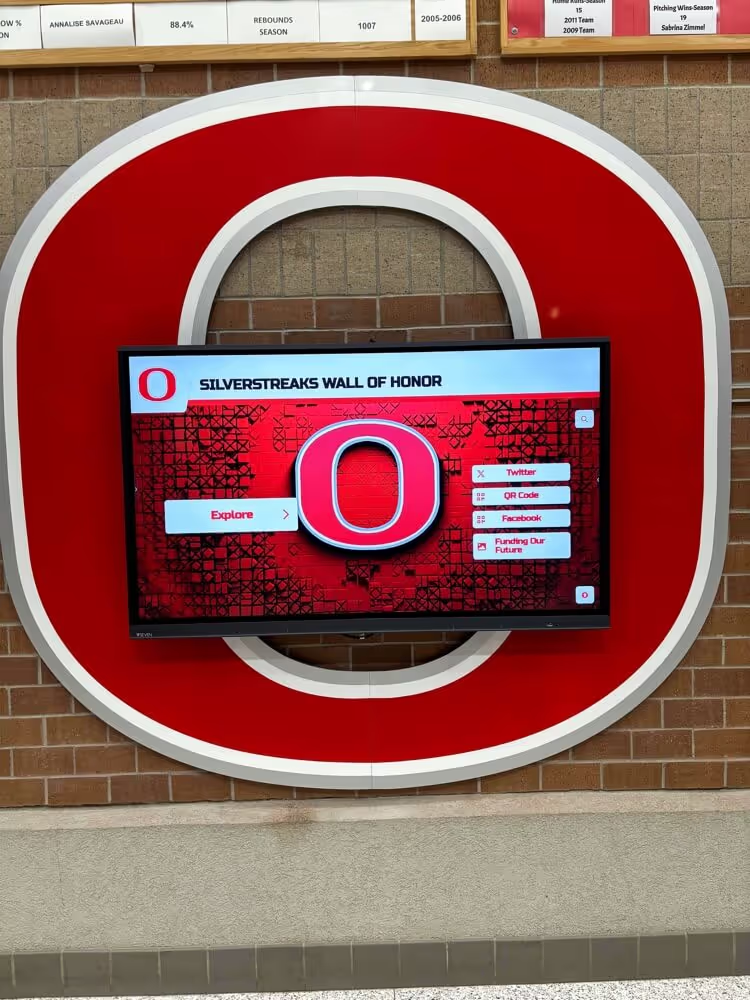
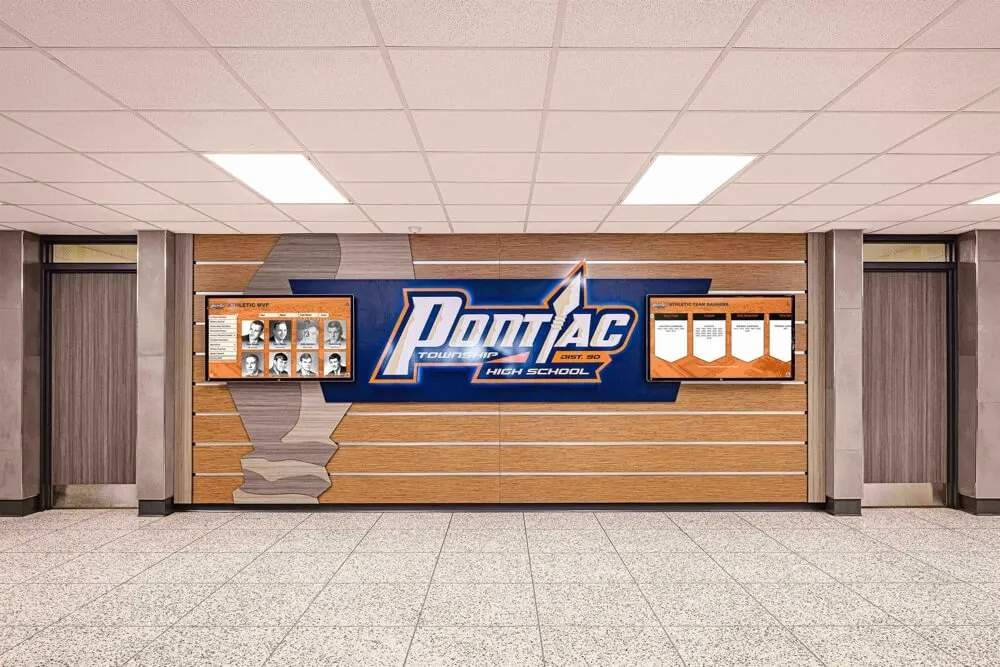
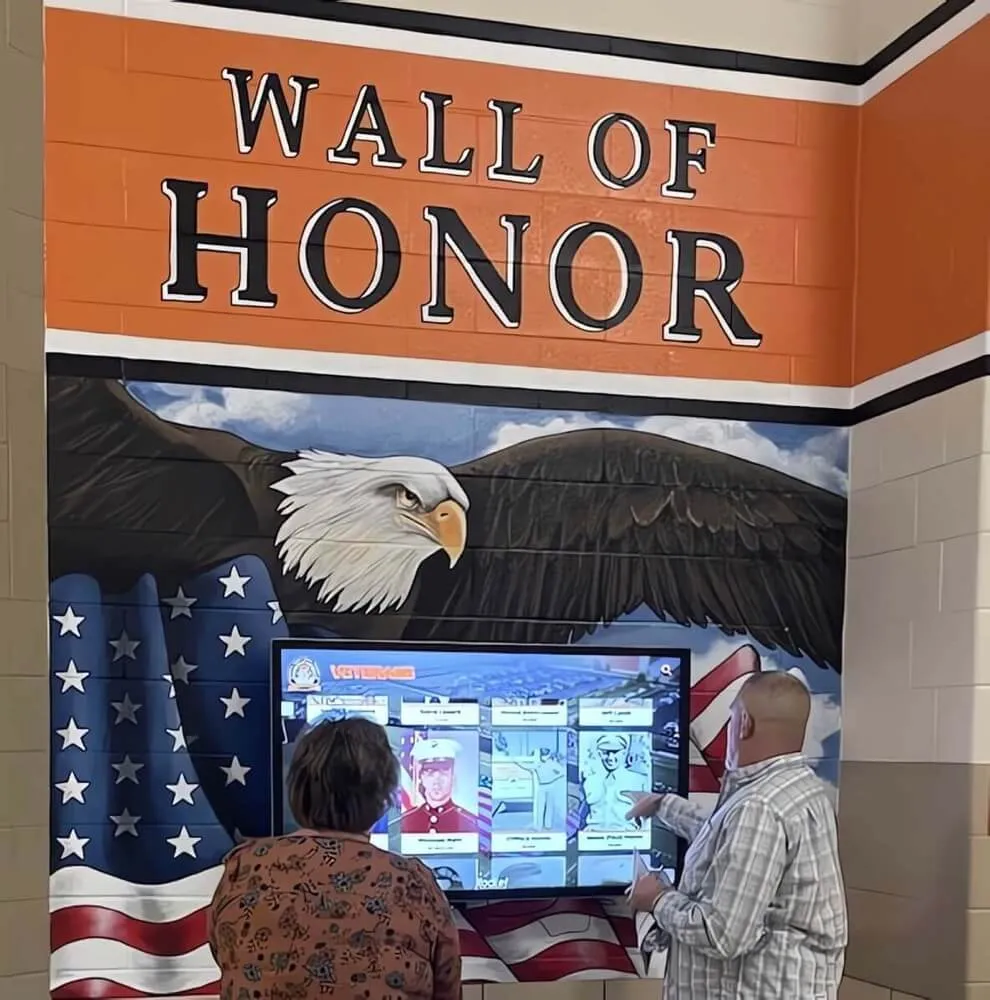
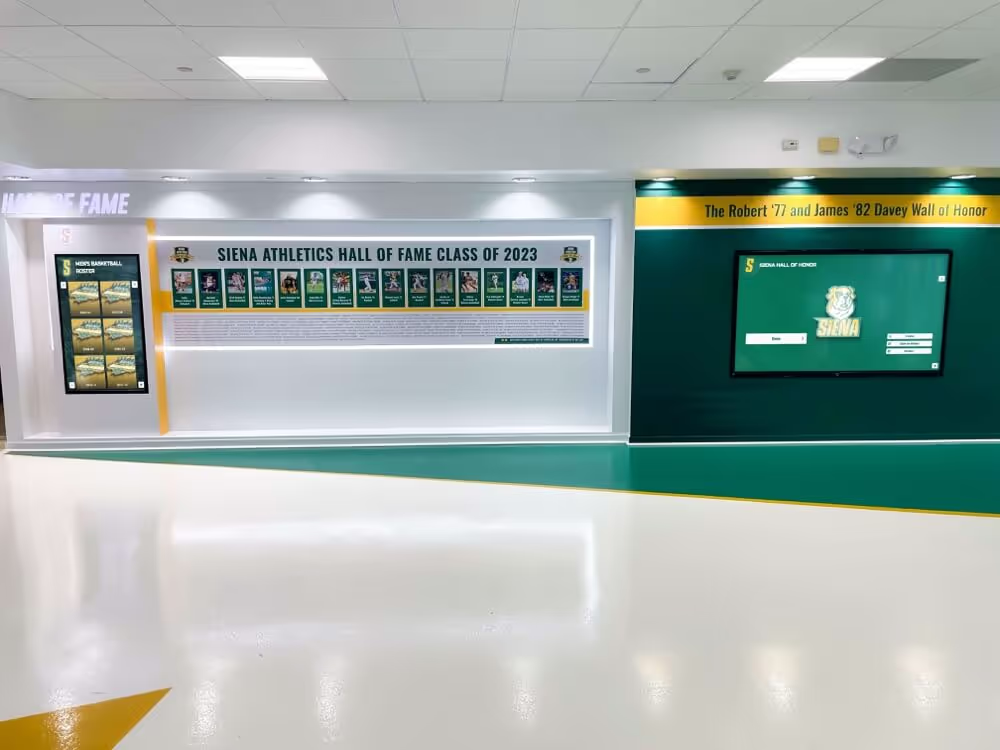
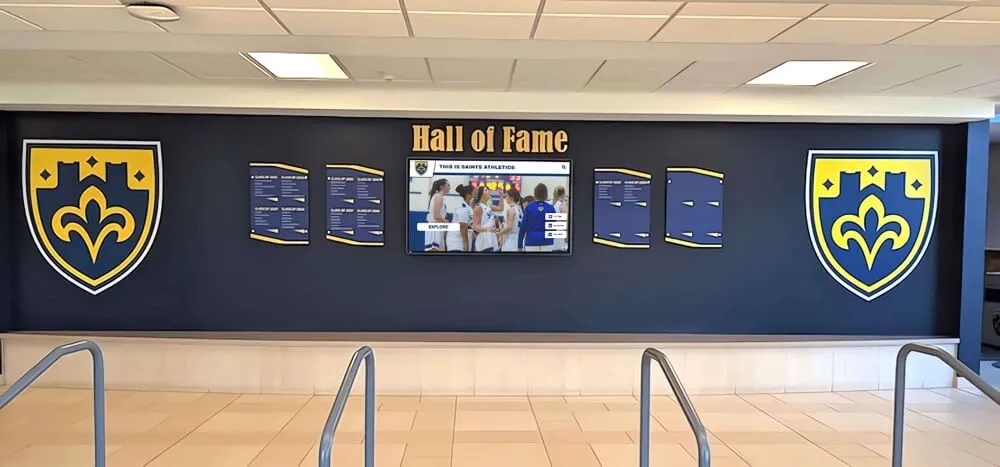
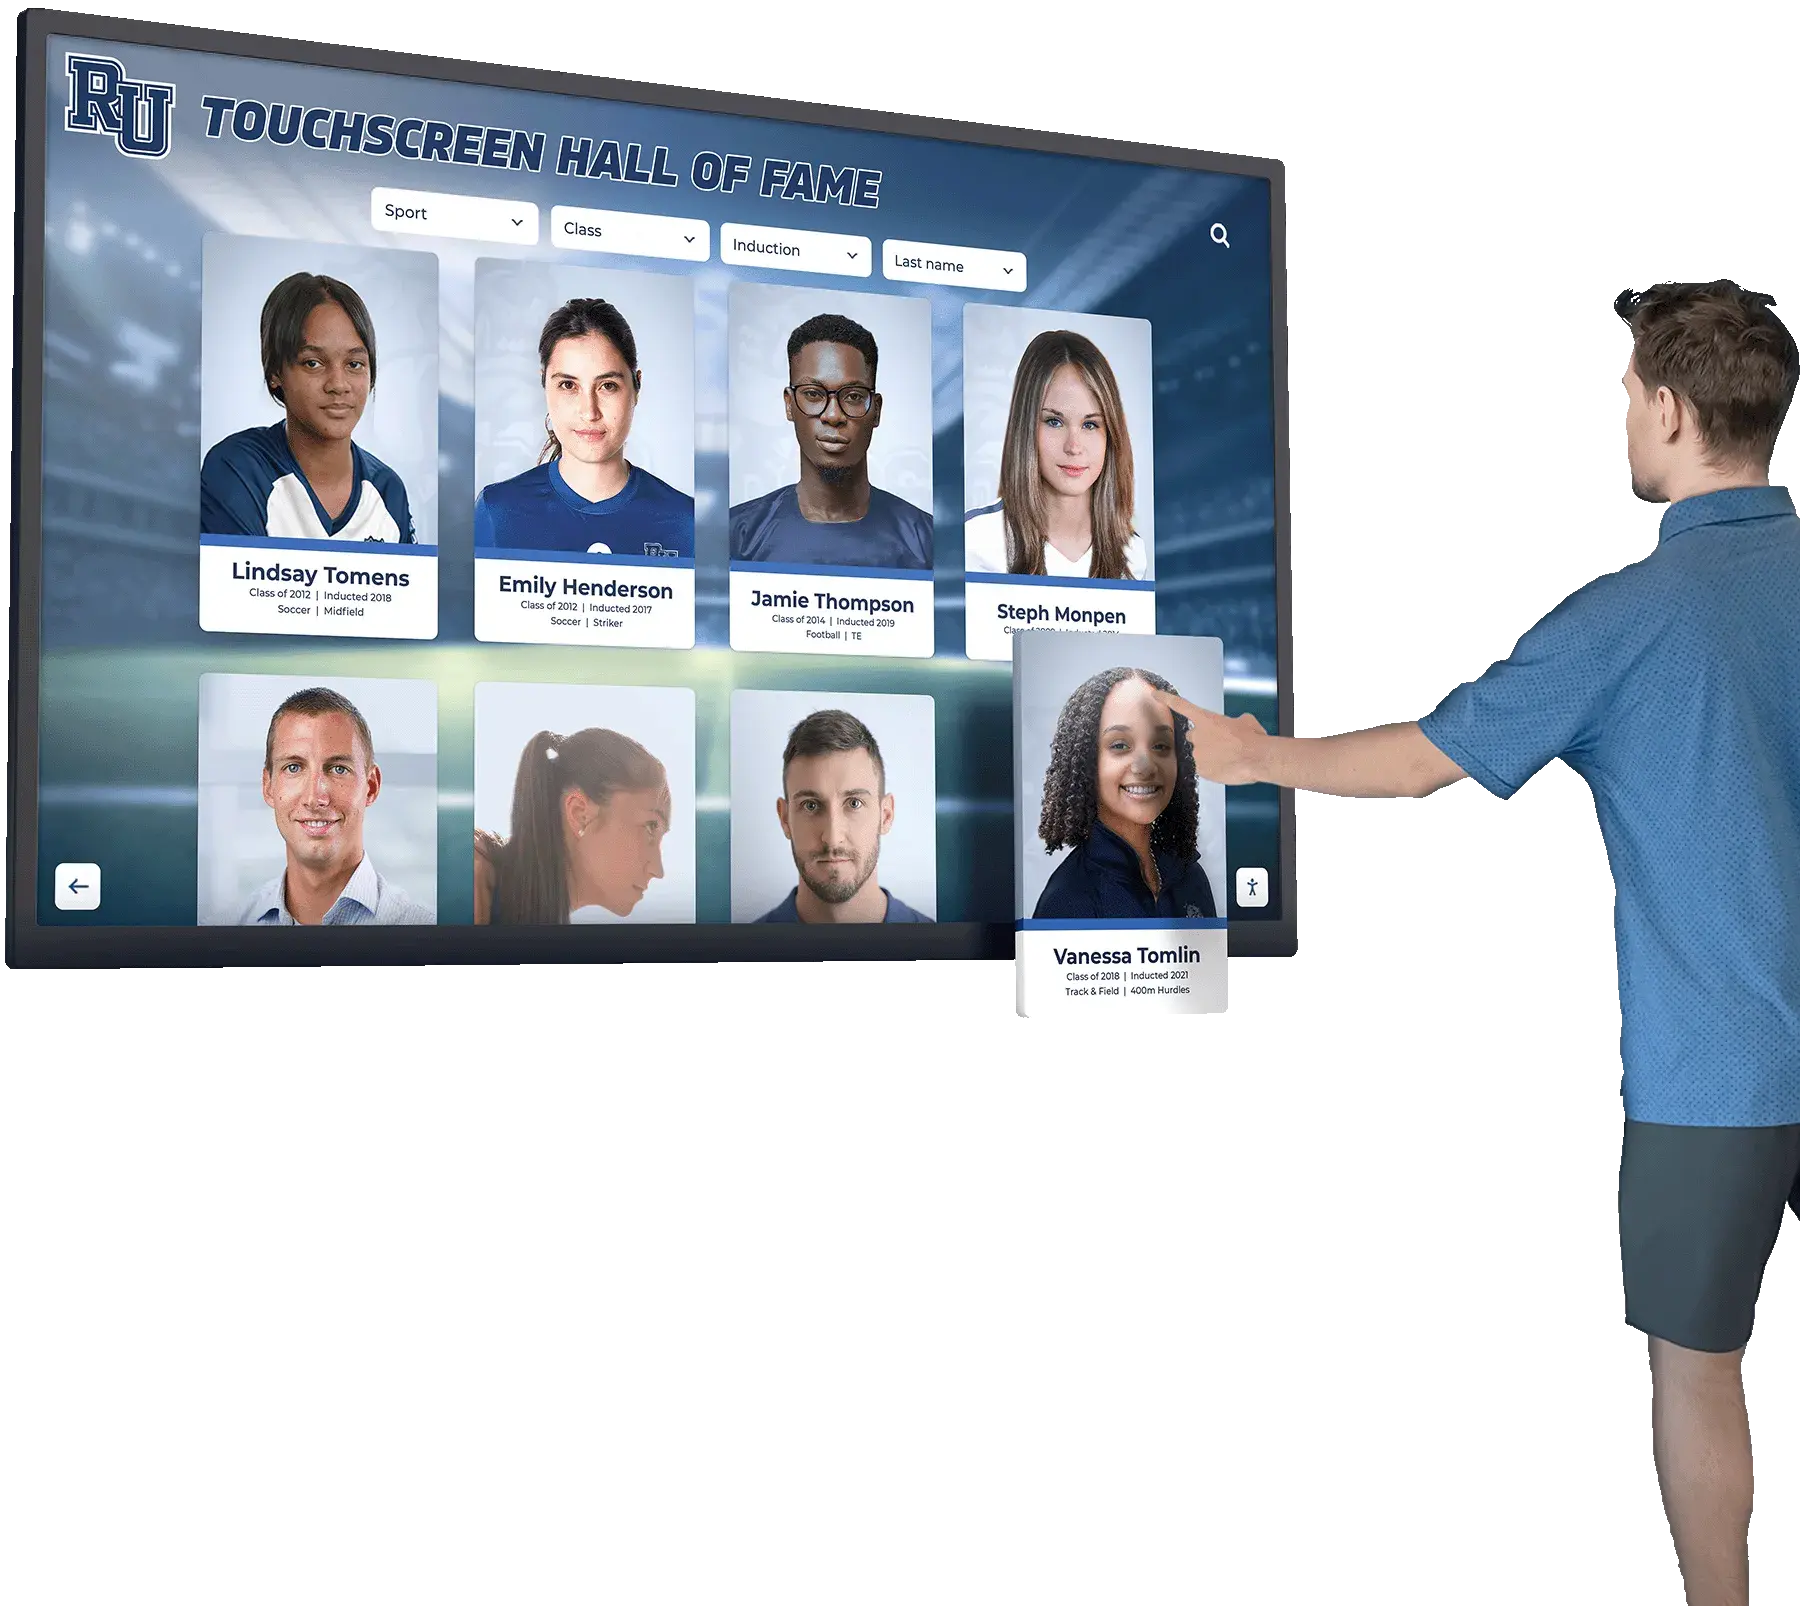
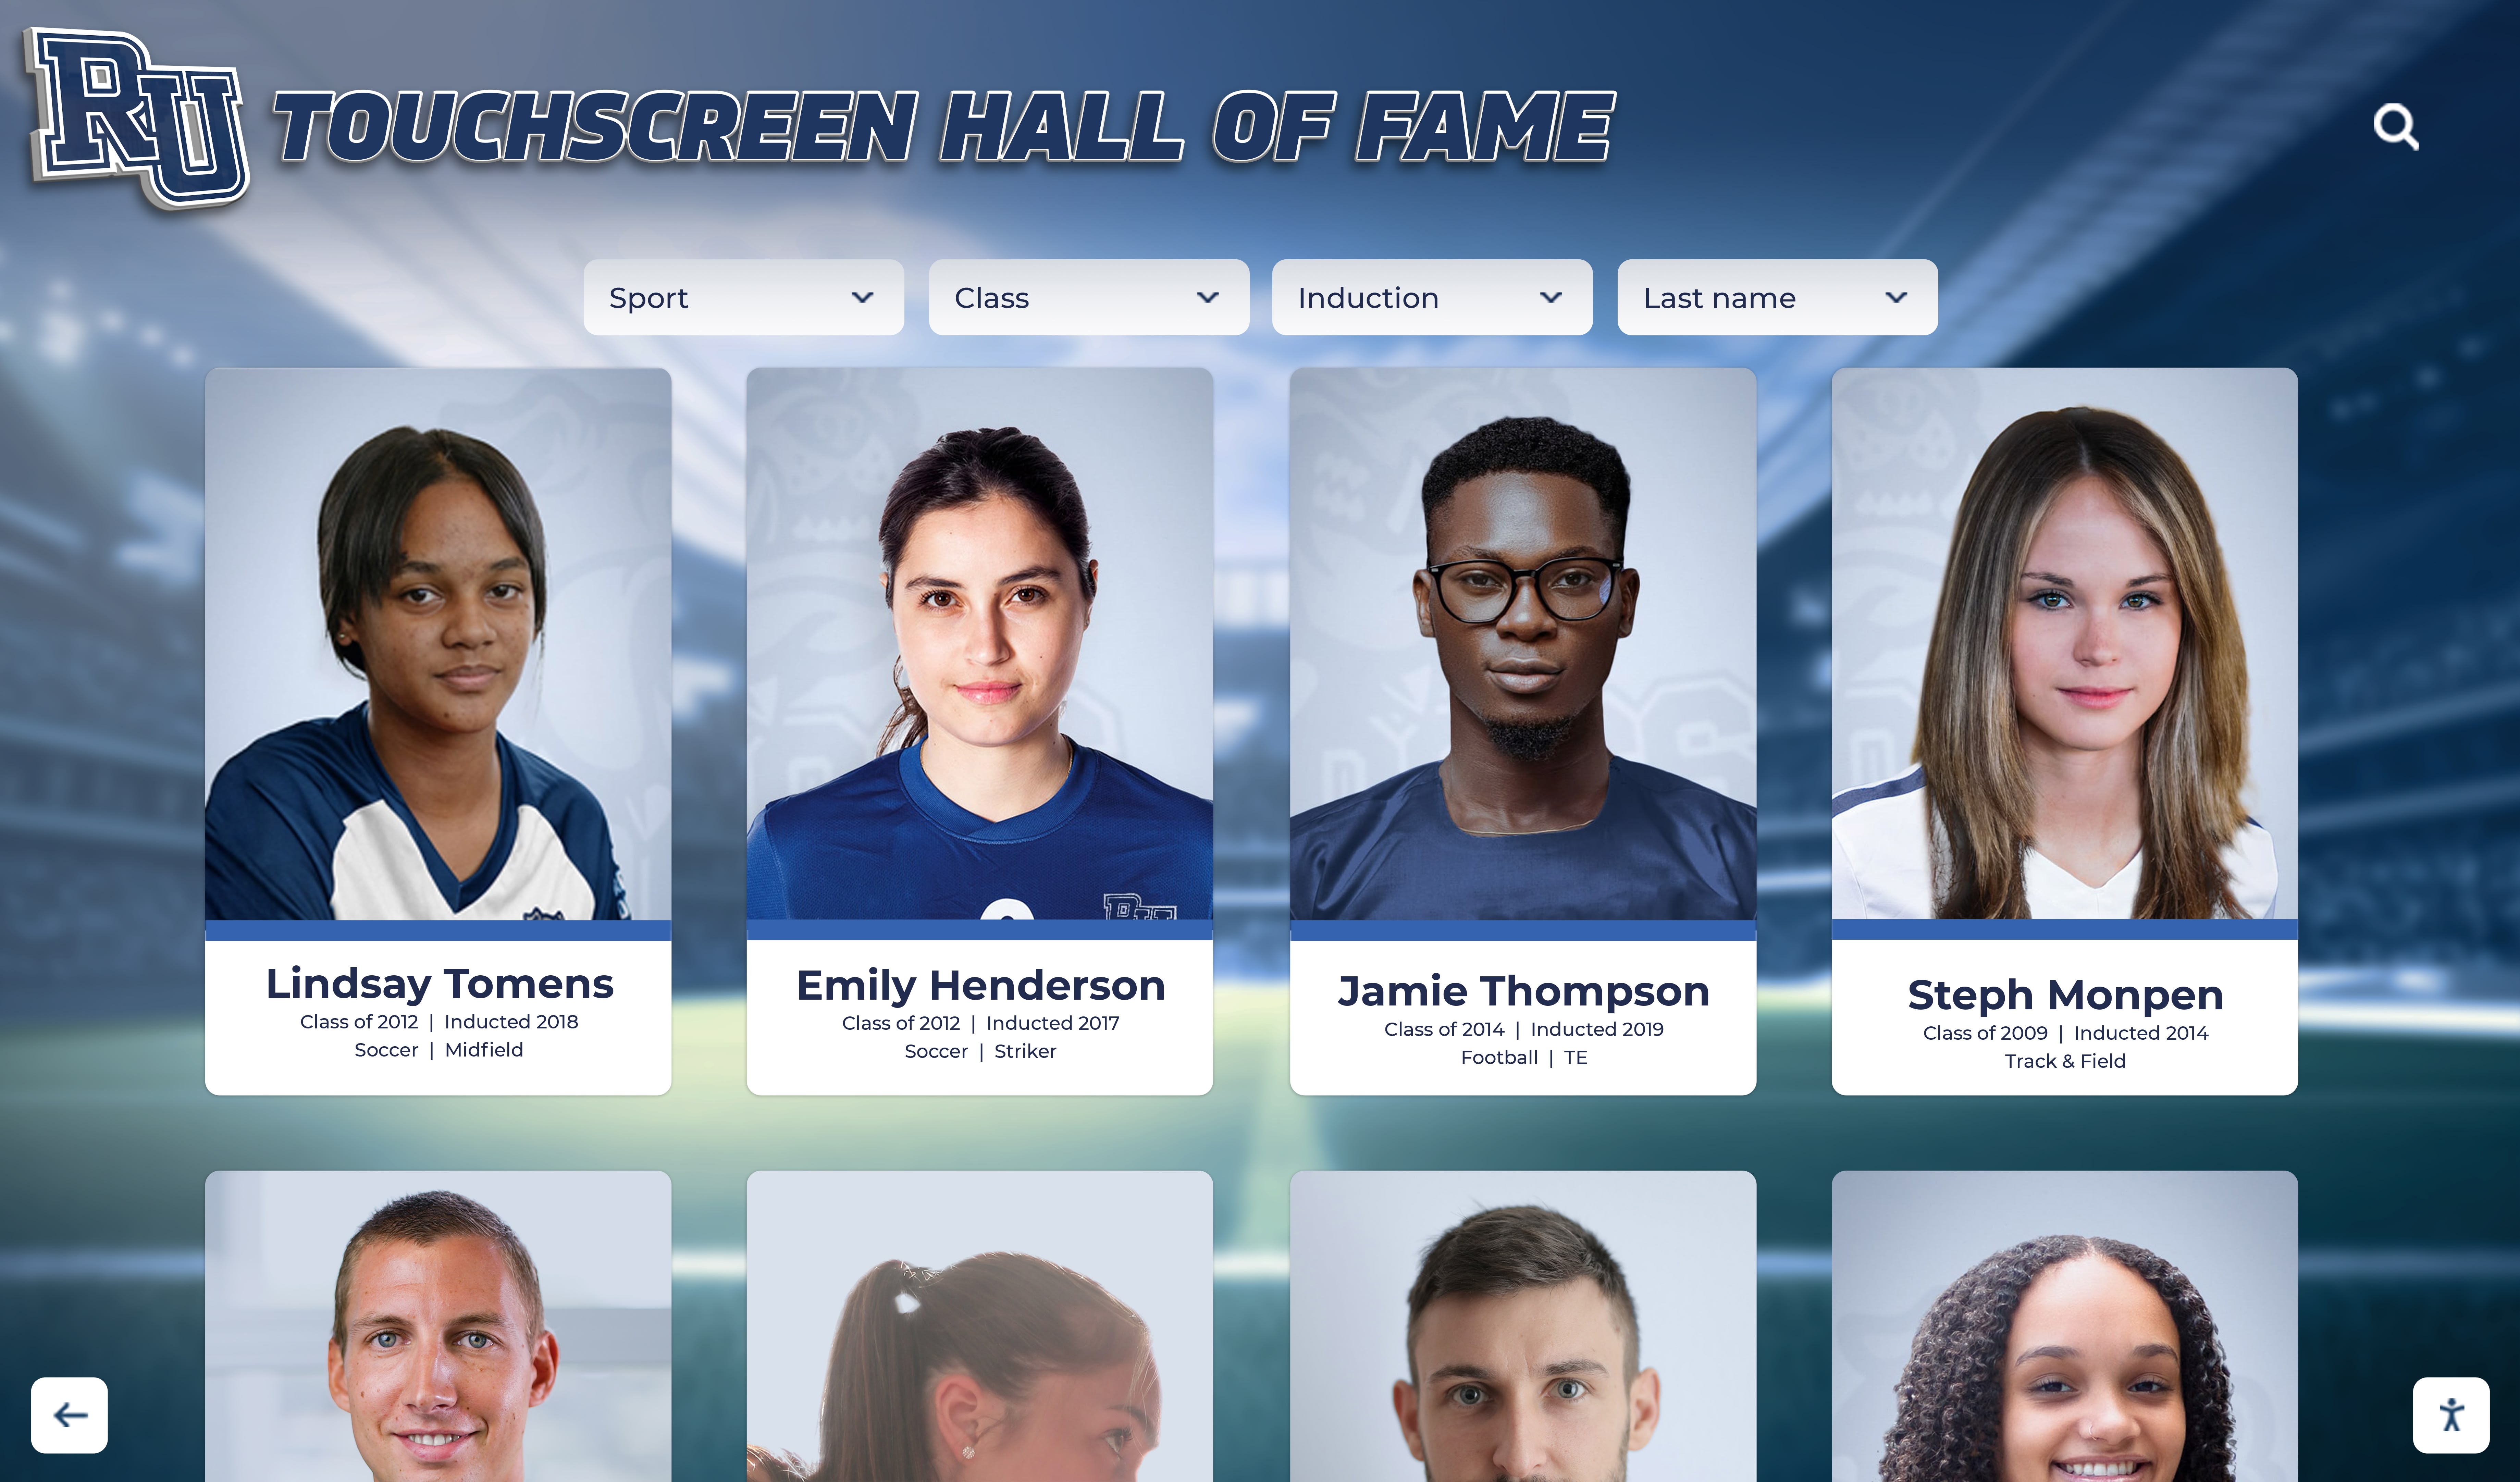
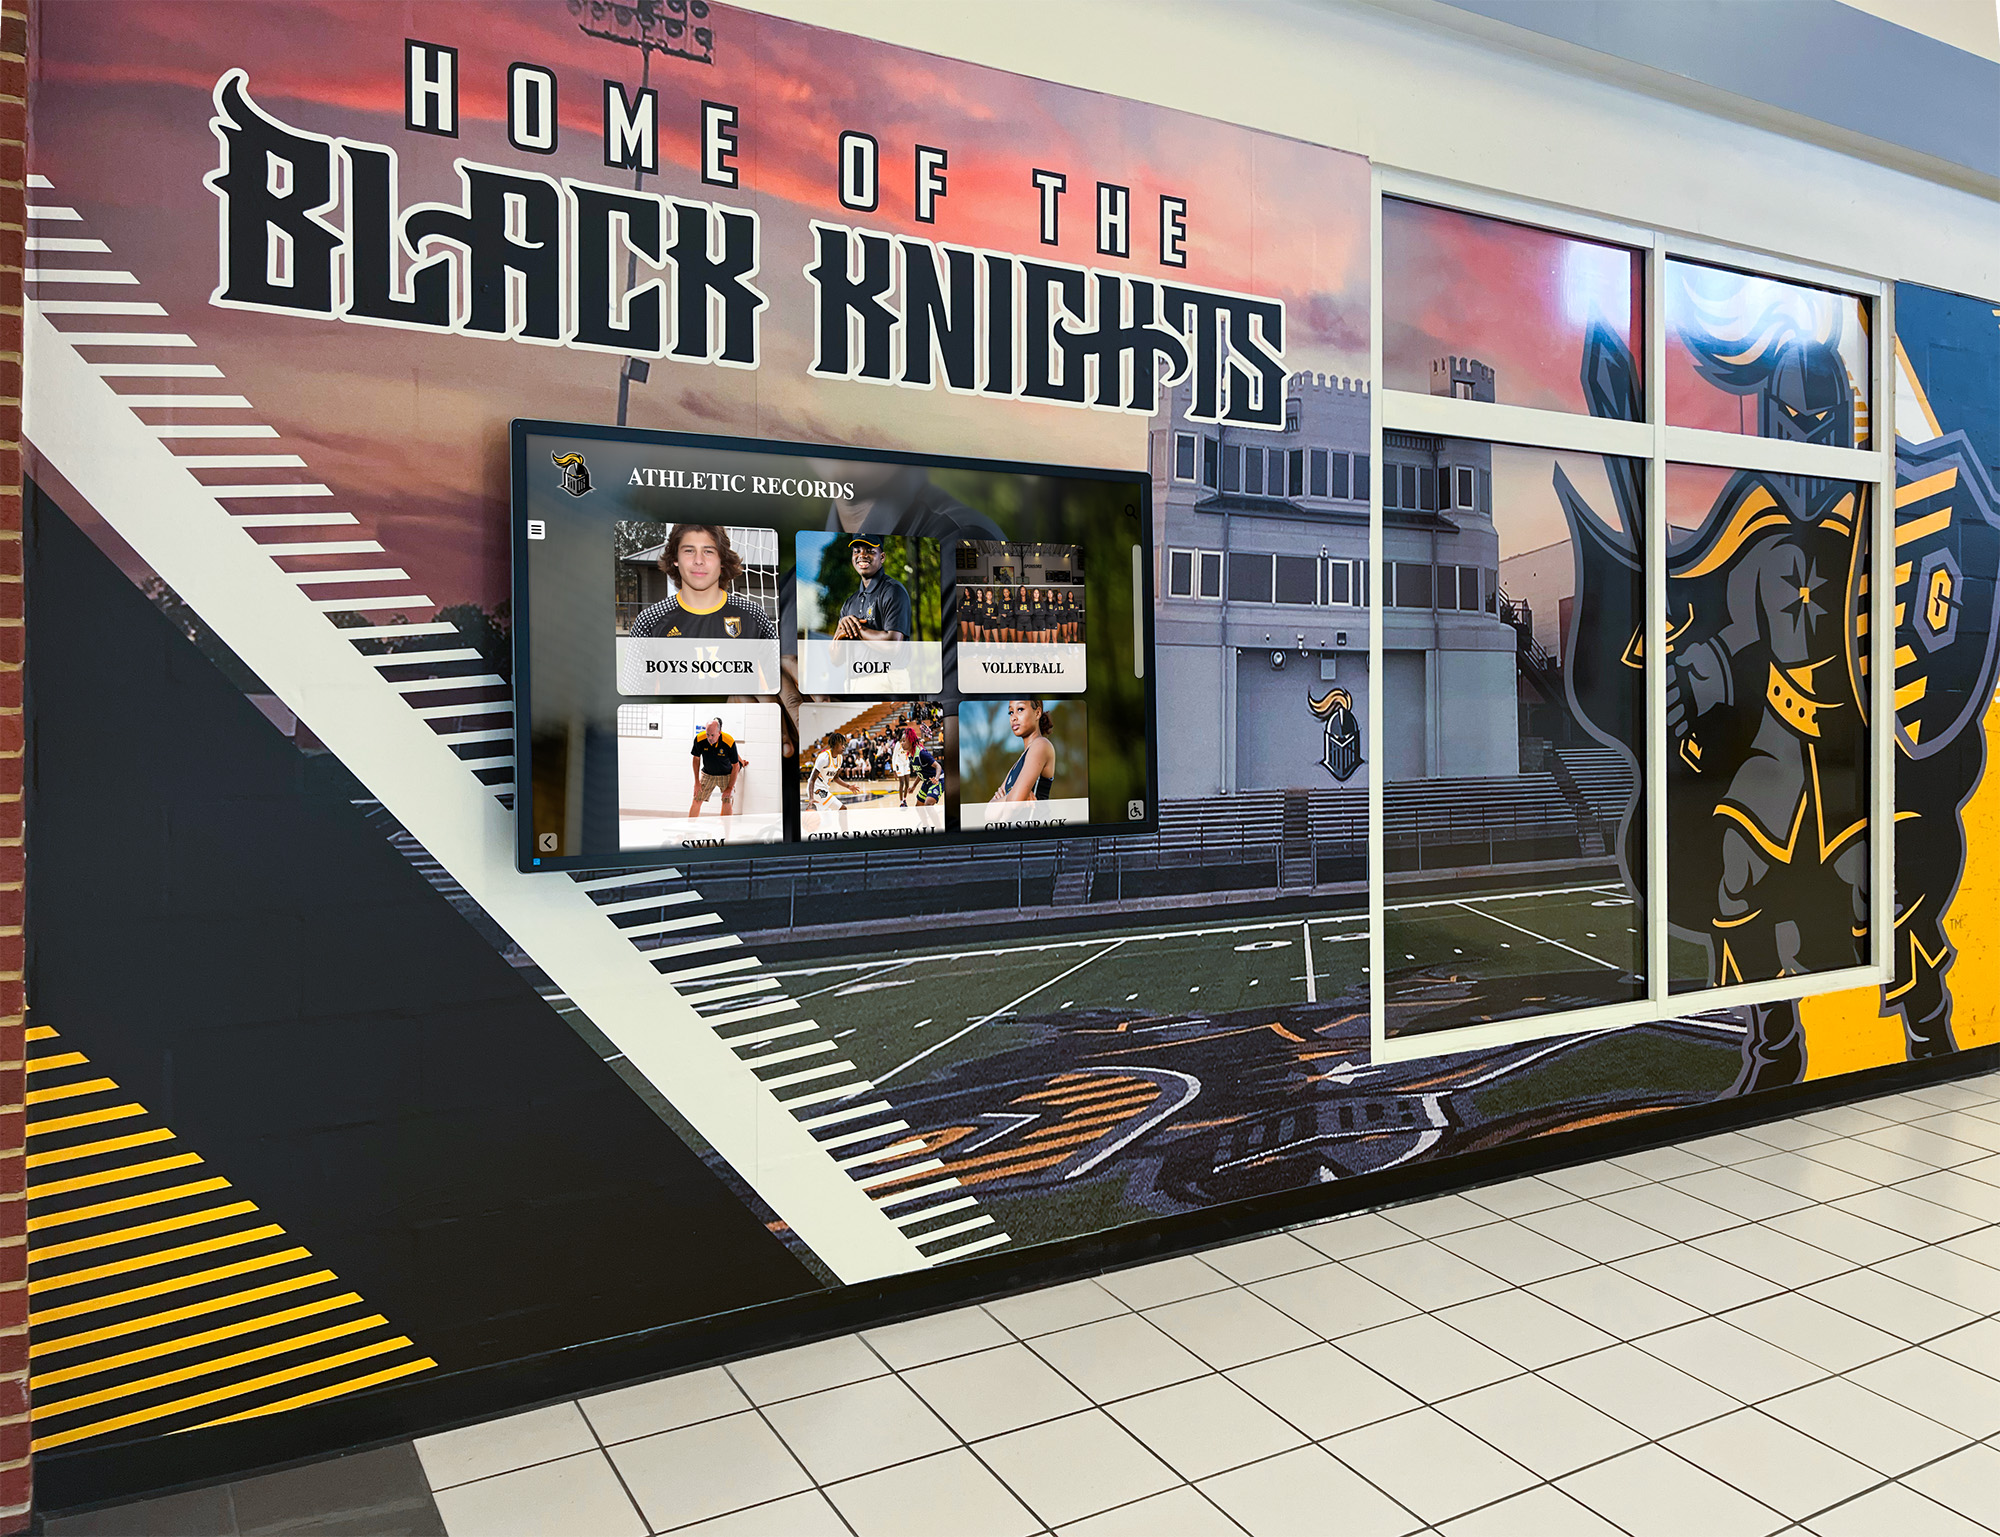
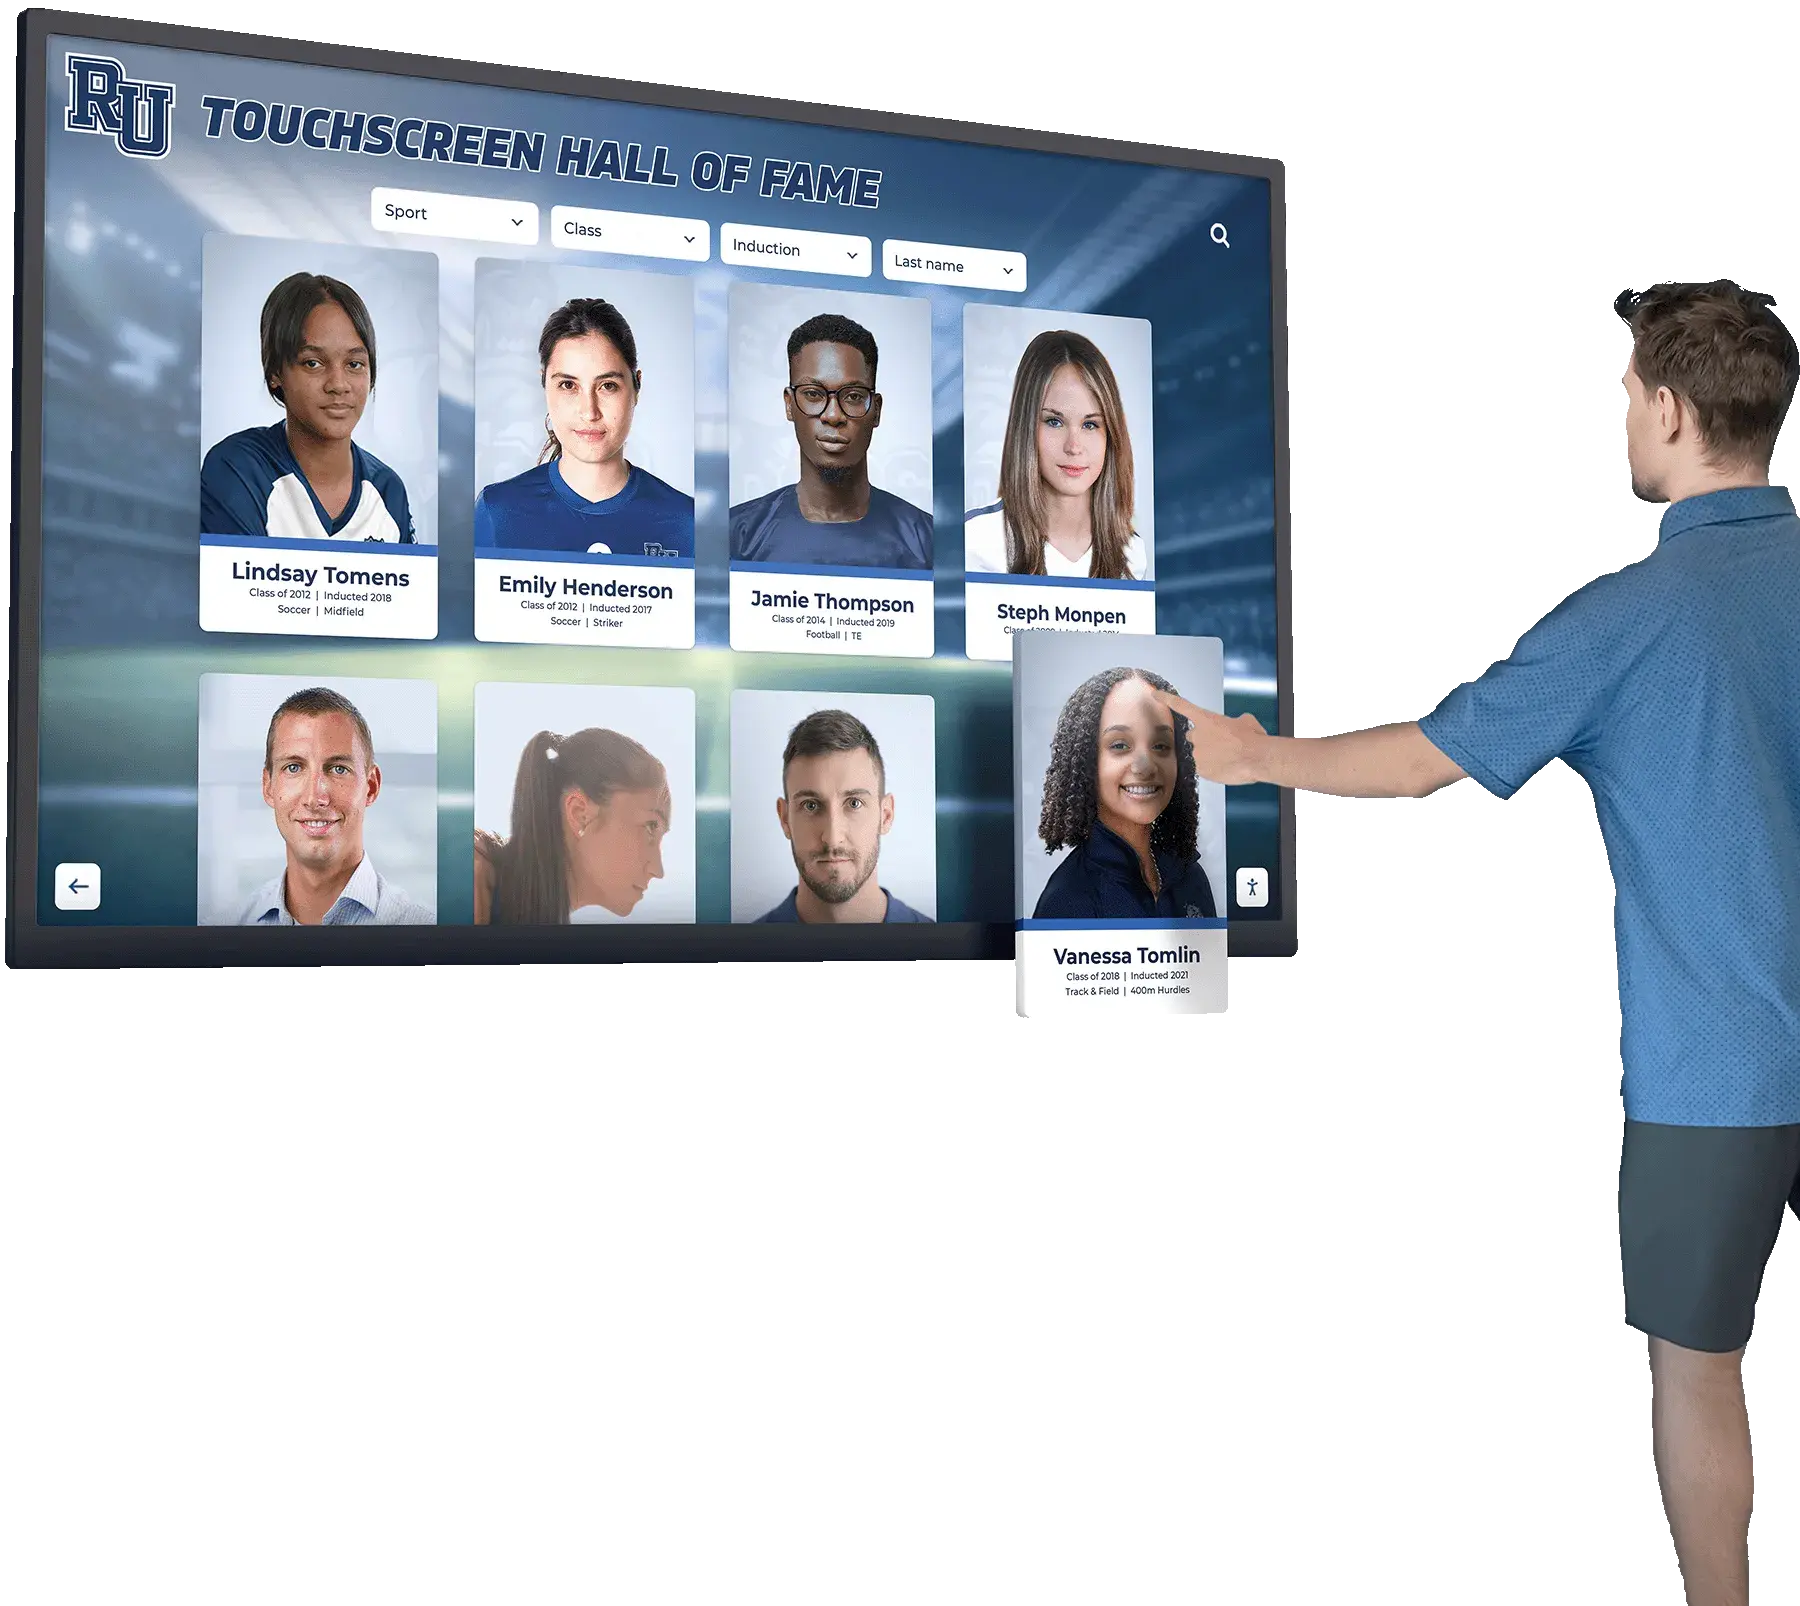
Modern hall of fame display systems, including wall-mounted touchscreens, lobby kiosks, and web portals, render athlete portraits at sizes ranging from thumbnail-scale profile cards to full-panel expansion views at 1080p or 4K. At those resolutions, Newton ring artifacts that passed unnoticed in a small-size print preview become clearly visible rainbow bands. An iridescent pattern crossing the jersey of a 1982 state championship basketball player on a touchscreen panel signals not a damaged photo but a scanquality issue that reflects on the recognition program’s presentation standards.
Schools that invest in digital hall of fame and donor wall recognition systems are making a long-term commitment to the visual quality of inductee profiles. Correcting Newton rings in archival scans before those images enter the display system protects that investment across however many years and platform updates the photos serve.
Alumni recognition programs that draw from athletic archives for monthly or annual spotlights also depend on clean source files. A ring-free scan is a reusable asset: it can be cropped for a newsletter header, scaled for a website gallery, printed for a ceremony program, and uploaded to a touchscreen system without additional remediation at each use. A scan with artifacts requires a remediation decision at every downstream application.
The same scanned photos that anchor hall of fame profiles can populate team roster graphics for touchscreen social recognition content—historic rosters displayed alongside current season rosters to connect present players to program history. For those multi-era composite displays, visual consistency across decades of photos matters: a 1975 team photo with Newton rings displayed next to a clean 2010 digital photo makes the archive look uneven rather than historically rich.
Schools that host visitors—including students encountering athletic hallways as part of campus orientation, tours, or recognition ceremonies—rely on these displays to tell authentic institutional stories. Clean scans are the foundation of that storytelling.
Athletic department newsletters and digital recognition content regularly draw from historical photo archives for anniversary features, milestone retrospectives, and program history sections. Establishing a pool of corrected archival scans gives content creators reliable source material that does not require per-use remediation before publication.

If your program is ready to move corrected athletic archive scans into a recognition system that handles display, profile management, and long-term content updates, see how Rocket Alumni Solutions approaches athletic hall of fame display.
Building a Scanning Protocol for School Athletic Archives
Establishing a written protocol reduces scan artifact rates and makes remediation workflows reproducible when staff changes occur.
Equipment Checklist
- Flatbed scanner with anti-Newton ring glass (preferred) or standard platen with documented ring-rate from test scans
- Lint-free microfiber cloths for platen cleaning (kept dedicated to scanning—not shared with general cleaning)
- Soft camel-hair brush or clean air puffer for photo surface cleaning
- Calibration target for color consistency across sessions
- External hard drive or network location for TIFF master file storage
Per-Session Steps
- Clean scanner glass and inspect under raking light before first scan
- Handle photos with clean hands or clean cotton gloves
- Rotate photo 5–10 degrees on platen if ANR glass is unavailable
- Apply lid pressure, ensuring even contact across photo area
- Scan at 600 dpi to 16-bit TIFF for archival masters
- Review scan at 100% zoom for Newton rings, dust, scratches, and focus issues before returning photo to storage
- Log scan metadata: date, scanner settings, operator, original photo condition
Remediation Logging
Track which scans required post-processing and which correction method was applied. This log supports quality control review, helps identify scanner equipment issues (consistent ring patterns across sessions suggest glass or lid problems), and informs decisions about rescanning when better equipment becomes available.
Athletic directors evaluating their program’s readiness to build or expand a recognition archive will find that operational protocols covering equipment, staff responsibilities, and quality standards help convert a digitization project into a maintainable program rather than a one-time effort.
For basketball programs archiving championship-era photos that go back to the era of glossy RC prints—particularly from the late 1970s through the 1990s—building Newton ring prevention into the scanning protocol from the start avoids retroactive correction work across potentially hundreds of images.
Conclusion
Athletic archive Newton rings removal is a recoverable problem at every stage—preventable during the scan with the right equipment and setup, correctable in post-processing with frequency separation and targeted color adjustment, and avoidable in future scans with a documented scanning protocol. The underlying cause is physics, not negligence: glossy athletic archive prints on flatbed glass will produce interference patterns unless specific preventive measures are in place. Understanding that cause makes the correction workflow logical rather than arbitrary.
For school athletic archives where the end destination is a digital hall of fame display, a touchscreen inductee profile system, or a published recognition program, scan quality is the upstream variable that determines every downstream presentation. Correcting Newton rings before photos enter those systems is the most cost-effective point in the workflow to catch the artifact—once a profile is published and displayed, replacement requires finding the source file, re-editing, re-uploading, and potentially notifying inductees or families that the photo was updated.
A clean scan, produced or corrected before upload, is an archival asset that serves the recognition program indefinitely across however many platform updates, display generations, or recognition program expansions the institution undertakes.
Put corrected athletic archive scans to work in a hall of fame display built for schools. See Rocket Alumni Solutions in action and learn how the platform handles inductee profiles, photo management, and long-term display across touchscreen and digital signage formats.